Introduction
Apphive is a versatile, user-friendly, drag-and-drop app builder that offers a comprehensive suite of standard advantages and unique features, such as debugging, access control, and more. Additionally, Apphive can create apps for Android, iOS, and the web. It's a tool that anyone can use, from novices to experienced developers. Let's delve into this article to see how to get started with this innovative app builder.
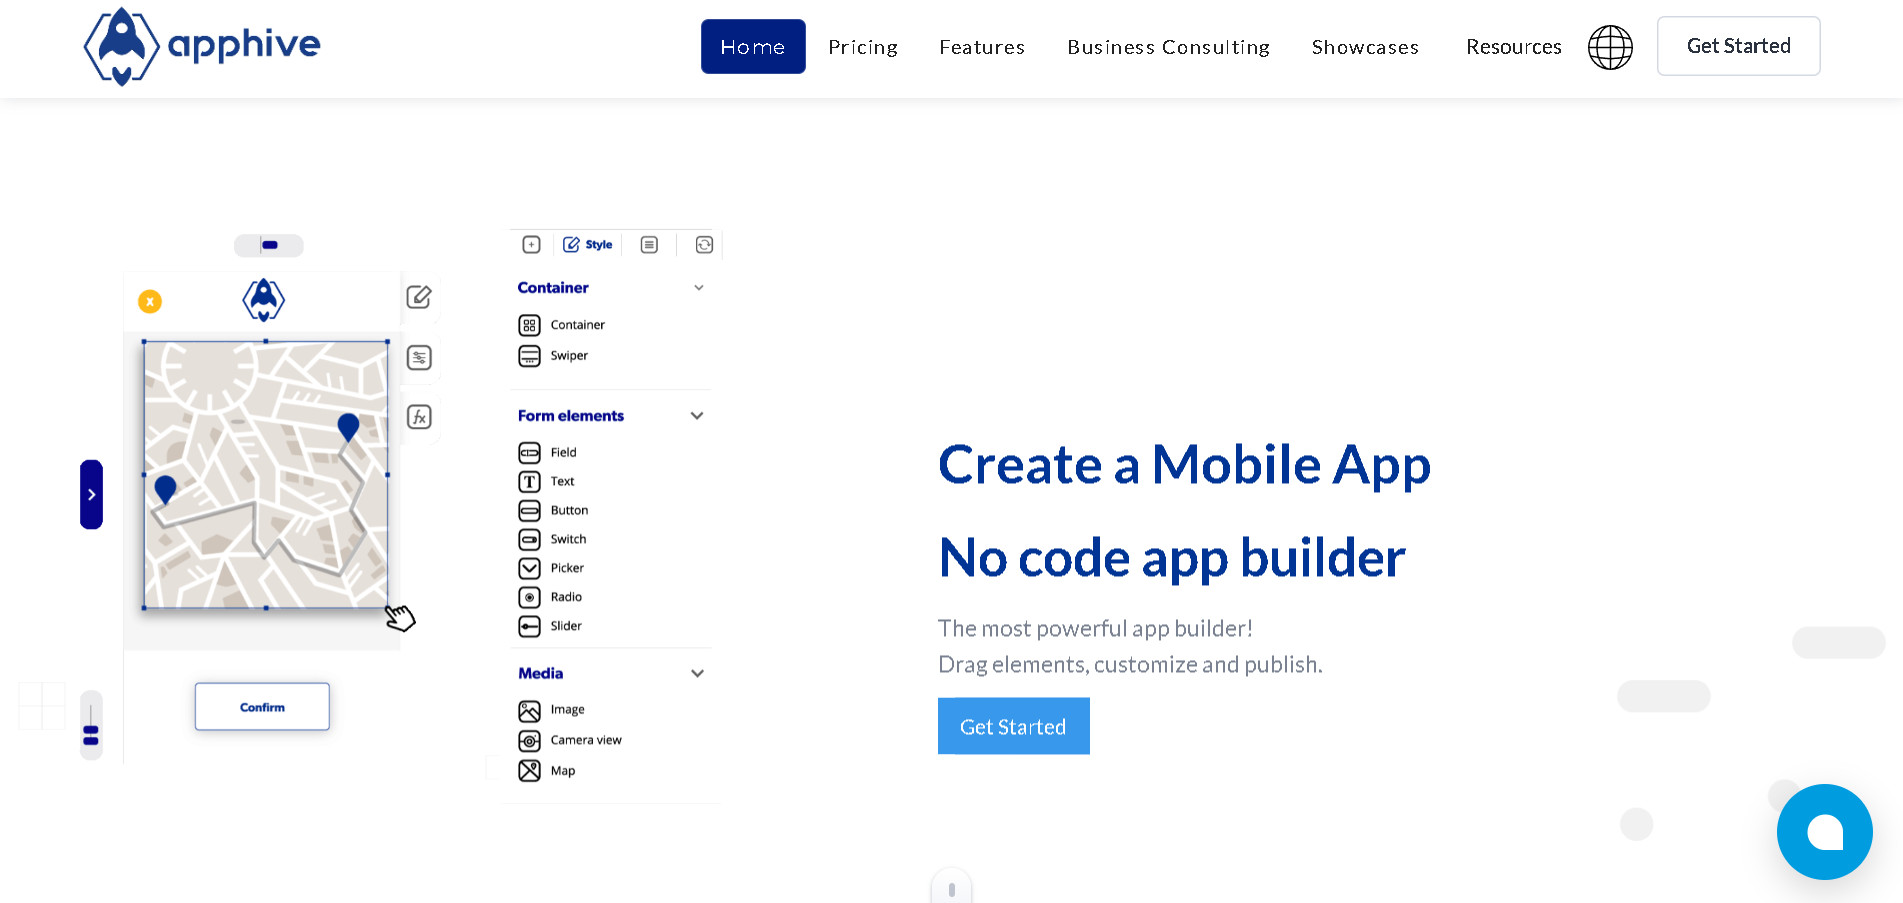
If you want to learn more about Apphive or read an external overview you should check our other articles about Tool:
Getting Started with Apphive
You can log/sign in with your Google, Apple, or Facebook account or by using your email. To be honest, the loading screen after sign-up sometimes needs a refresh to work properly.
After signing up, Apphive guides you through creating your first project. Initially, you'll be asked to provide a name for your project and then the names of your apps.

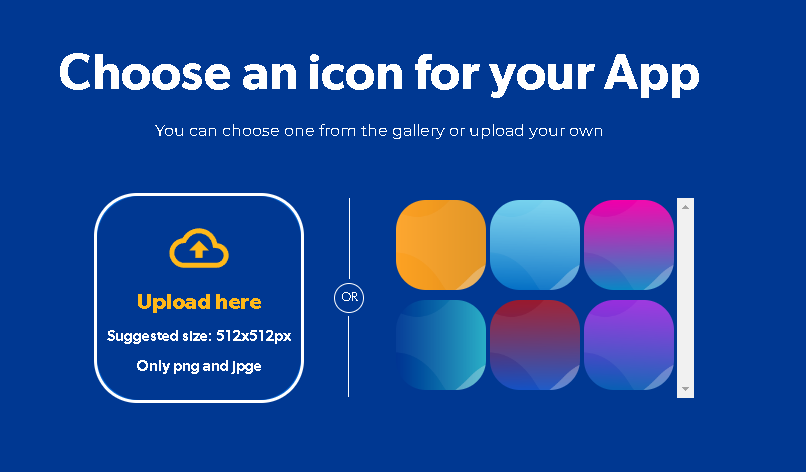
Afterward, you can upload or choose an icon for your app. Once these steps are completed, your app will be prepared, and the editor will open.
Building Your Website with Apphive
On the top left side of the screen, you will find a button to go back to the dashboard and the settings for your app. In the settings, you can change your app’s name, add specific loading animations, notification sounds, Google API keys, and much more. You can also edit the icon of your app, change the description for permissions requests, and set up a domain for your app to run online. Additionally, you can add test members and editors to your app, and access add-ons, the console, and compilations. Support for your app is also available in this section.

On the top right side, you can change the resolution view of your app, access the cloud database and GeoFire, run your app by scanning a QR code, or run it on the web. Additionally, you can post your app and check the latest updates from Apphive.

On the top middle side of the screen you can undo, redo, and save your work.

On the left side of the screen, you will notice four categories: Screens, Controls, Data, and Debug. In the Screens category, you can view and create new screens for your app. The Controls section allows you to navigate through all screens, containers, and elements. In the Data section, you can create and view your global data. Finally, the Debug section is where you can debug your app.

On the right side of your screen, you will find five more categories: Insert, Style, Processes, Versions, and Assistant. In the Insert section, you can add any type of container, element, or media to your app with the ease of drag and drop. The Style section allows you to customize the appearance of your app, including changing the typography. In the Processes section, you can create and view your app processes; to create a process, you need a name, a description, and the process code. The Versions category lets you load older saved versions of your app. Finally, the Assistant category allows you to ask questions to an AI assistant.

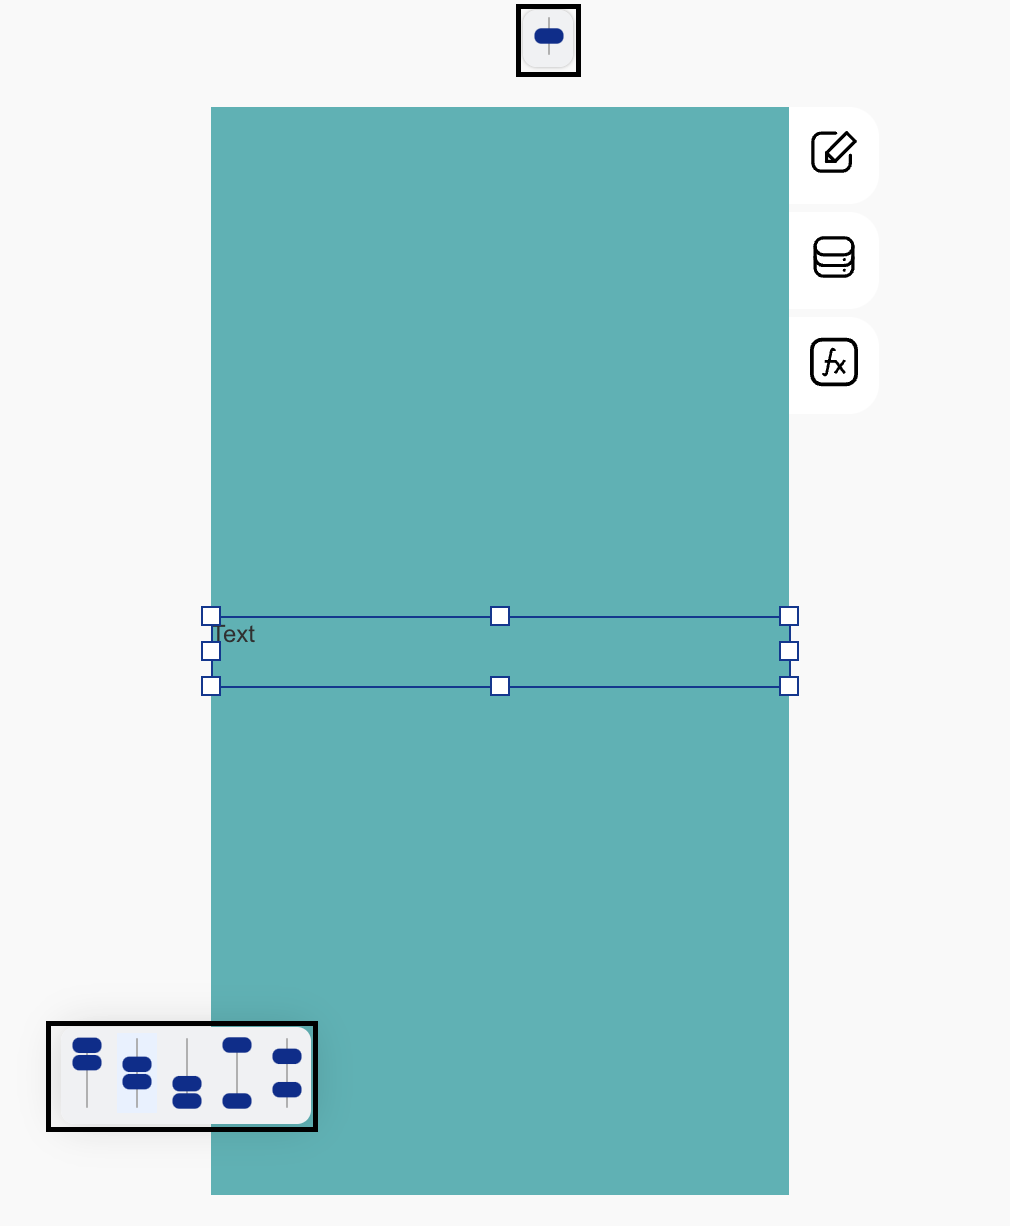
To add elements to your screen, simply drag and drop them into place. To edit an element, click on it and choose one of the three possible editing options: style, data, or functions, which you will find on the top right side of the screen.

Once you've clicked on an element, you'll notice all the possible alignment changes available on the top and left sides of the device screen. This makes it easy to adjust the positioning of elements within your app with precision.
Creating Essential Features in Apphive
Planning your app's structure on Apphive is akin to creating a map for your visitors. It ensures simpler navigation and clearer comprehension of content. Moreover, it saves time for you by facilitating easier app design and updates, or for users to find what they're looking for.
Depending on the type of app, certain essential screens are indispensable. For instance, an e-commerce app should feature a home screen, a well-organized shop, support and contact, and a secure payment screen.
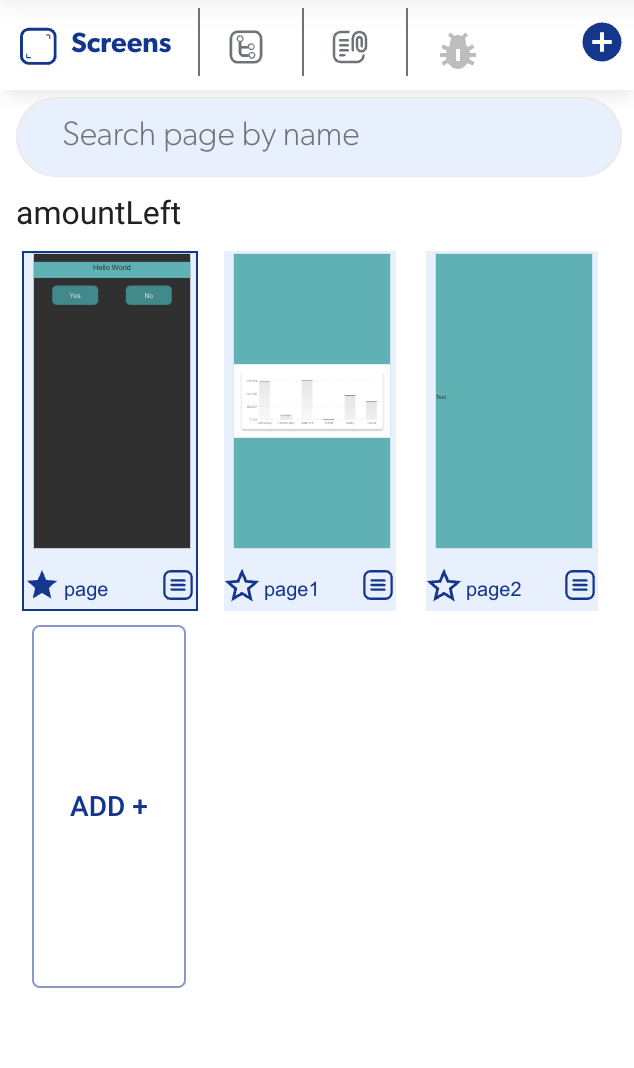
Adding a page to your app project is straightforward. Simply navigate to the left side of the editor and find the category named "Screens." In this section, you can add a screen by clicking the plus button. This intuitive process allows for quick and seamless expansion of your app's structure.
Making Your Project Shine with Apphive
When creating an app, it's essential to have more than one screen to ensure smooth navigation throughout your app. Let's walk through an example of how to do this. Once you've prepared your first screen and want to navigate to the next one with a button click, simply click the button on the editor and open the function settings. Here, you can add an event of your choice, and then add a "push" or "replace screen" event. Select the page you want to navigate to, and you can also customize transitions and transition speed if desired. With these steps, you're all set!

You can enhance your app by incorporating various media elements, ranging from image views and camera views to calendars and videos. Simply drag and drop these media elements onto your screen and begin customizing them. Let's delve into a few examples. For the video view, you can add a video URL from platforms like YouTube or Vimeo. For maps, simply add an API Key and you're ready to integrate them into your app. Additionally, you can include a graphic view of your choice.
Publishing and Going Live
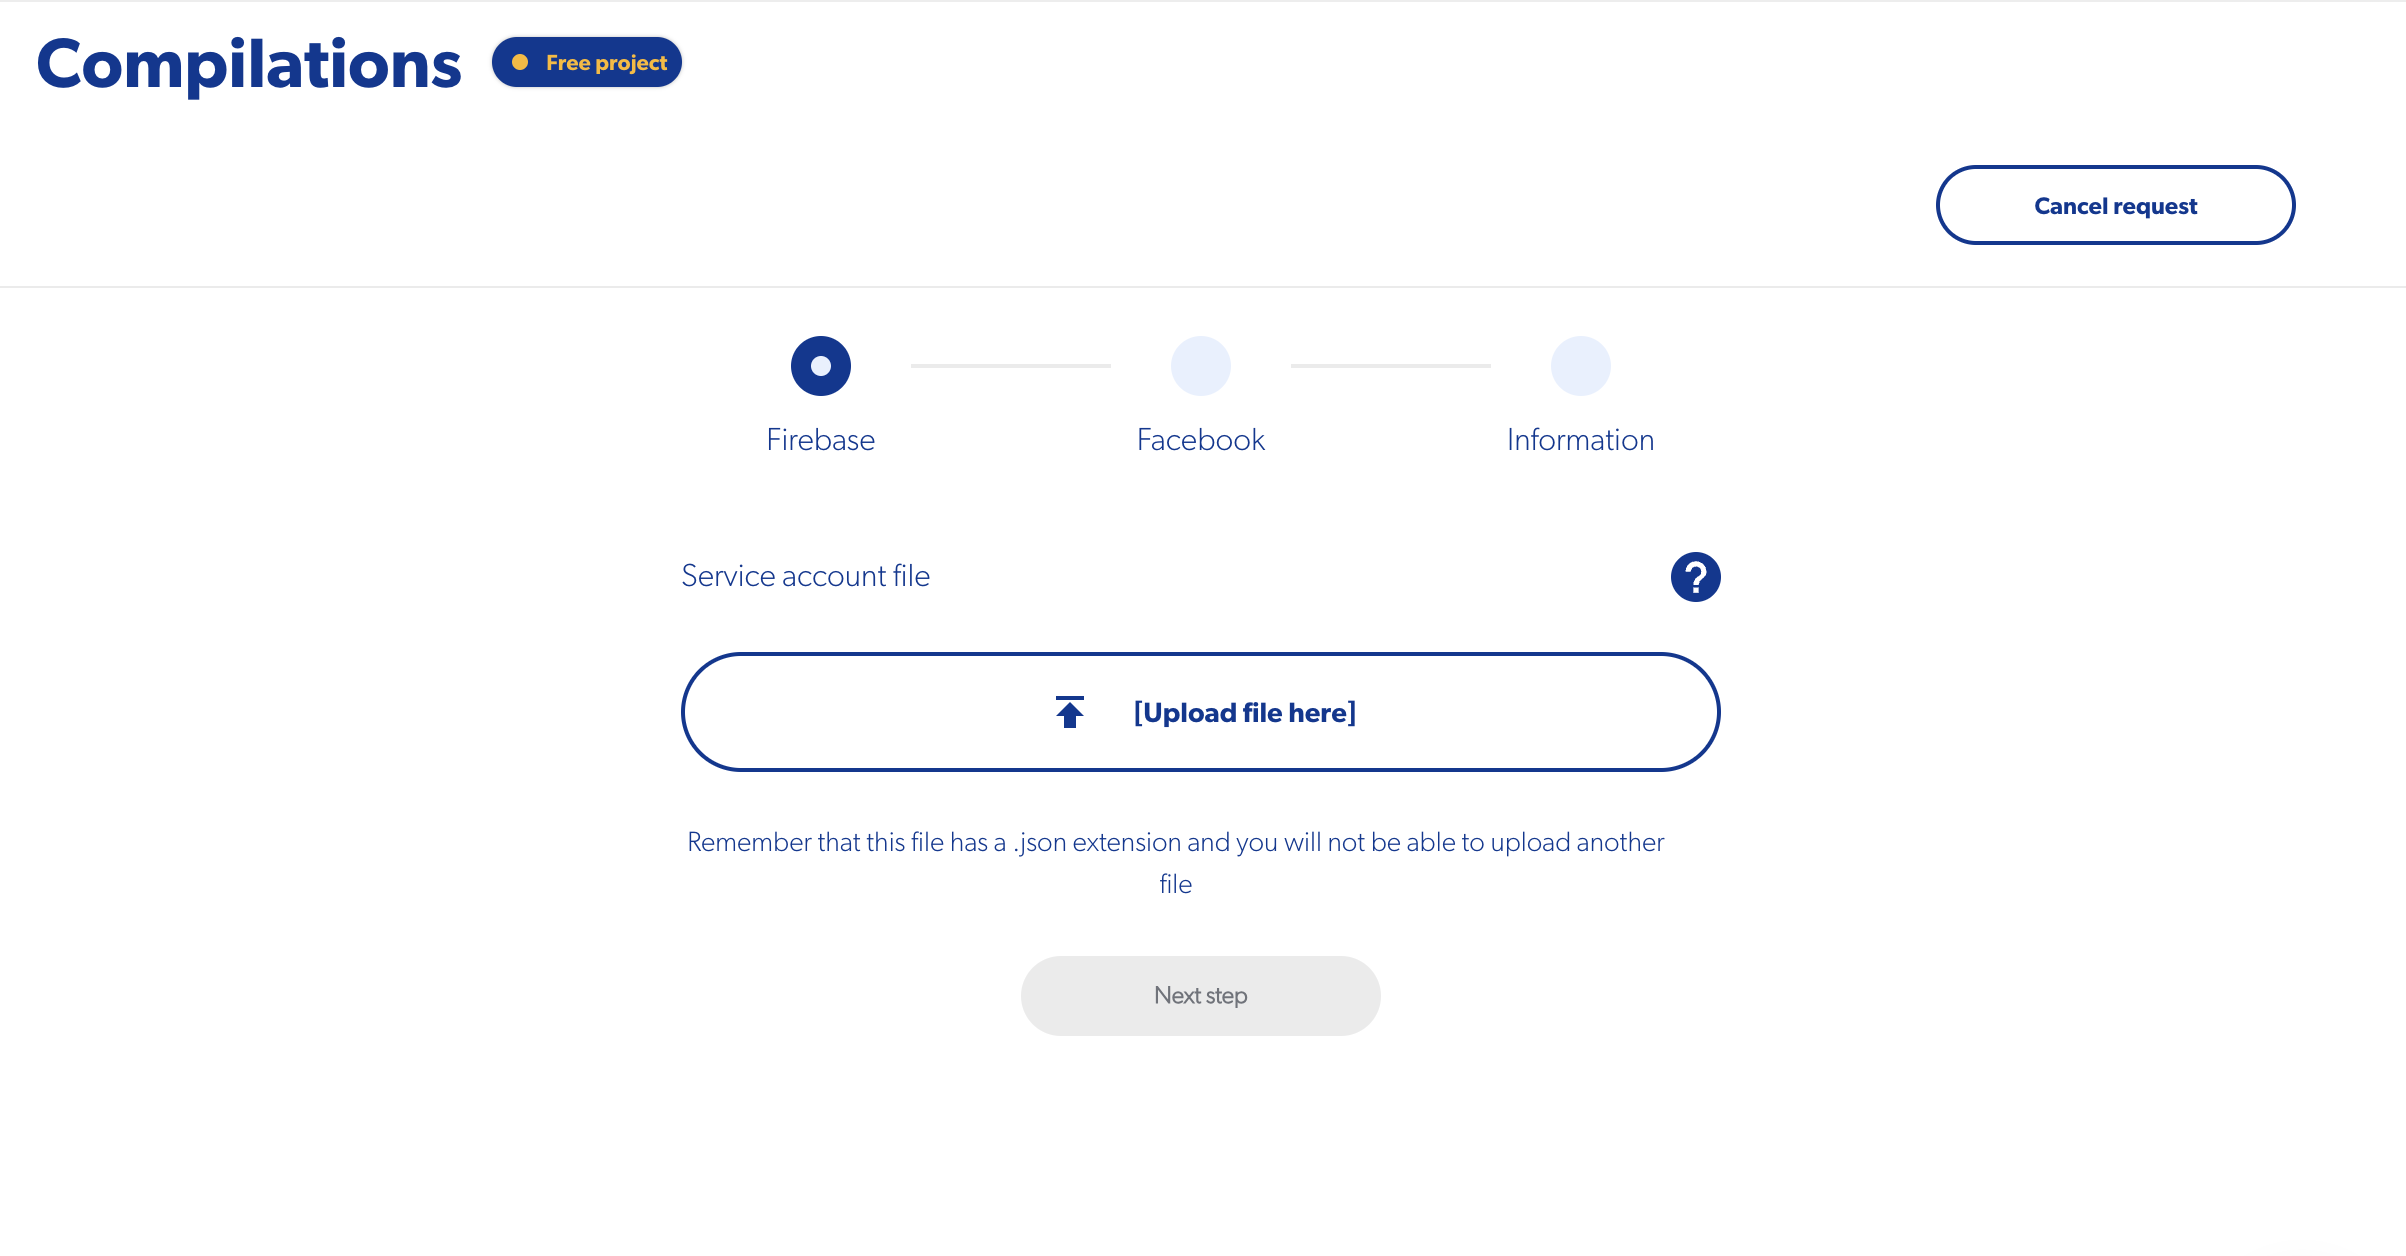
To make your app public, locate the "Post my app" button in the top right corner of the editor. Clicking on it will take you to Compilations, where you can begin a new compilation. Here, you'll find three types of builds available for each platform (Android, iOS, Web). Follow the steps for your desired platform, and once you've completed the process, your app will be ready to go live.
You can also incorporate a custom domain into your web app. To do so, navigate to the settings, specifically the WebApp settings, where you can input your custom domain. This feature enables you to personalize the web address of your app, enhancing its branding and accessibility.
Beyond the Basics
Apphive offers an extensive array of features, many of which are foundational and commonly found on similar platforms. However, interspersed among these are advanced features tailored for more proficient users. These advanced functionalities enhance the platform's capabilities, allowing users to delve deeper into customization, optimization, and integration possibilities.
- Debug
- Software Development
- Payments functions
- Log in to the app with Google and social media
- Arithmetic operations
- Make your app to take photos
- Add push notifications
Conclusion
In summary, Apphive offers users a user-friendly interface and an extensive array of features, empowering them to swiftly and effortlessly create apps. Whether you're a beginner or an expert, Apphive equips you with essential tools such as workflows, processes, debug, and more, ensuring a seamless app creation experience. With its robust capabilities, Apphive stands as a potent app creator, providing endless possibilities for app development.
If what you've read so far sounds intriguing, it's definitely worth giving this app creator a try. Sign up for Apphive today and embark on creating your first app! With its user-friendly interface and powerful features, you'll be amazed at how easily you can bring your app ideas to life.
If this article has piqued your interest, we recommend checking out our comprehensive overview of the tool. You can also dive into our detailed instructions on how to learn to maximize the benefits of this platform.

