Introduction
Dorik AI simplifies the daunting task of website creation, providing users with a seamless experience from start to finish.
With its intuitive interface and extensive array of features, even those with limited technical expertise can confidently embark on their website-building journey.
Upon signing up, Dorik AI boasts a plethora of tools, each meticulously described to ensure ease of use and understanding.
Additionally, by leveraging AI capabilities, users can effortlessly generate various elements, streamlining the website creation process even further.
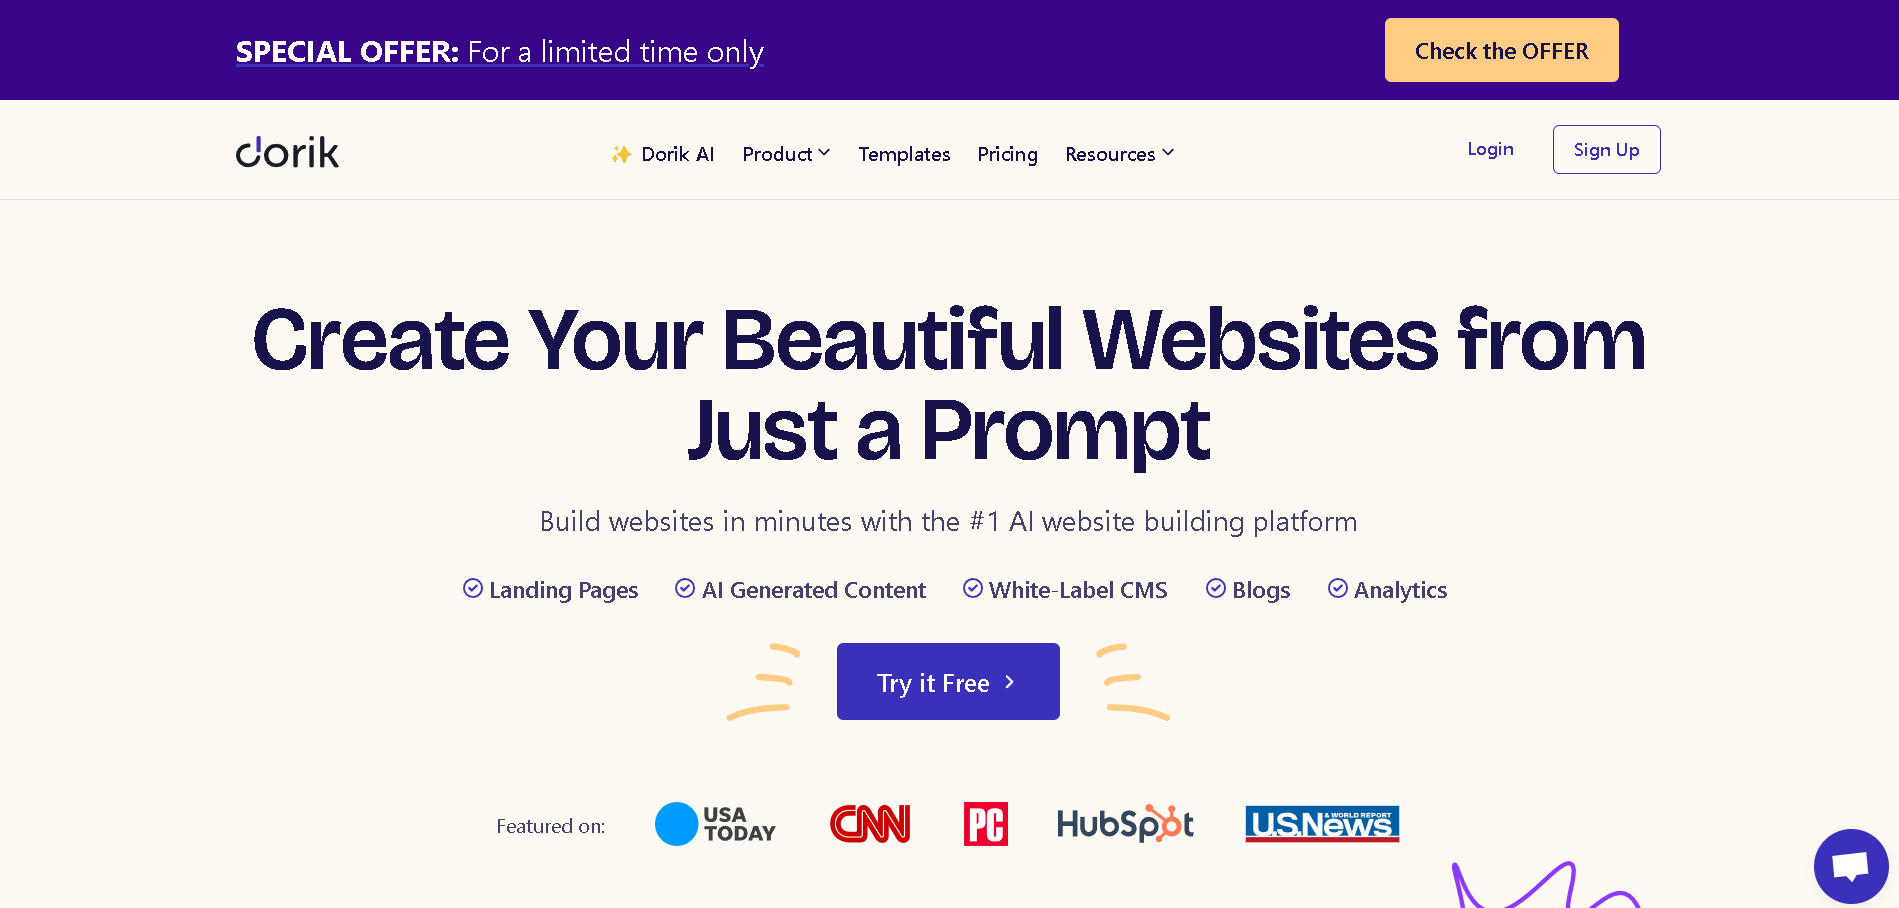
If you want to learn more about Dorik AI or read an external overview you should check our other articles:
Getting Started with Dorik AI
Create an account
First of all, users have to make a free account on Dorik AI to be able to use the platform. You can sign up either with your Google account or by using your email and setting up a personal password.
After that, you'll be prompted with specific questions and choices. These include:
- "What best describes your role?"
- "Who will you be building websites for?"
- "How did you hear about us?"
Getting familiar with the UI
As soon as you sign/log in to the platform, a dashboard with all the sites will appear. You have the option to create a new site by clicking “+ Create New Site”.
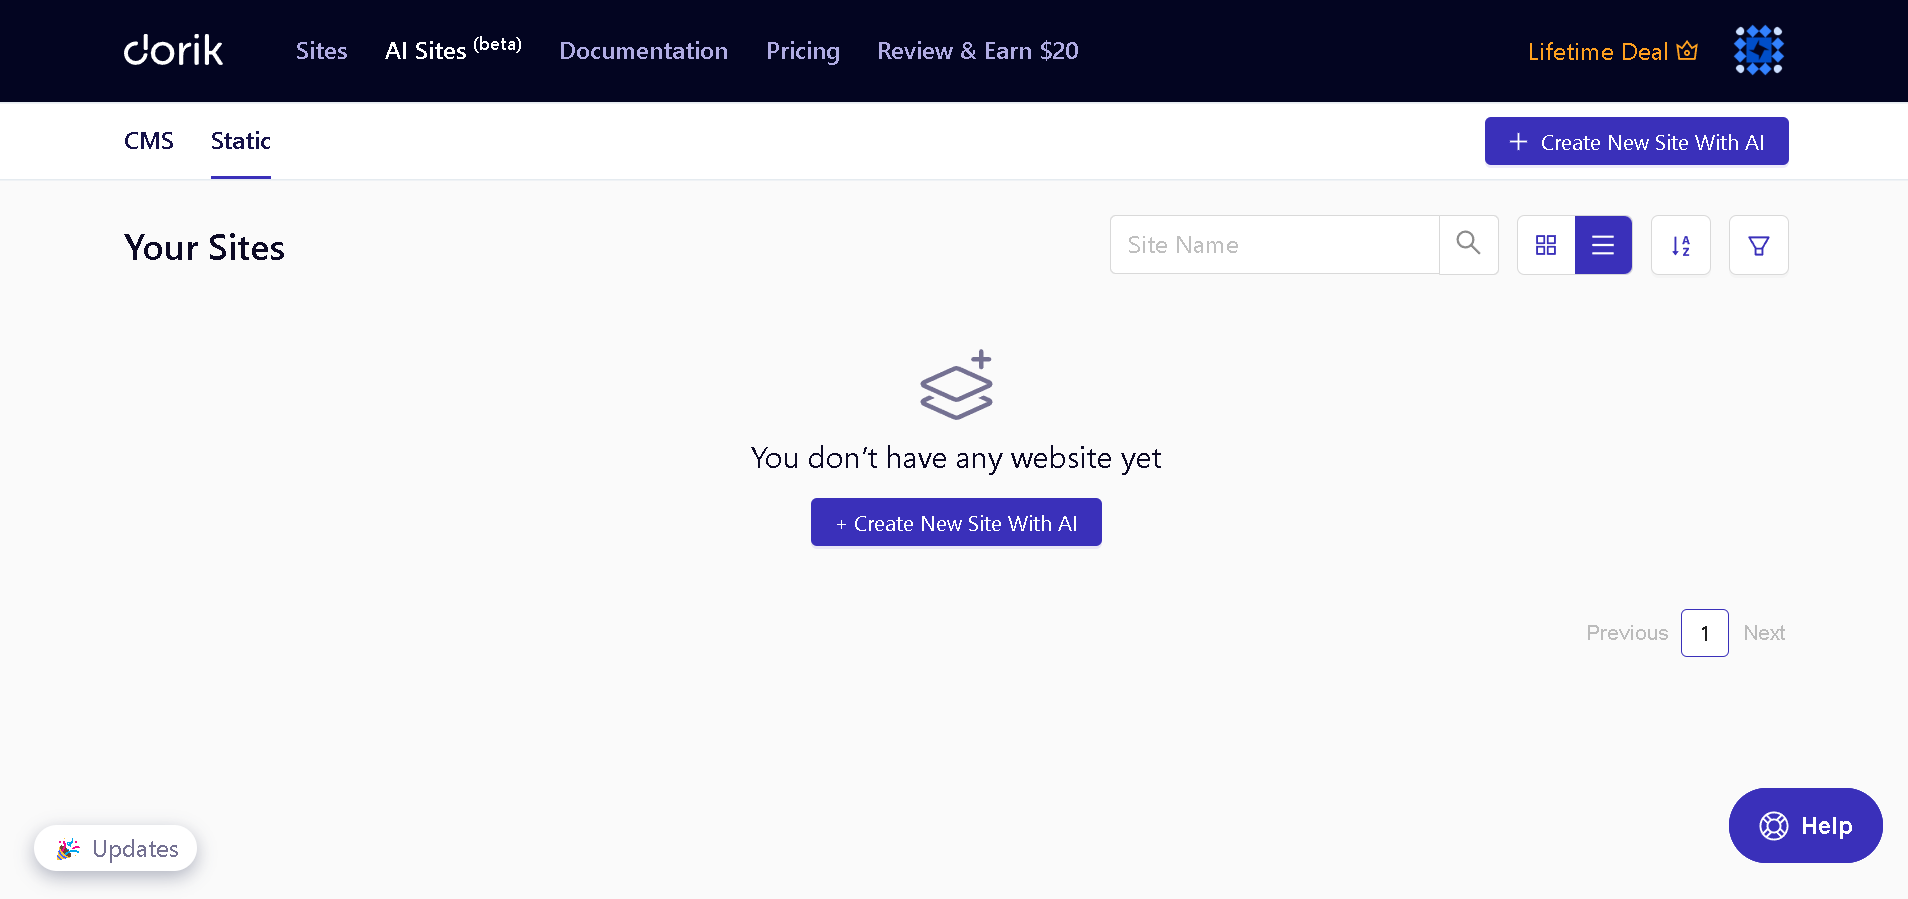
On the top of the screen, you will find a menu bar, you can access websites you've created from scratch or with AI assistance.
Additionally, you can explore Dorik AI documentation, premium pricing details, and reviews. In case you have already created a website, you will find categories “Sites” or “AI sites”,
Depending if you have created it from scratch or by using AI
In that case, you will have some options available for your website. These are
- Edit Site
- Changing the name or the domain of the website
- Exporting JSON
- Duplicating project
- View Analytics (since the site is published)
- Deleting the website

We'll delve into website creation later, but it's crucial to highlight key aspects of the editing page first.
Upon entering the editing page, users will encounter an array of additional features and options to explore and utilize.
- On the bottom left corner, you can:
- Change the option for language is available
- find easily the Documentation
- Return to Dashboard
- On the top left corner, you can:
- Check the name of the page that you are editing right now
- Edit the page settings
- Check version history or create one just by clicking add and giving a name
- In the top middle is possible to change the screen that the site is been viewed
- On the top right corner, you can:
- Undo and redo are available.
- Preview the site
- Save the project
- Publish it
- Import JSON
- Export as JSON
- On the bottom right corner, you can:
- Check Helpdesk
- Chat with support
- On the right side, you'll notice the Navigation Bar. The Navigation Bar is a tool that serves as a guide through the website-building process. You'll find categories where you can:
- Add elements
- View created pages
- Edit the global style
- Manage the navigation
- Upload media in the media library
Dorik AI Features for Beginners
Dorik's navigation bar is designed to be incredibly user-friendly, making it a breeze for new users to navigate through the website-building process with ease.
Dorik's intuitive interface simplifies the steps needed to create your perfect website.
With its streamlined design, finding the tools and features you need is effortless, ensuring a smooth and enjoyable website-building experience for everyone.
Upon entering the editing page, you will discover Dorik's navigation bar conveniently located on the left side.
With the navigation bar readily available, you can seamlessly navigate through the editing process, empowering them to effortlessly bring their creative vision to life.
You will find some of the features of the navigation bar below.
- Add Elements. Drag-and-drop elements on empty containers to add elements to the page. Or just by clicking inside an empty container, a window will pop up and then you can add any element
- Components. All the saved items will be found here. To save an item you have to right-click on the item and then “Save to Collection
- Pages. You can find all the pages that have been created, in this tab
- Global Styles. The changes that you can process in this tab are mainly for the texts on the page
- Navigation. A layer panel with all the sections, containers, and elements in the selected. By clicking one item you will be transferred to this one on the page and the item will be selected. some text
- Duplicating an item is available as well here. You can save an item to make it easier and faster to use it later
- Renaming an item will make the project less confusing. It’s also possible to copy and paste an item for fast transferring
- Delete button, permanently delete the selected item
- Media Library. You can use this category to upload images and videos. All the saved for this project images and video are quickly accessible in this tab
- Site Settings and Integrations. Edit the site language and Direction (left to right or right to left). Add Favicon and Social Media image
- Ai Quick Style (only for websites created with AI). You can change the colors and typography of the page using AI
- Documentation
Another invaluable feature that Dorik AI offers is its Documentation.
Accessible from the top menu of the dashboard or conveniently located in the bottom left corner while editing your website.
This resource serves as a guide to help users maximize their website-building experience. It’s easy to find and easy to use.

Building your first Dorik AI project
There are different ways to create a page.
From Scratch
The "Create New Site" button on the dashboard starts the process of building a new website. It opens up the platform's drag-and-drop builder, where you can choose from customizable templates and design elements to construct your site. No coding skills are required.
Although, you have the chance to select through a wide range of categories of templates. You can also import a JSON file to edit. Or last but not least you can create from scratch your website.
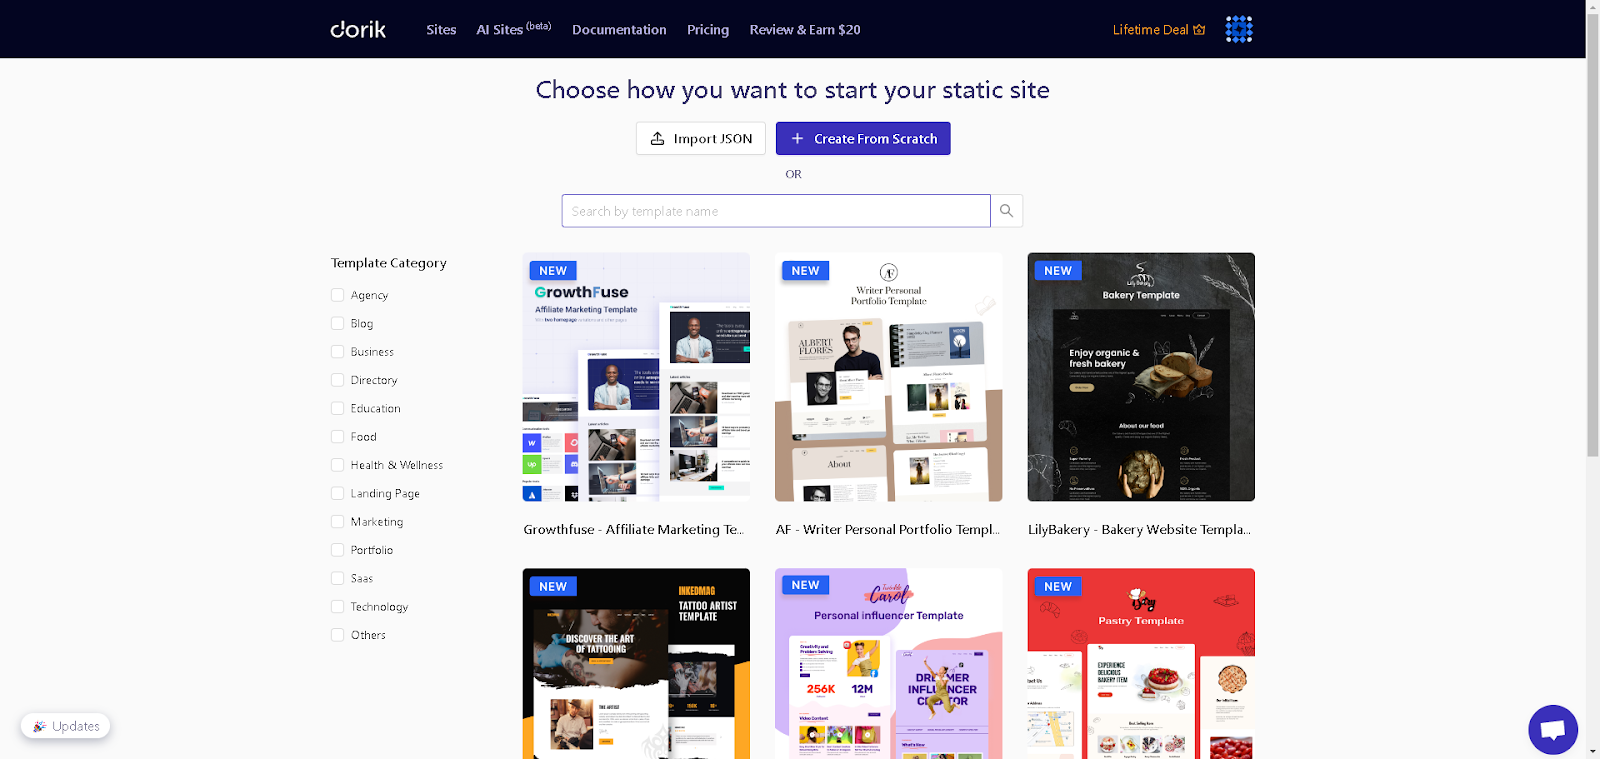
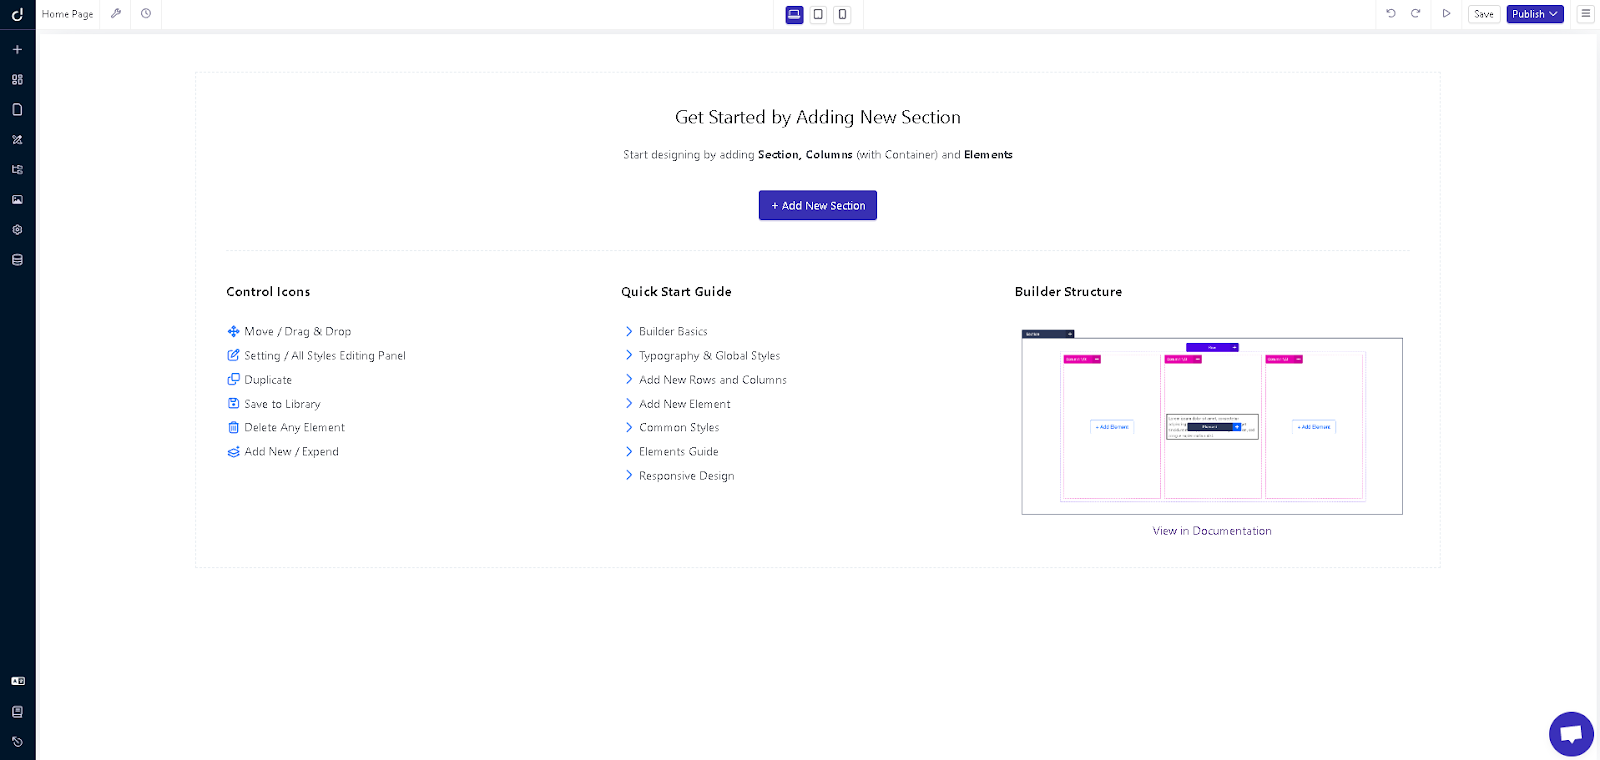
If you click “Create from Scratch”, an unnamed project will created and get ready to edit. An empty page named Home Page is the first page of the site. You can now see the empty page and all the possible options.
The first thing that you see is Dorik AI providing a guide to start building a website, suggesting to start with sections. By clicking “Add New Section” you will have to select through some categories of sections or create one by selecting the containers. The red box on the left side in the previous image is the Navigation Bar which is a tool that serves as a guide through the website-building process. You'll find categories where you can:
- Add elements
- View created pages
- Edit the global style
- Manage the navigation
- Upload media in the media library
- Elements work with drag-and-drop into Sections. You can find the page settings in the left top corner as well and you can give a title and a description on the Page and edit the Language or the popup settings
With AI
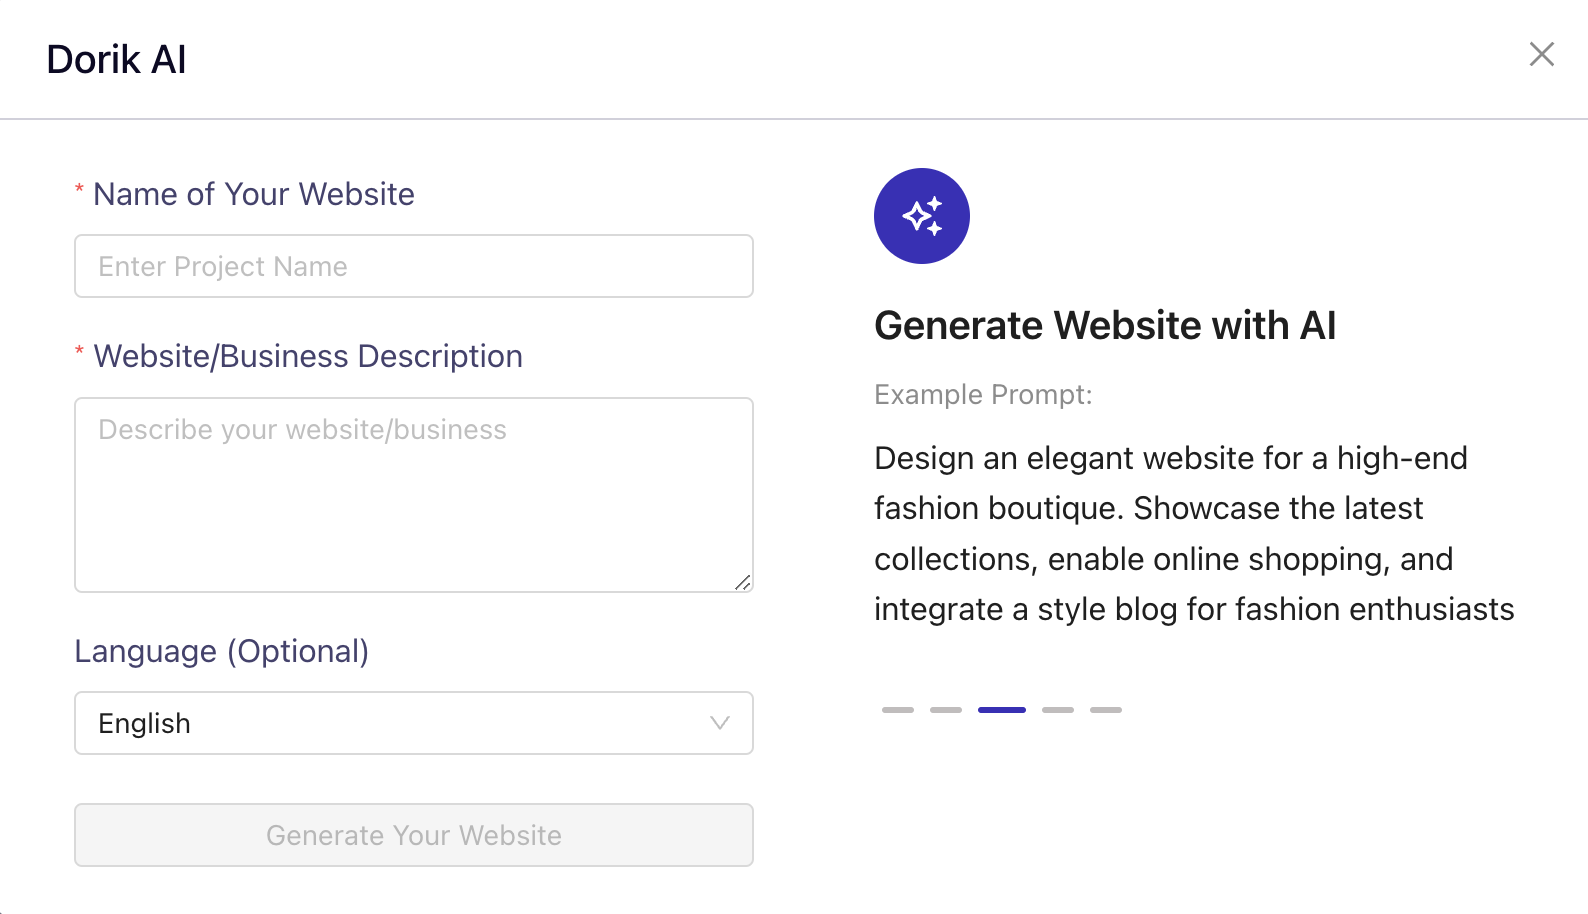
Things are way simpler in this category. You have to choose AI Sites on the Menu Bar A window will appear. You now have to give the Website’s name and a small description of what you want to create. You can also choose the Language. Give some time to AI and the page will be ready. Also, there is a new tool in the Navigation Bar now.
Dorik AI Beyond the Basics
In my journey of learning how to use Dorik, I found that there was little need for external assistance. The intuitiveness of the website builder negated the necessity for extensive online help, unlike with programming languages.
Moreover, Dorik's comprehensive Documentation is readily accessible on the website and provides an abundance of information and helpful tips.
The Documentation provides clear and concise instructions, tips, and tutorials to assist you at every step of the way.
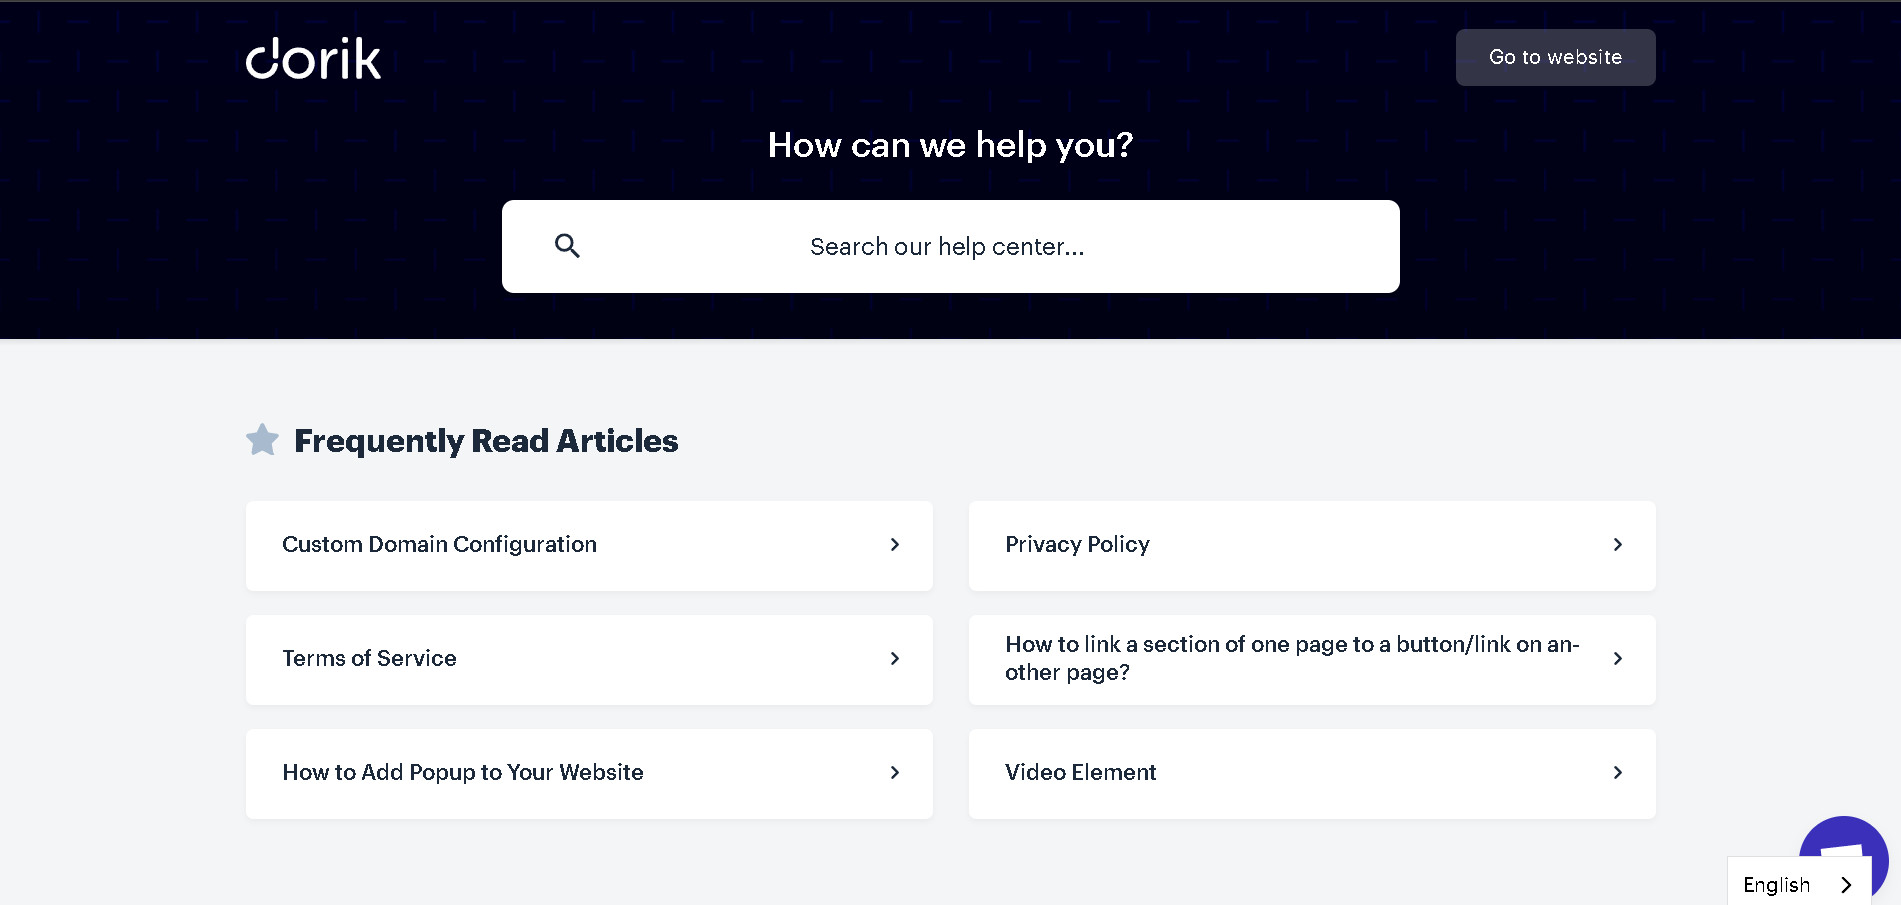
With this invaluable resource at your fingertips, you can confidently explore Dorik's AI full potential and create stunning websites with ease.
Dorik AI, through its YouTube Channel, offers a wealth of small tutorials covering nearly every action you may want to undertake on your webpage.
This supplementary resource provides an even more immediate and accessible way to learn how to use Dorik AI effectively.
Whether you're seeking guidance on specific features or seeking inspiration for your website, these bite-sized tutorials serve as invaluable aids in mastering the platform's capabilities.
Conclusion
In conclusion, Dorik AI, as a user-friendly, easy-to-use website builder designed to simplify the process of creating websites.
Provides comprehensive documentation to assist users. Has a wide range of tools and features each clearly described and accessible.
Last but not least the AI capabilities automating certain tasks save time and effort for users.
If this article has piqued your interest, we recommend checking out our comprehensive overview of Dorik AI. You can also dive into our detailed instructions on how to learn to maximize the benefits of this platform.

