What is Lindo AI used for?
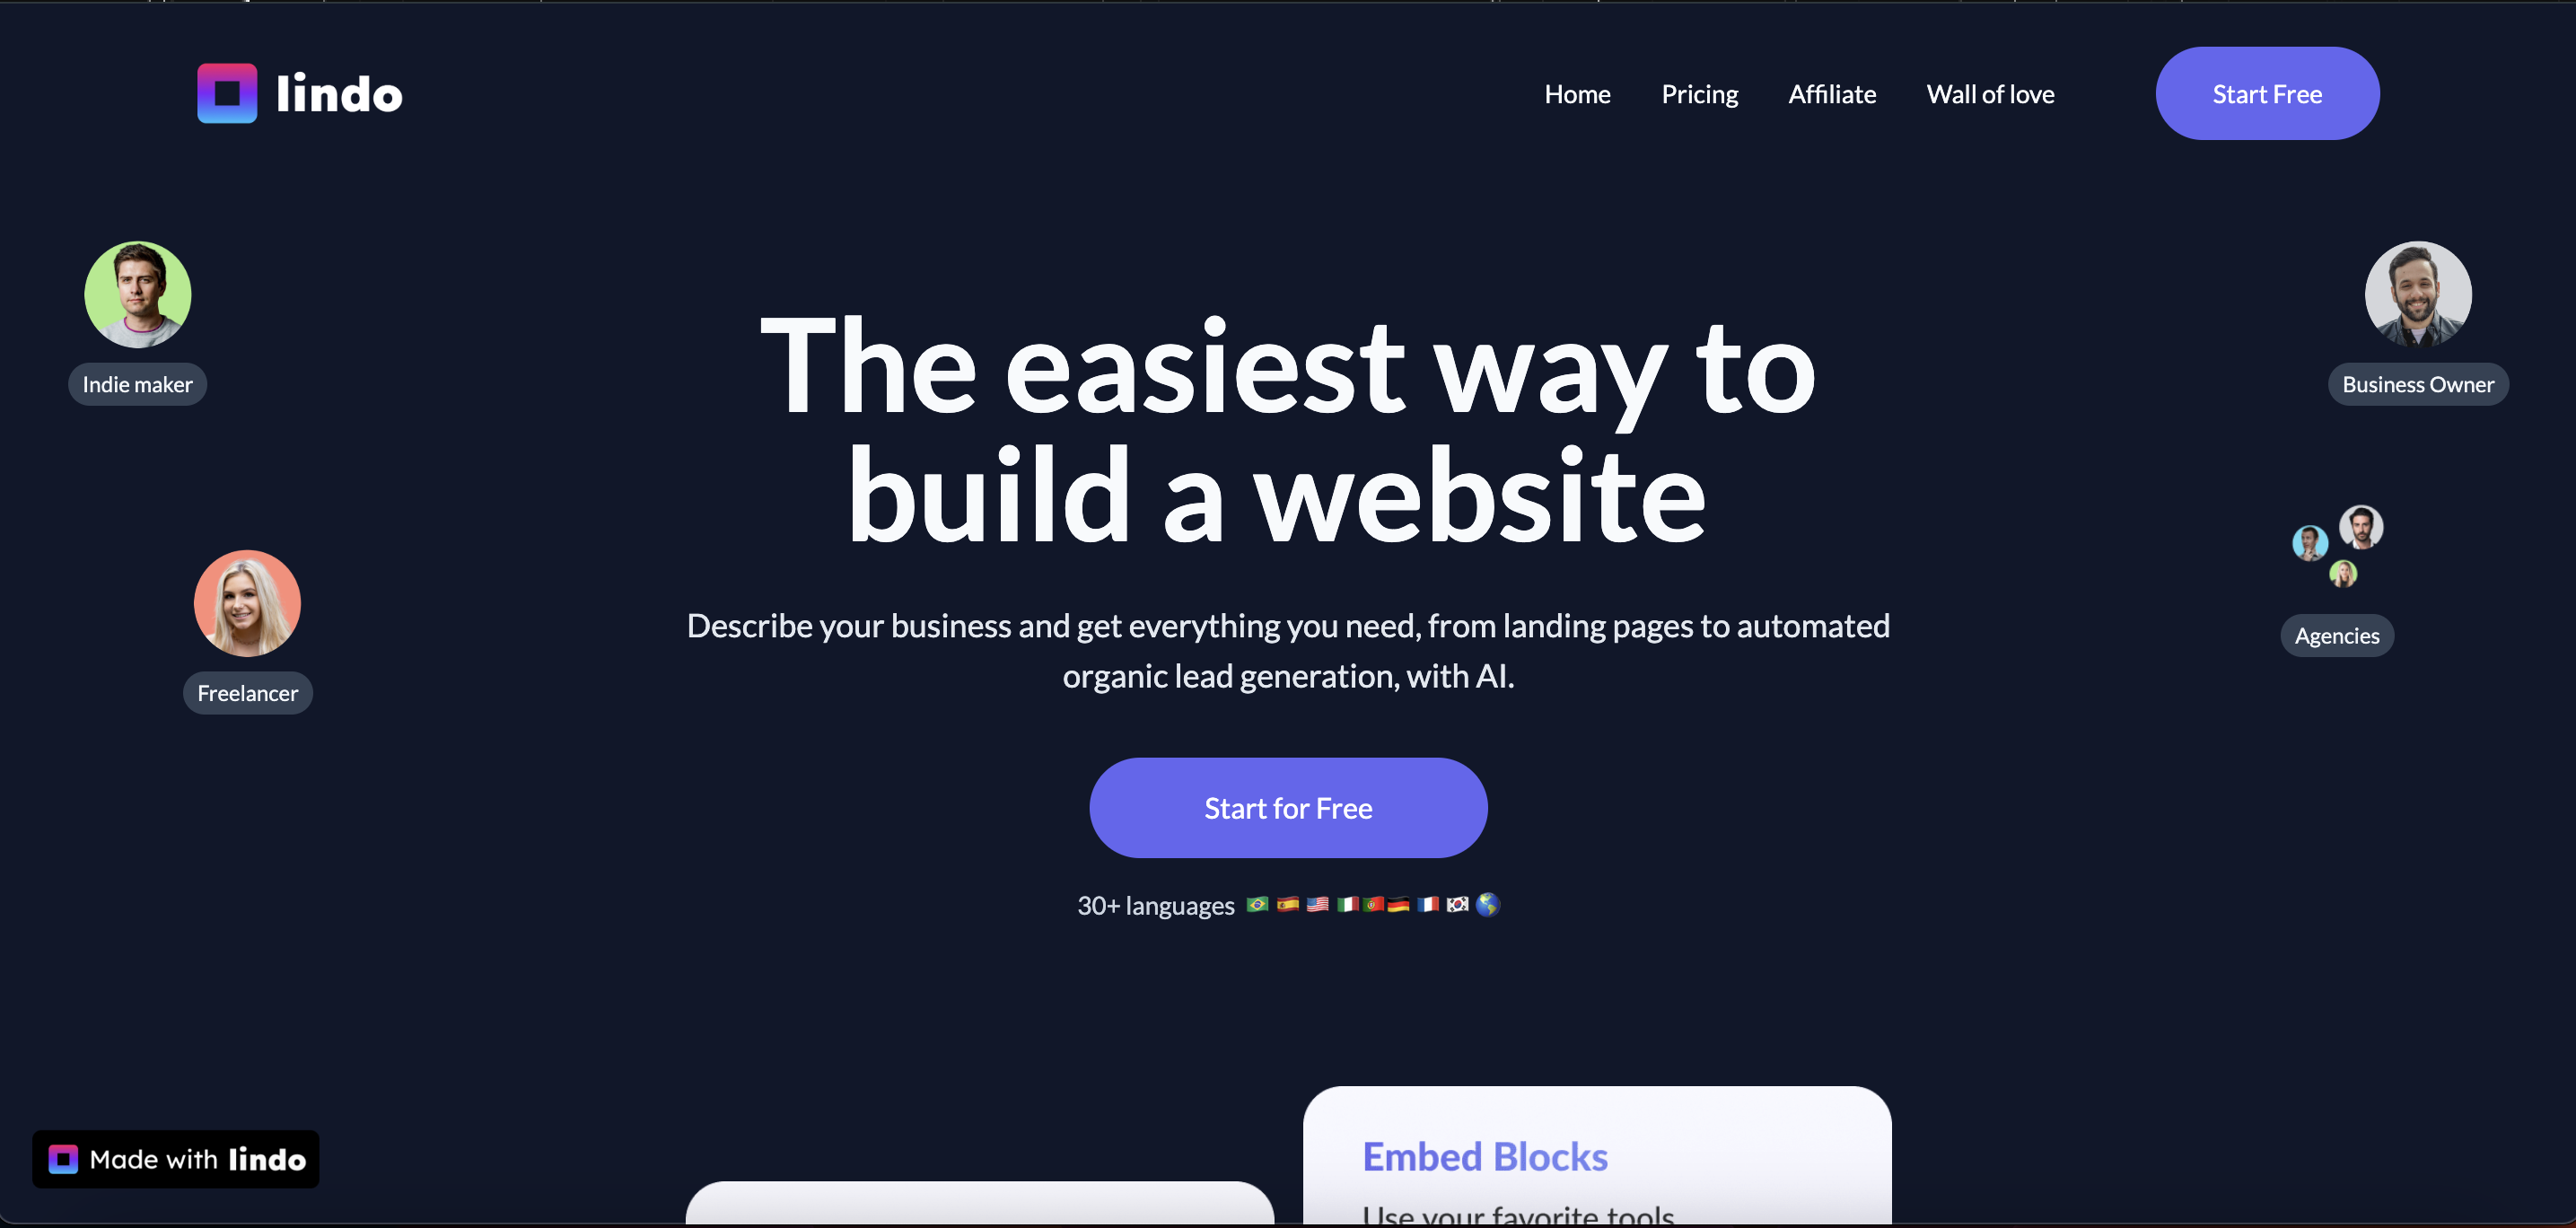
Lindo AI is a website-building platform powered by AI, offering the simplest way to create stunning websites.
Lindo AI boasts a plethora of user-friendly features tailored to simplify website creation like Drag & Drop Editor, Unlimited Clients, and No Coding Required.
By harnessing Lindo AI capabilities, businesses can streamline customer interactions, and automate processes.
The tool simplifies website creation for bloggers and content creators, eliminating the need for technical skills.
If you want to learn more about Lindo AI or read an external overview you should check our other articles:
How do I get started with Lindo AI?
When visiting the Lindo AI official site and attempting to sign up, you can either log in or sign up using your Google account or email address. You'll be prompted to answer specific questions tailored to your needs upon signing up.
These may include inquiries such as "What kind of work do you do?" and "Do you currently have a website?" If you indicate that you do have a website, further details will be requested, including the tool used and the website's URL.
You can access comprehensive help and support through the Lindo AI Help Center. Here, you'll find assistance for any queries you may have.
Additionally, numerous reviews of Lindo AI can be found across the internet, ranging from articles to videos, offering insights and perspectives from various users and experts.
Building your first Lindo AI project
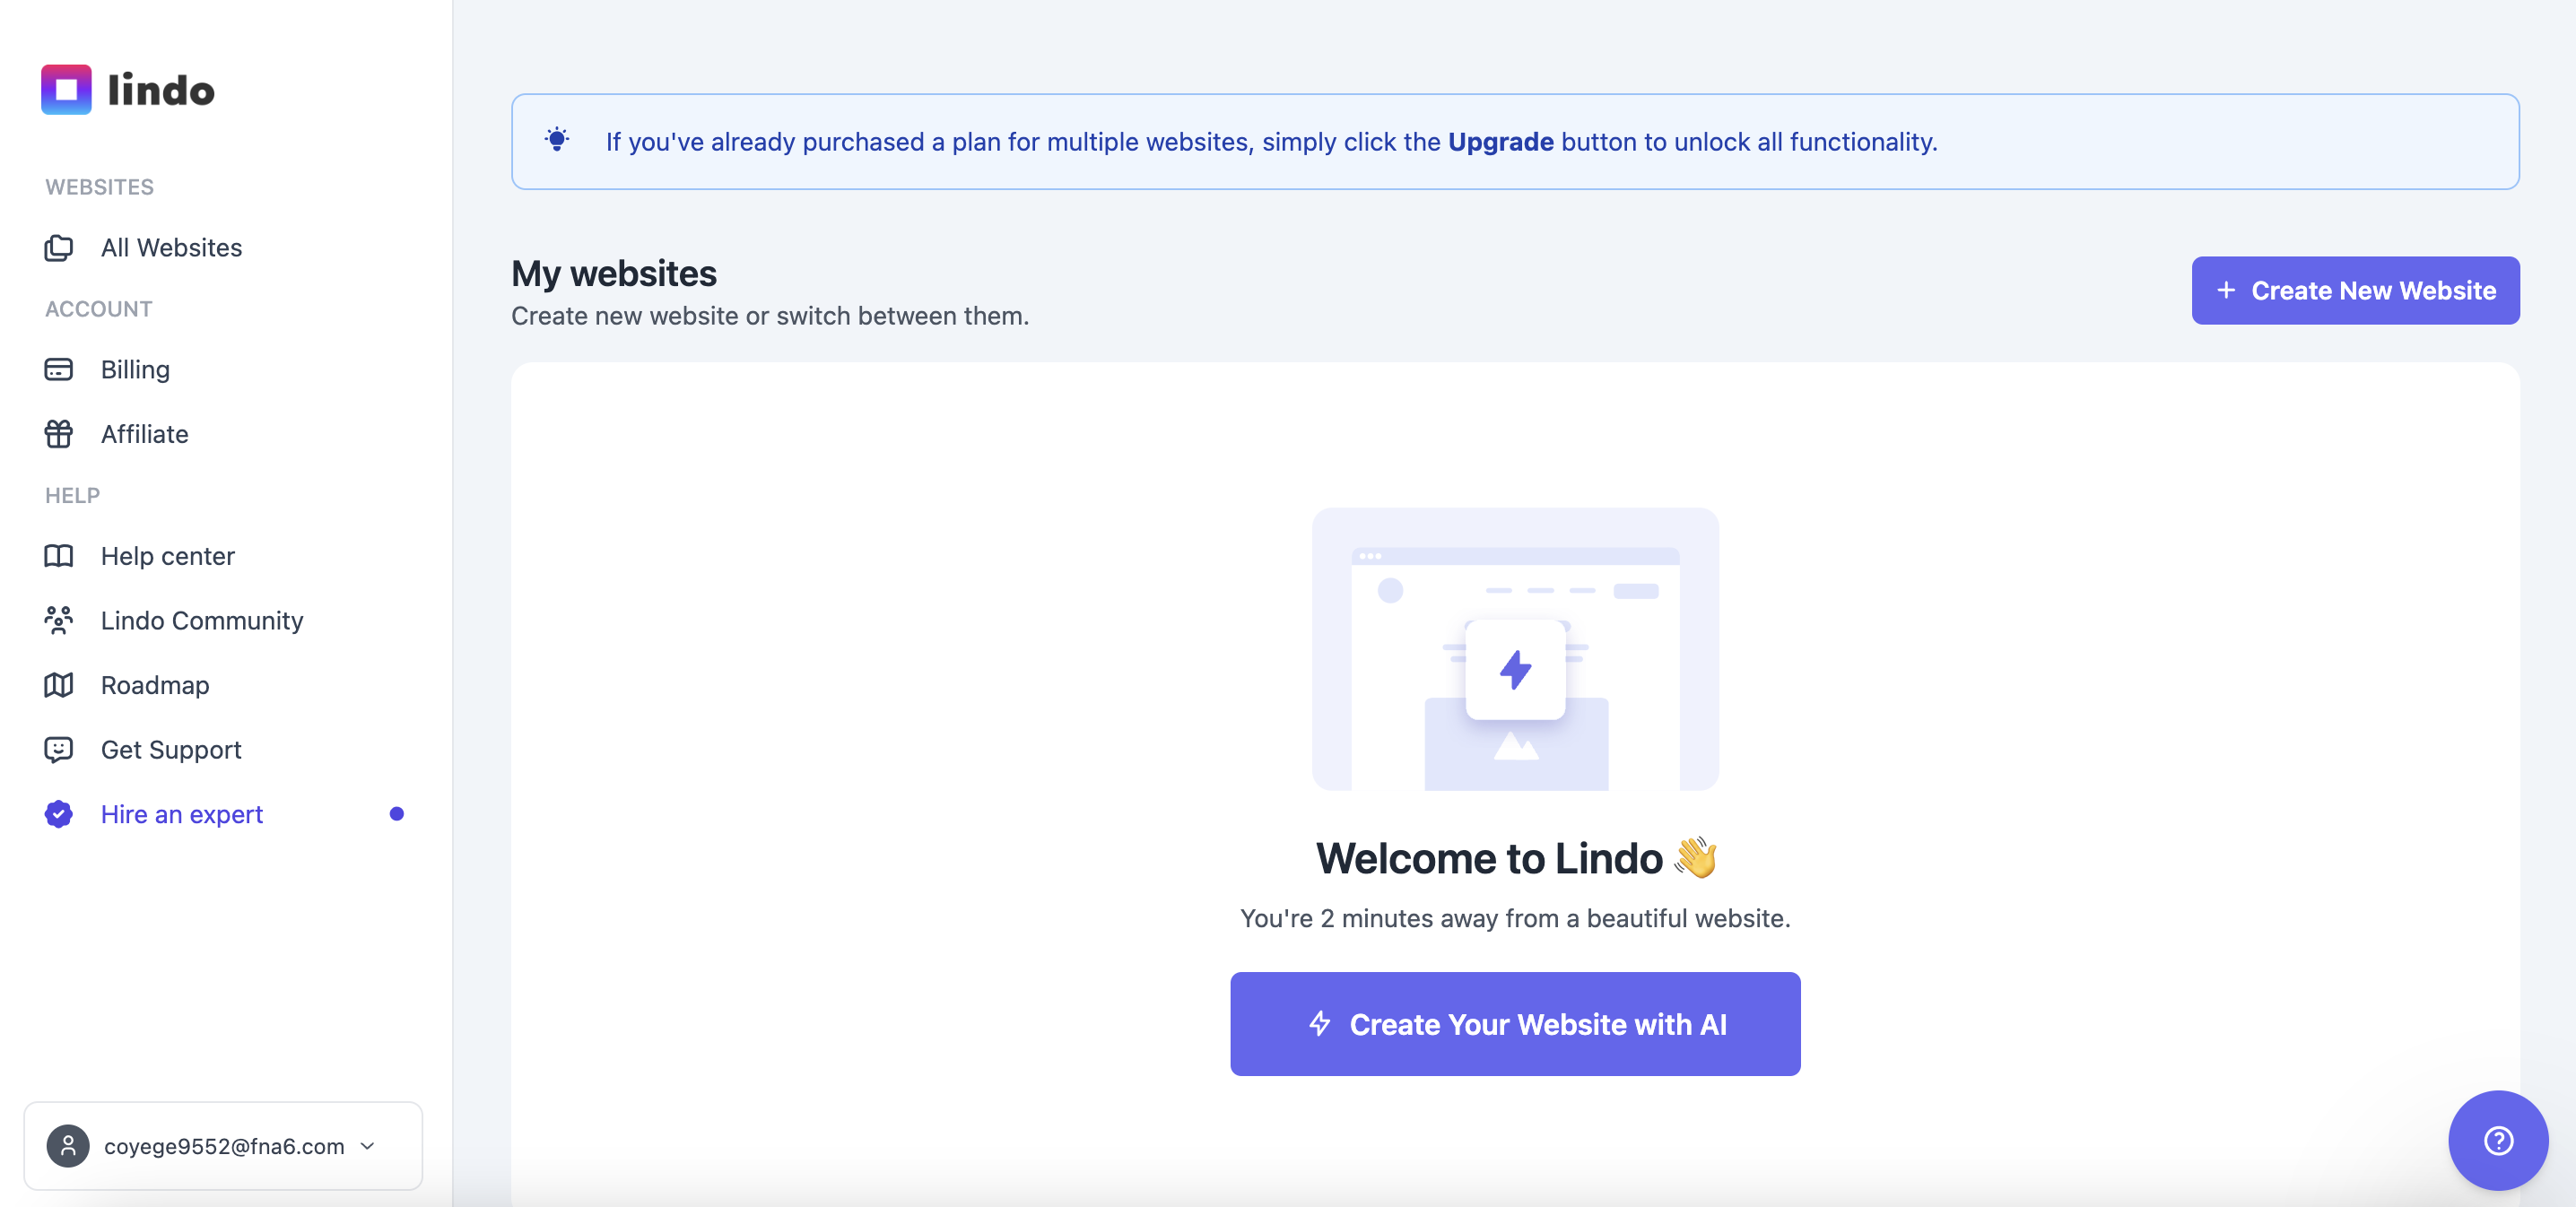
After signing up, you'll be directed to the Websites Dashboard. You're presented with two options: you can either begin by selecting "Create New Website" or opt for "Create Your Website with AI".
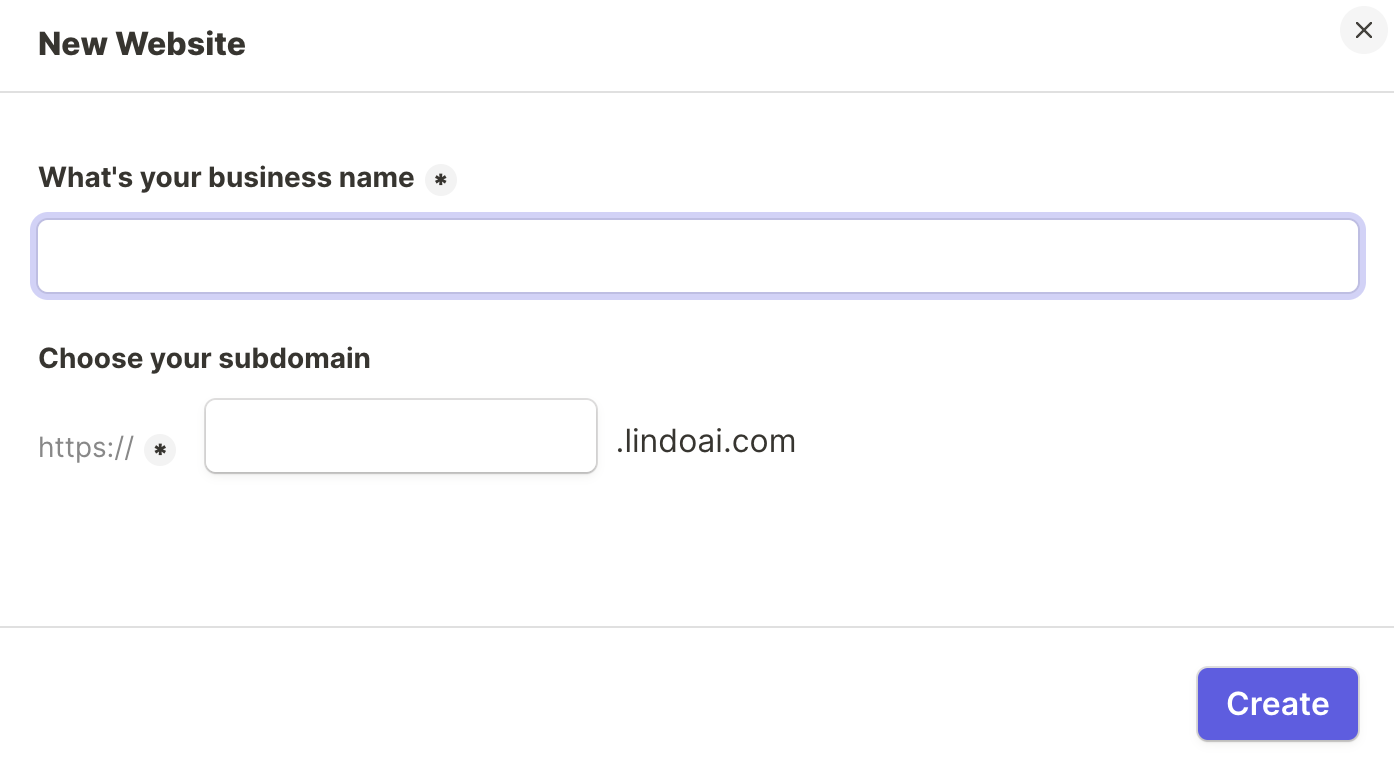
In either choice, you'll need to provide your business name and select a subdomain for your website.
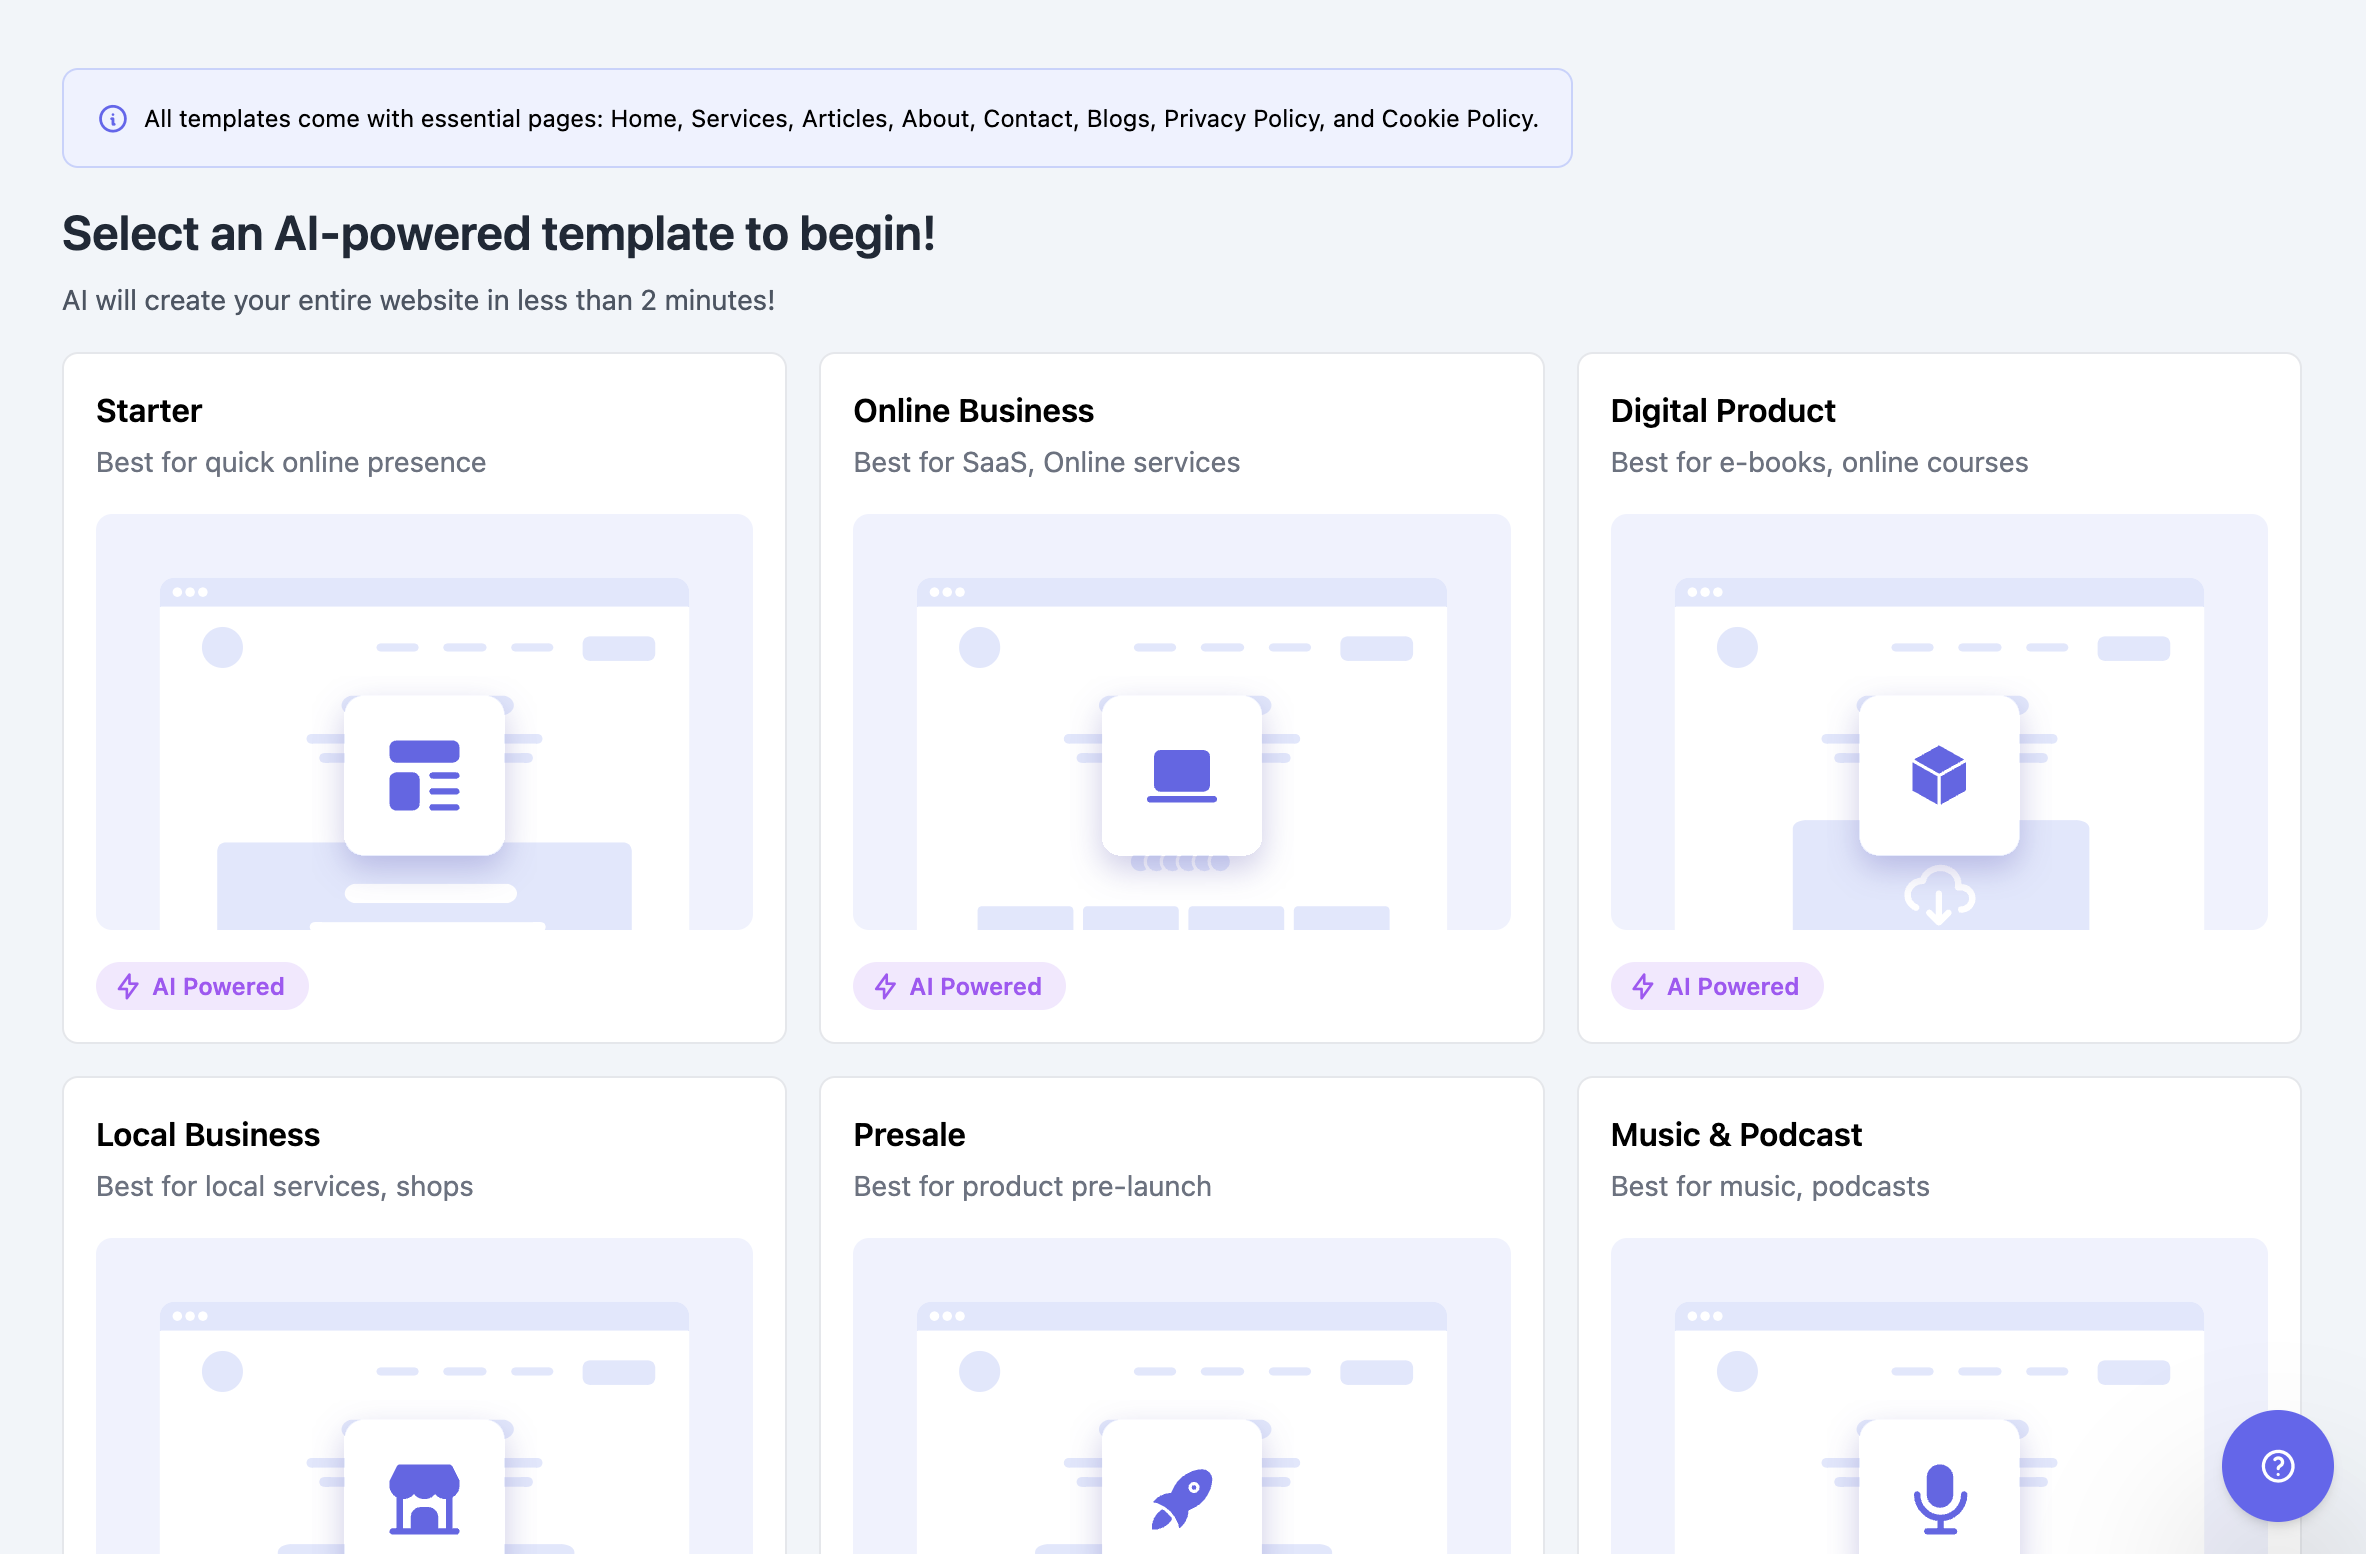
If you opt for "Create Your Website" and provide the required details, you'll be all set to begin crafting your first page. Choose from a plethora of AI-powered templates categorized to suit your needs, or opt to begin from scratch.
Alternatively, request a custom template by providing a brief title, description, and desired page alignments. Once you have done all steps your website is ready to edit and it’s also published.
If you choose "Create your Website with AI" the initialization process remains the same.
To add a new page to your website, you'll need to navigate back to the Dashboard. From there, locate the "Pages" section and click on "Add Pages," situated at the top right corner of the page.
AI-powered Templates
When selecting a particular AI-powered template, you'll be prompted to provide specific details. For instance, if you're creating an eCommerce page, you'll need to input the Product/Service name and description.
Additionally, you can specify the language in which you want your site to be created. While your selected AI-powered template is being applied, you have the option to watch a brief tour video of Lindo AI, providing you with insights into its features and functionalities.
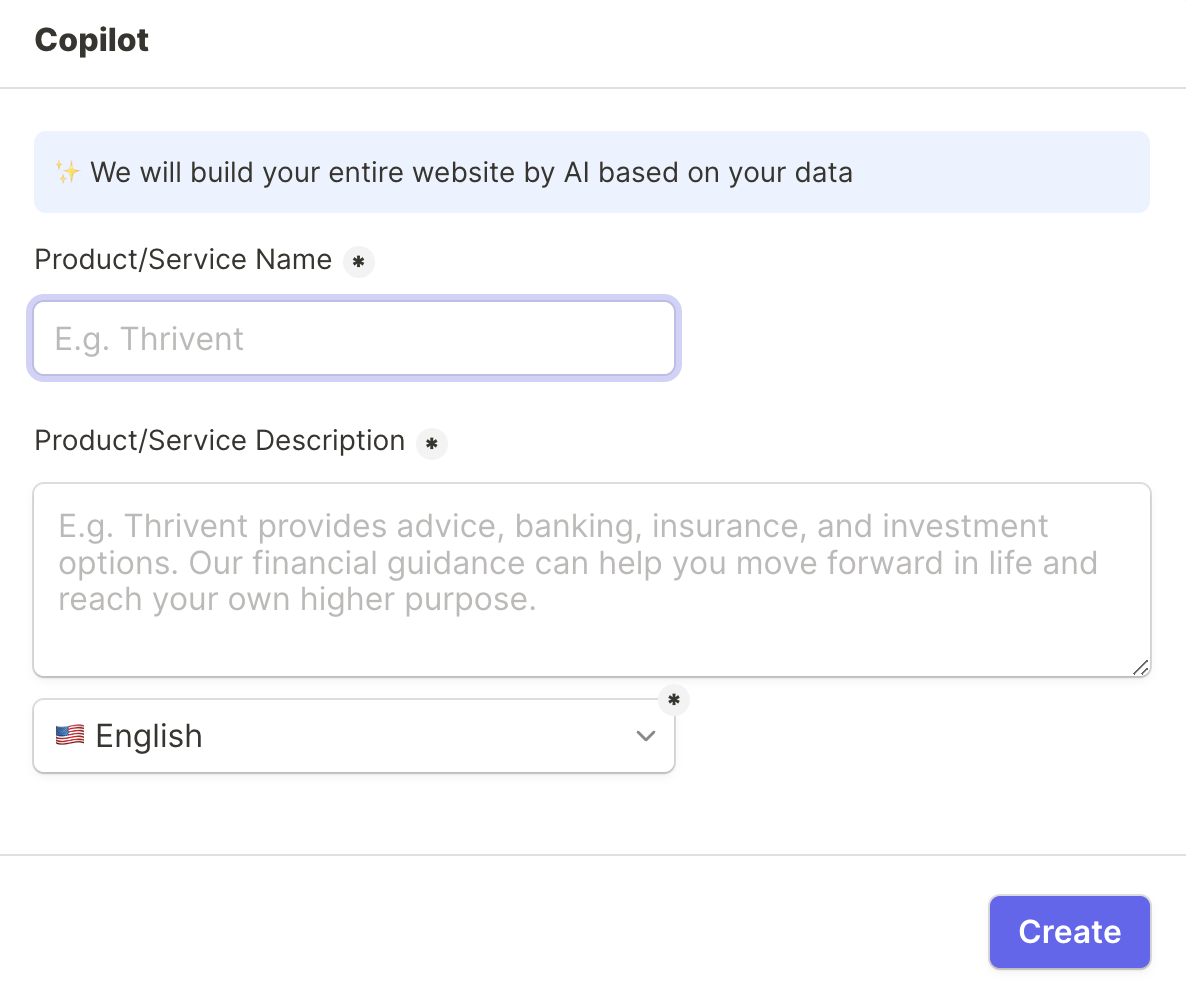
The AI-powered template doesn't simply apply to one page. It encompasses a variety of essential components tailored to your chosen theme.
For instance, in an online store template, you can expect to receive keyword blogs as blog posts content.
Additionally, it includes essential pages such as Home page Contact, Privacy Policy, Services, Articles, About, and Cookie Policy. When using AI-powered templates for your website, you cannot modify the design of the website itself.
Start from Scratch
When you initiate the creation of a page from scratch, a fresh blank canvas greets you. Positioned prominently in the center of the screen, a notification prompts your attention, stating that there are currently no items present.
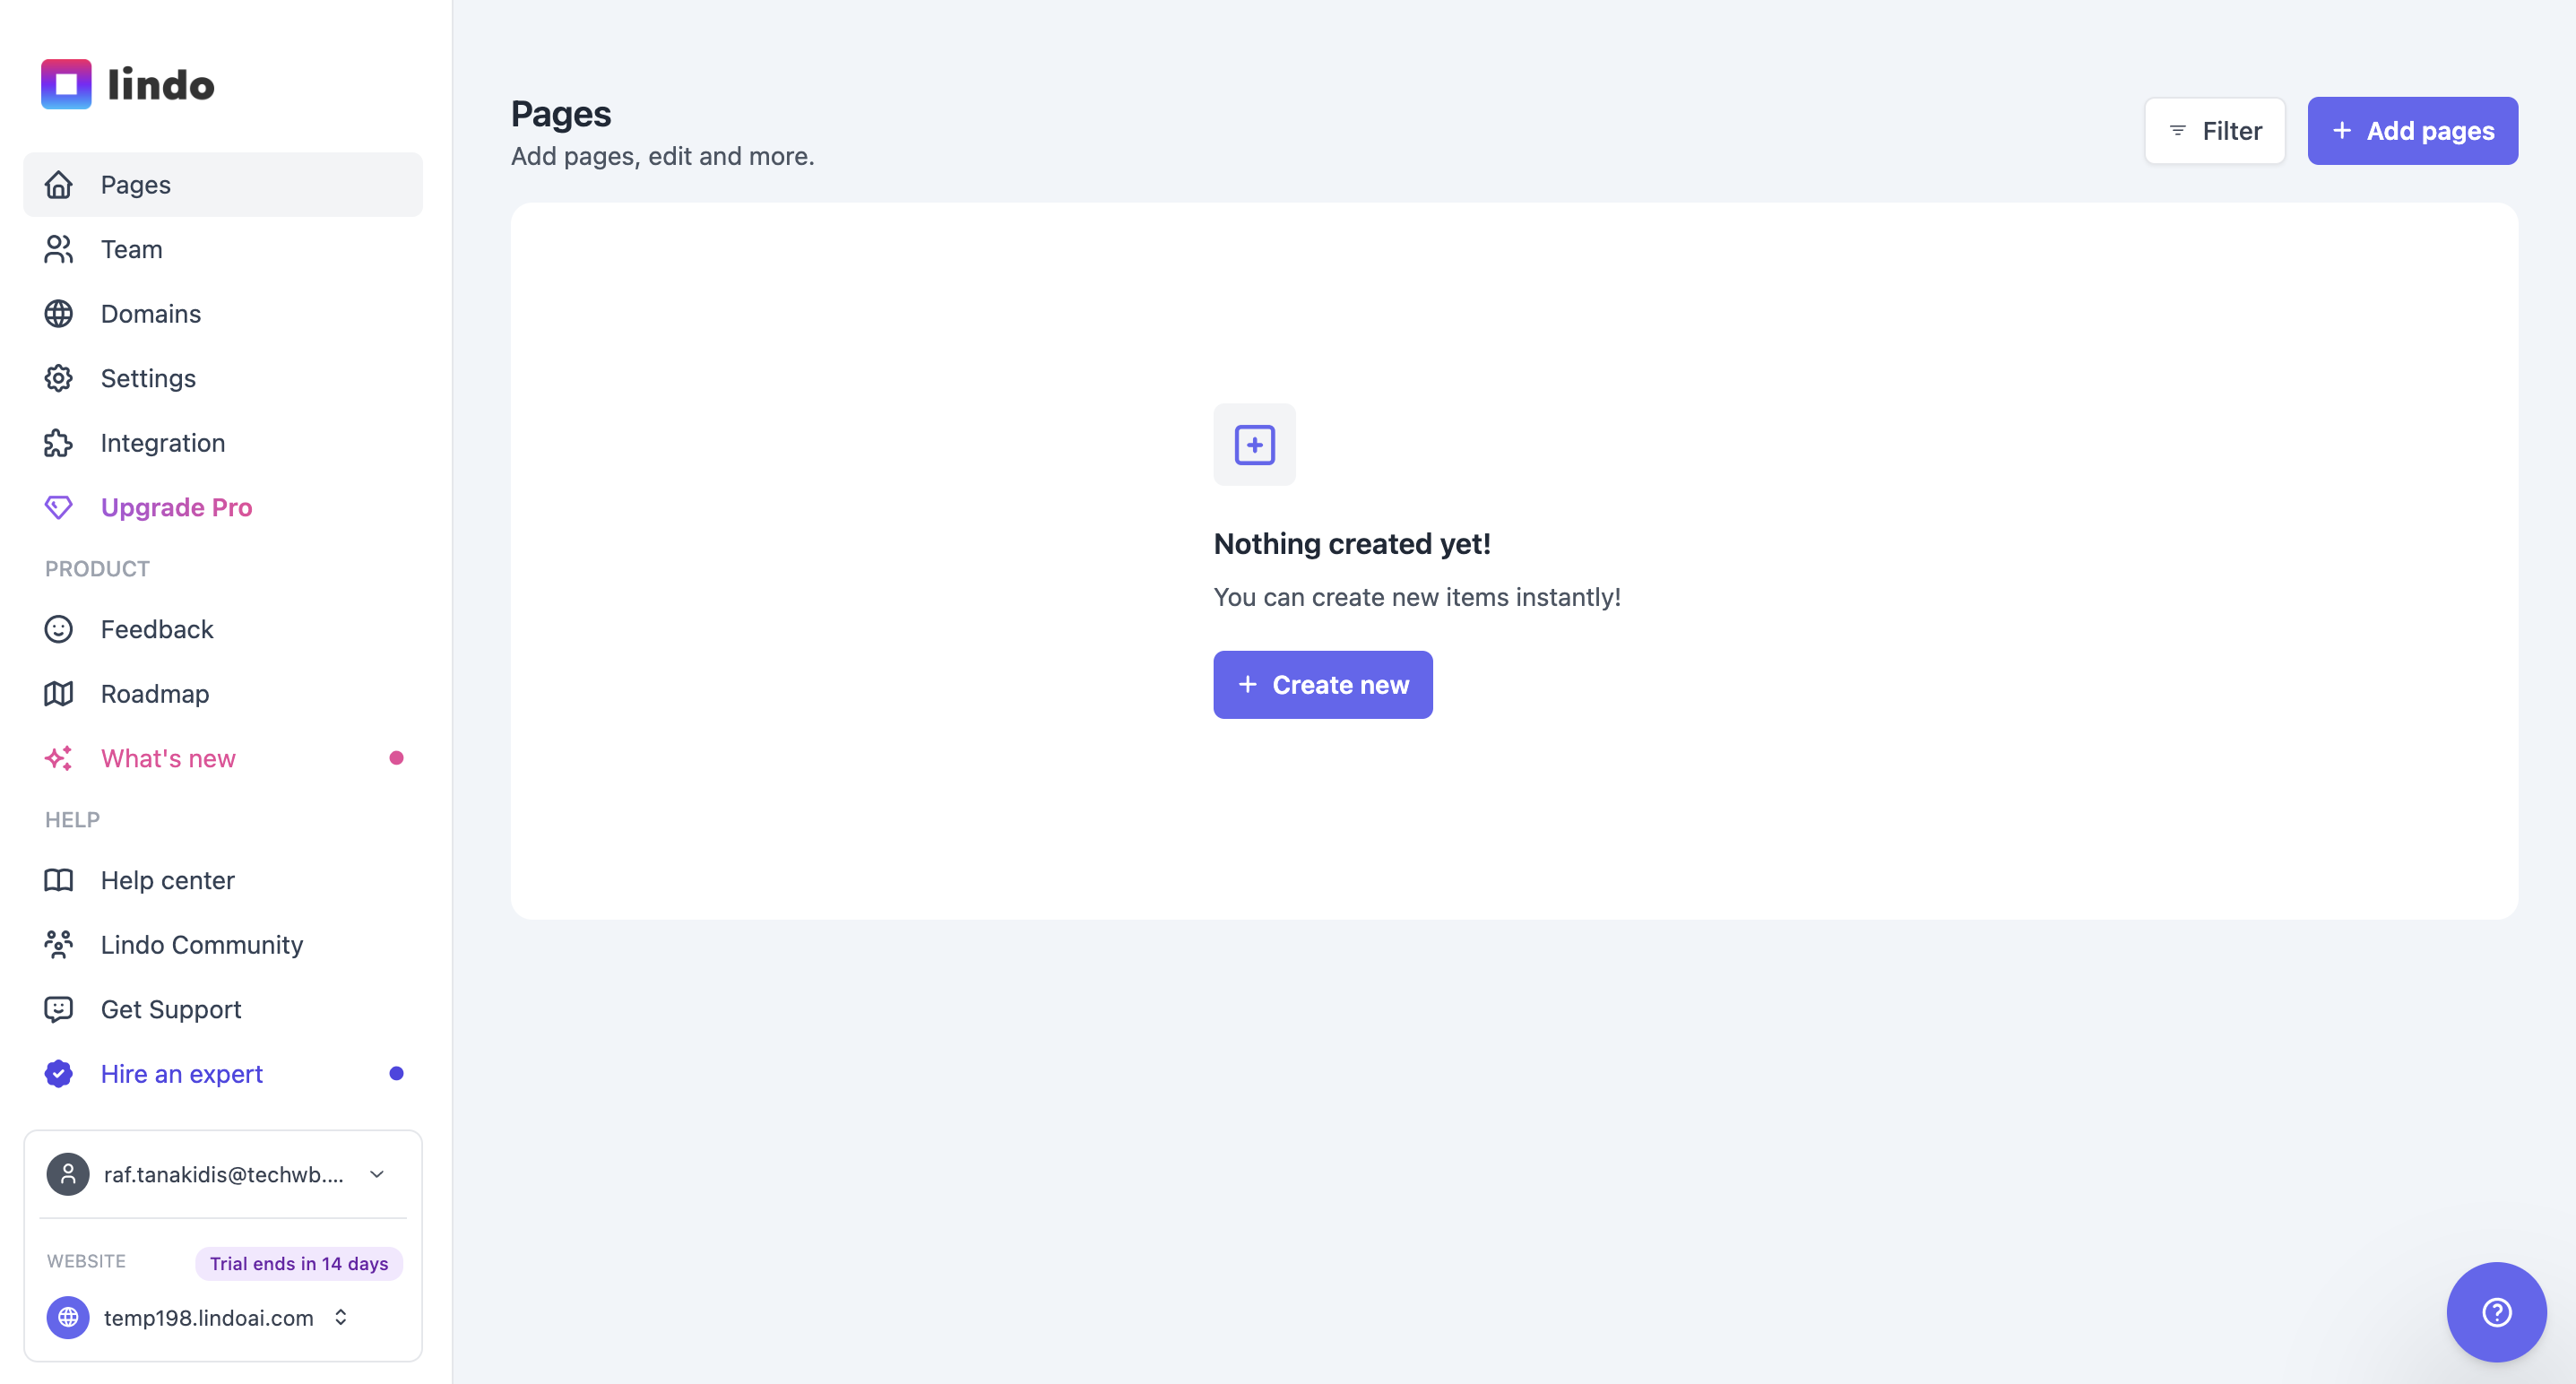
It encourages action by inviting you to populate the page with content through the simple act of clicking "Create New".
You'll discover a selection of AI-powered templates conveniently organized into categories when you click.
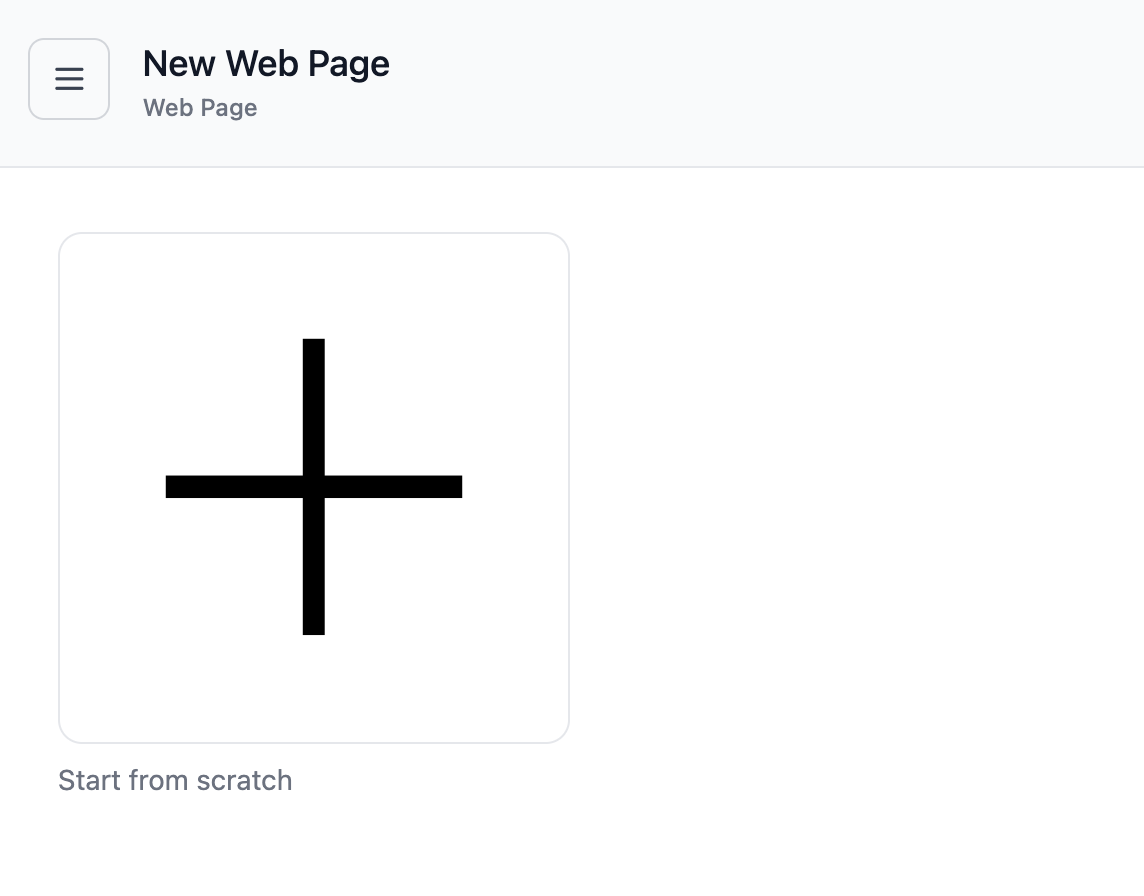
Additionally, you have the option to start entirely from scratch.
When you choose the "from scratch" option, you'll be directed to a screen where you can start building your website. Clicking on this option triggers a pop-up window where you can explore all the blocks available for adding to your site.
These blocks span various categories such as Basic Blocks (including simple CTAs, headings, and images), Blogs, CTA, Embeds, Footers, and Headers.
Also, as you hover your mouse over each blocks, a preview appears on the right side of the screen.
This allows you to see how each block will look on your website before adding it.
Edit Page
If you click edit on a page you will be transferred to the editor page. You will find the navigation bar at the top of the screen, where you check.
- Design
- Settings
- Analytics
- Help
- Launch your website
- Preview

In the top right corner, you'll find options to save your work and publish your changes. Remember to save your project each time before exiting the editor mode.
Blocks
Above and below each block, you'll notice a plus symbol. Clicking this symbol allows you to add a new block precisely in the spot you desire on your webpage.
You can easily rearrange blocks on the page by clicking on the arrow icons. Depending on the direction you want the block to move. You have several options to manage blocks on the page.
You can copy, duplicate, hide, or delete a block according to your preferences. When your mouse is inside a block, you'll notice a number displayed on the left side.
This number corresponds to the block's position.

Layout
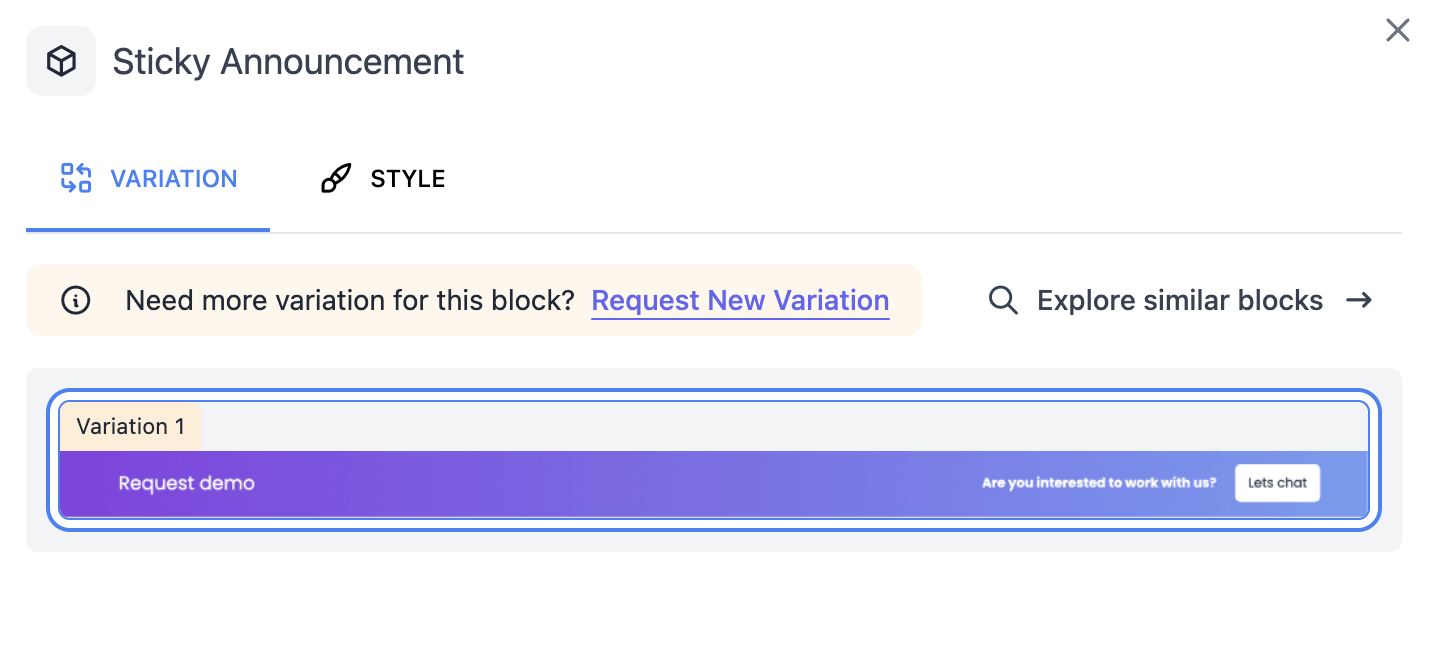
Clicking "Change Layout" on a block triggers a pop-up window where you can view the block's name and make adjustments.
This includes modifying blocks such as the background image or color, as well as adjusting padding and border settings.
Edit Item
Text
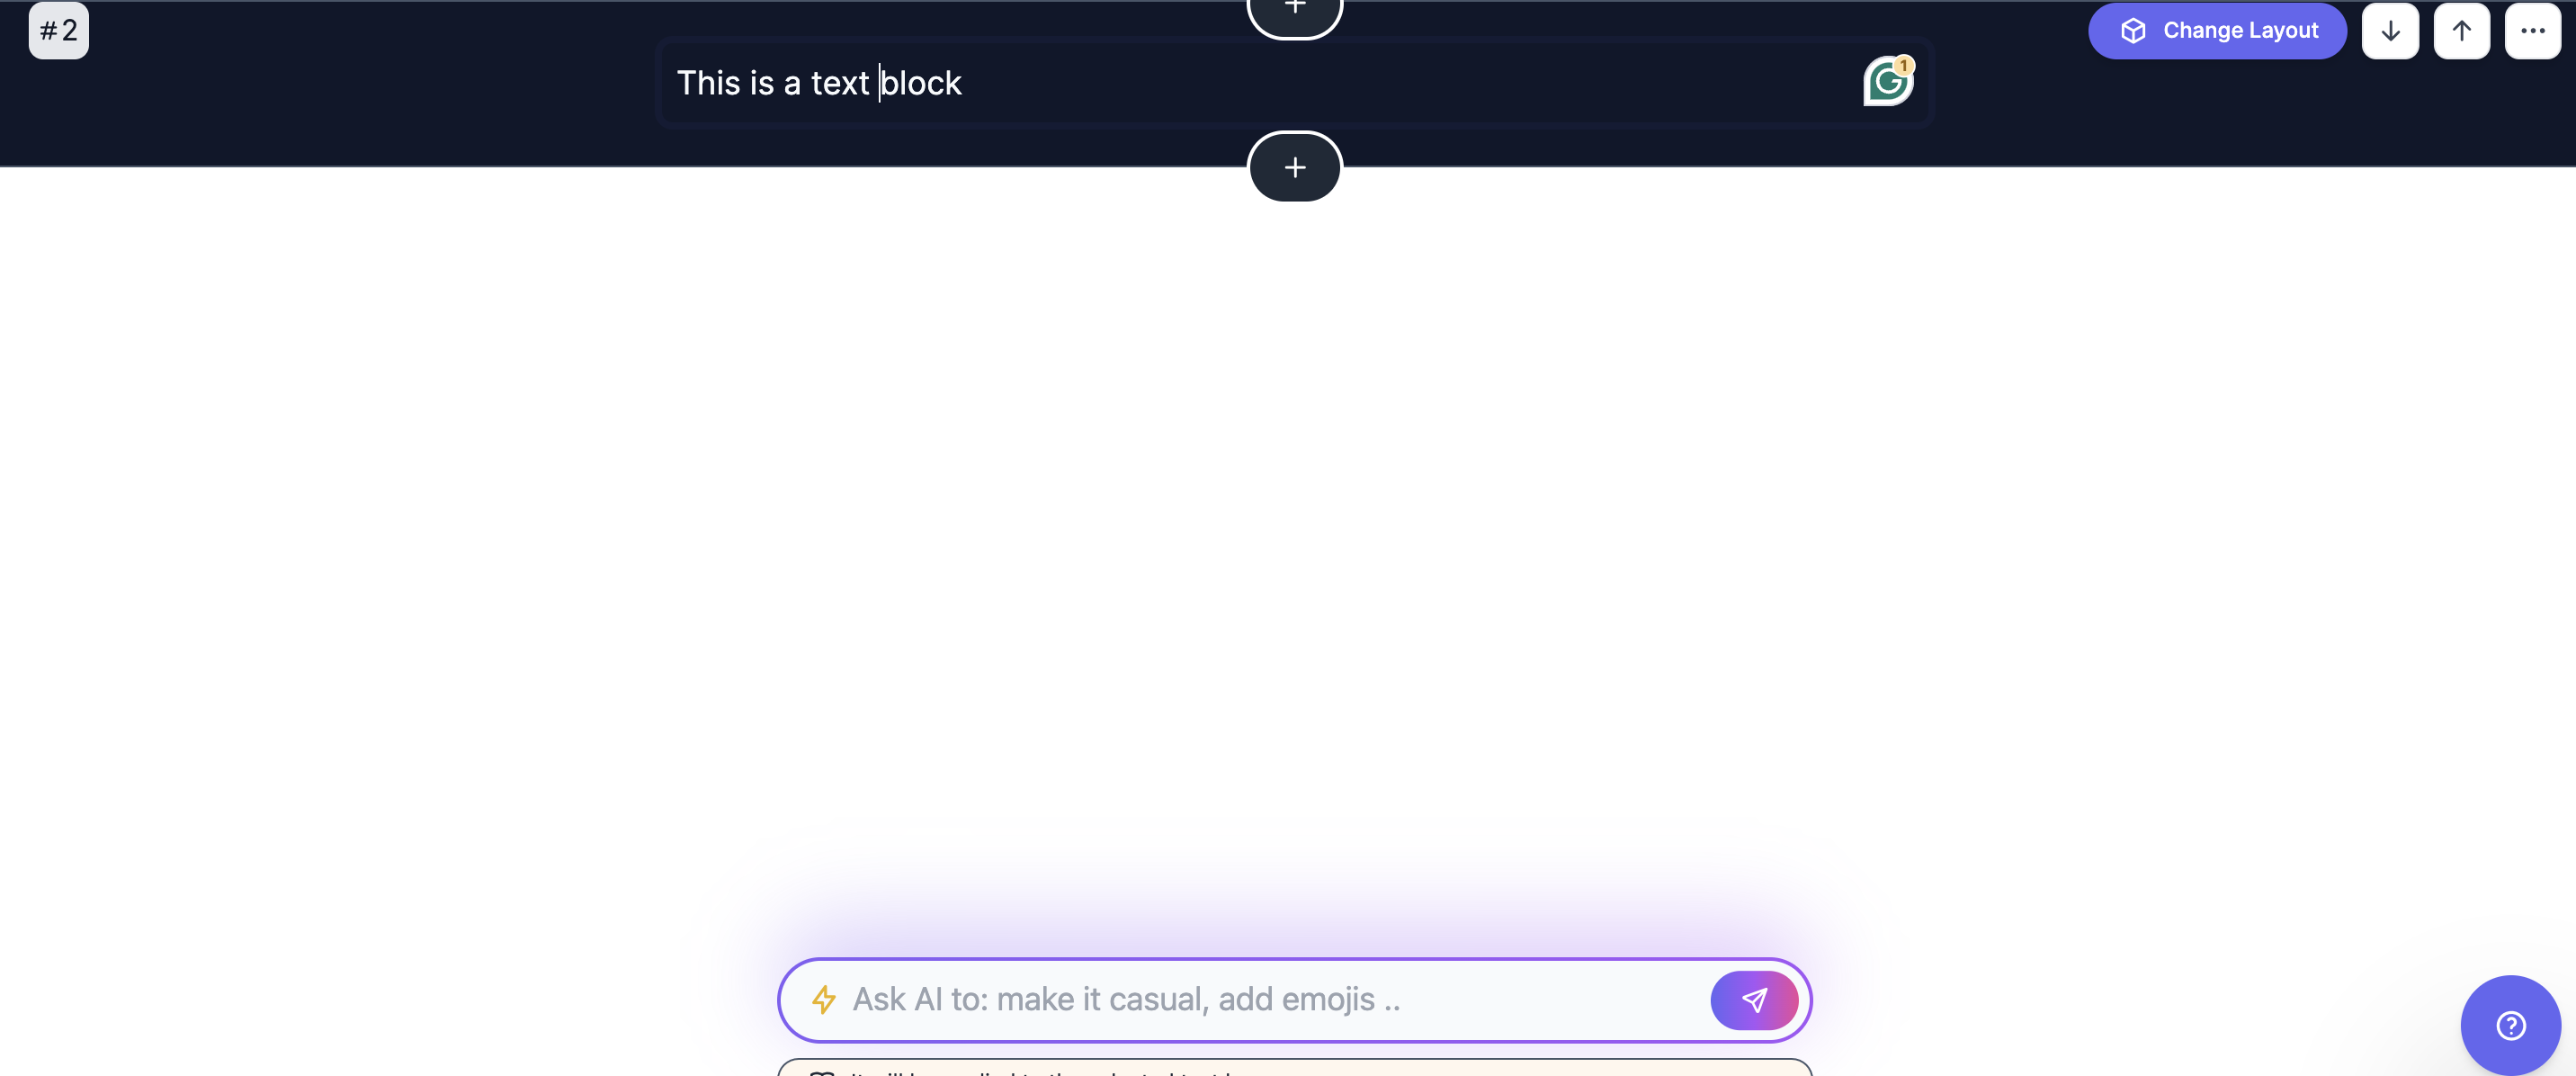
When you click on a text item on your website, an "Ask AI" prompt will appear in the bottom of your screen.
You can utilize this feature to expand or shorten the text, adjust the tone to be more casual or formal, correct grammar, regenerate it entirely, or manually type in your desired changes.
If you select the entire text, you can edit it by applying various formatting options such as bold, italics, changing colors, and adjusting headings.
Button
When you click on a button, a menu will appear where you can customize the button's text, appearance, and actions.
For actions, you have the flexibility to link to a URL, another page, an app, or an anchor within the same page. If you select an app, you can choose from options like:
- Tally for form creation
- Lemon Squeezy for selling digital products and facilitating SaaS payments
- Gumroad for adding products
- Calendly for scheduling automation
Image
Clicking on an image triggers a menu to appear, offering options to edit the image via Adobe Express, check and upload assets, add a URL link to the image, or search for images on specific search engines.
Logo
Clicking on the logo will open a new tab, directing you to the Settings section of the website.
Lindo AI useful tips and tricks
Lindo's AI help center is impressively well-organized, catering to the needs of novice users. It ensures that even those new to the platform can easily find the information they seek.
While Lindo's AI help section offers comprehensive guidance, you can also explore numerous tutorials and articles available on the internet for additional resources.

Conclusion
Lindo AI offers numerous benefits, with one of the most prominent being its coding-free interface, enabling swift website creation through AI technology.
Its user-friendly drag-and-drop editor simplifies the process, making it accessible to users of all skill levels.
Moreover, the lifetime access included in the AppSumo deal ensures that users receive all future updates without any extra charges, enhancing the value proposition significantly.
To delve deeper into Lindo AI, exploring our additional articles is highly recommended.
If Lindo AI has already piqued your interest, take the next step by joining their Website and creating your first account.
Once registered, you can begin crafting your inaugural website, exploring the platform's functionalities and unleashing your creativity.

