Introduction
Make is a revolutionary visual platform that empowers users to design, build, and automate a diverse range of tasks and systems, all without the need for coding skills.
Whether it's crafting simple workflows or developing intricate applications, Make offers a comprehensive suite of standard advantages and unique features.
With essential functionalities and exclusive offerings, Make supports over 1000 apps and provides a vast array of templates to streamline your projects. Additionally, Make facilitates collaborative teamwork, enabling users to seamlessly work together towards shared goals.
If you want to learn more about Make or read an external overview you should check our other articles about Make:
Getting Started with Make
You can log/sign in with your Google, Facebook, or Github account or by using your email.
After that, a window will pop up to set up your account. You'll need to answer some questions, such as:
- Which of the following best describes your role?
- What do you want to automate?
- How would you describe your experience with automating workflows?
- What size is your organization?” and “How did you hear about Make?
These questions will help tailor your account setup process to your needs and expertise.
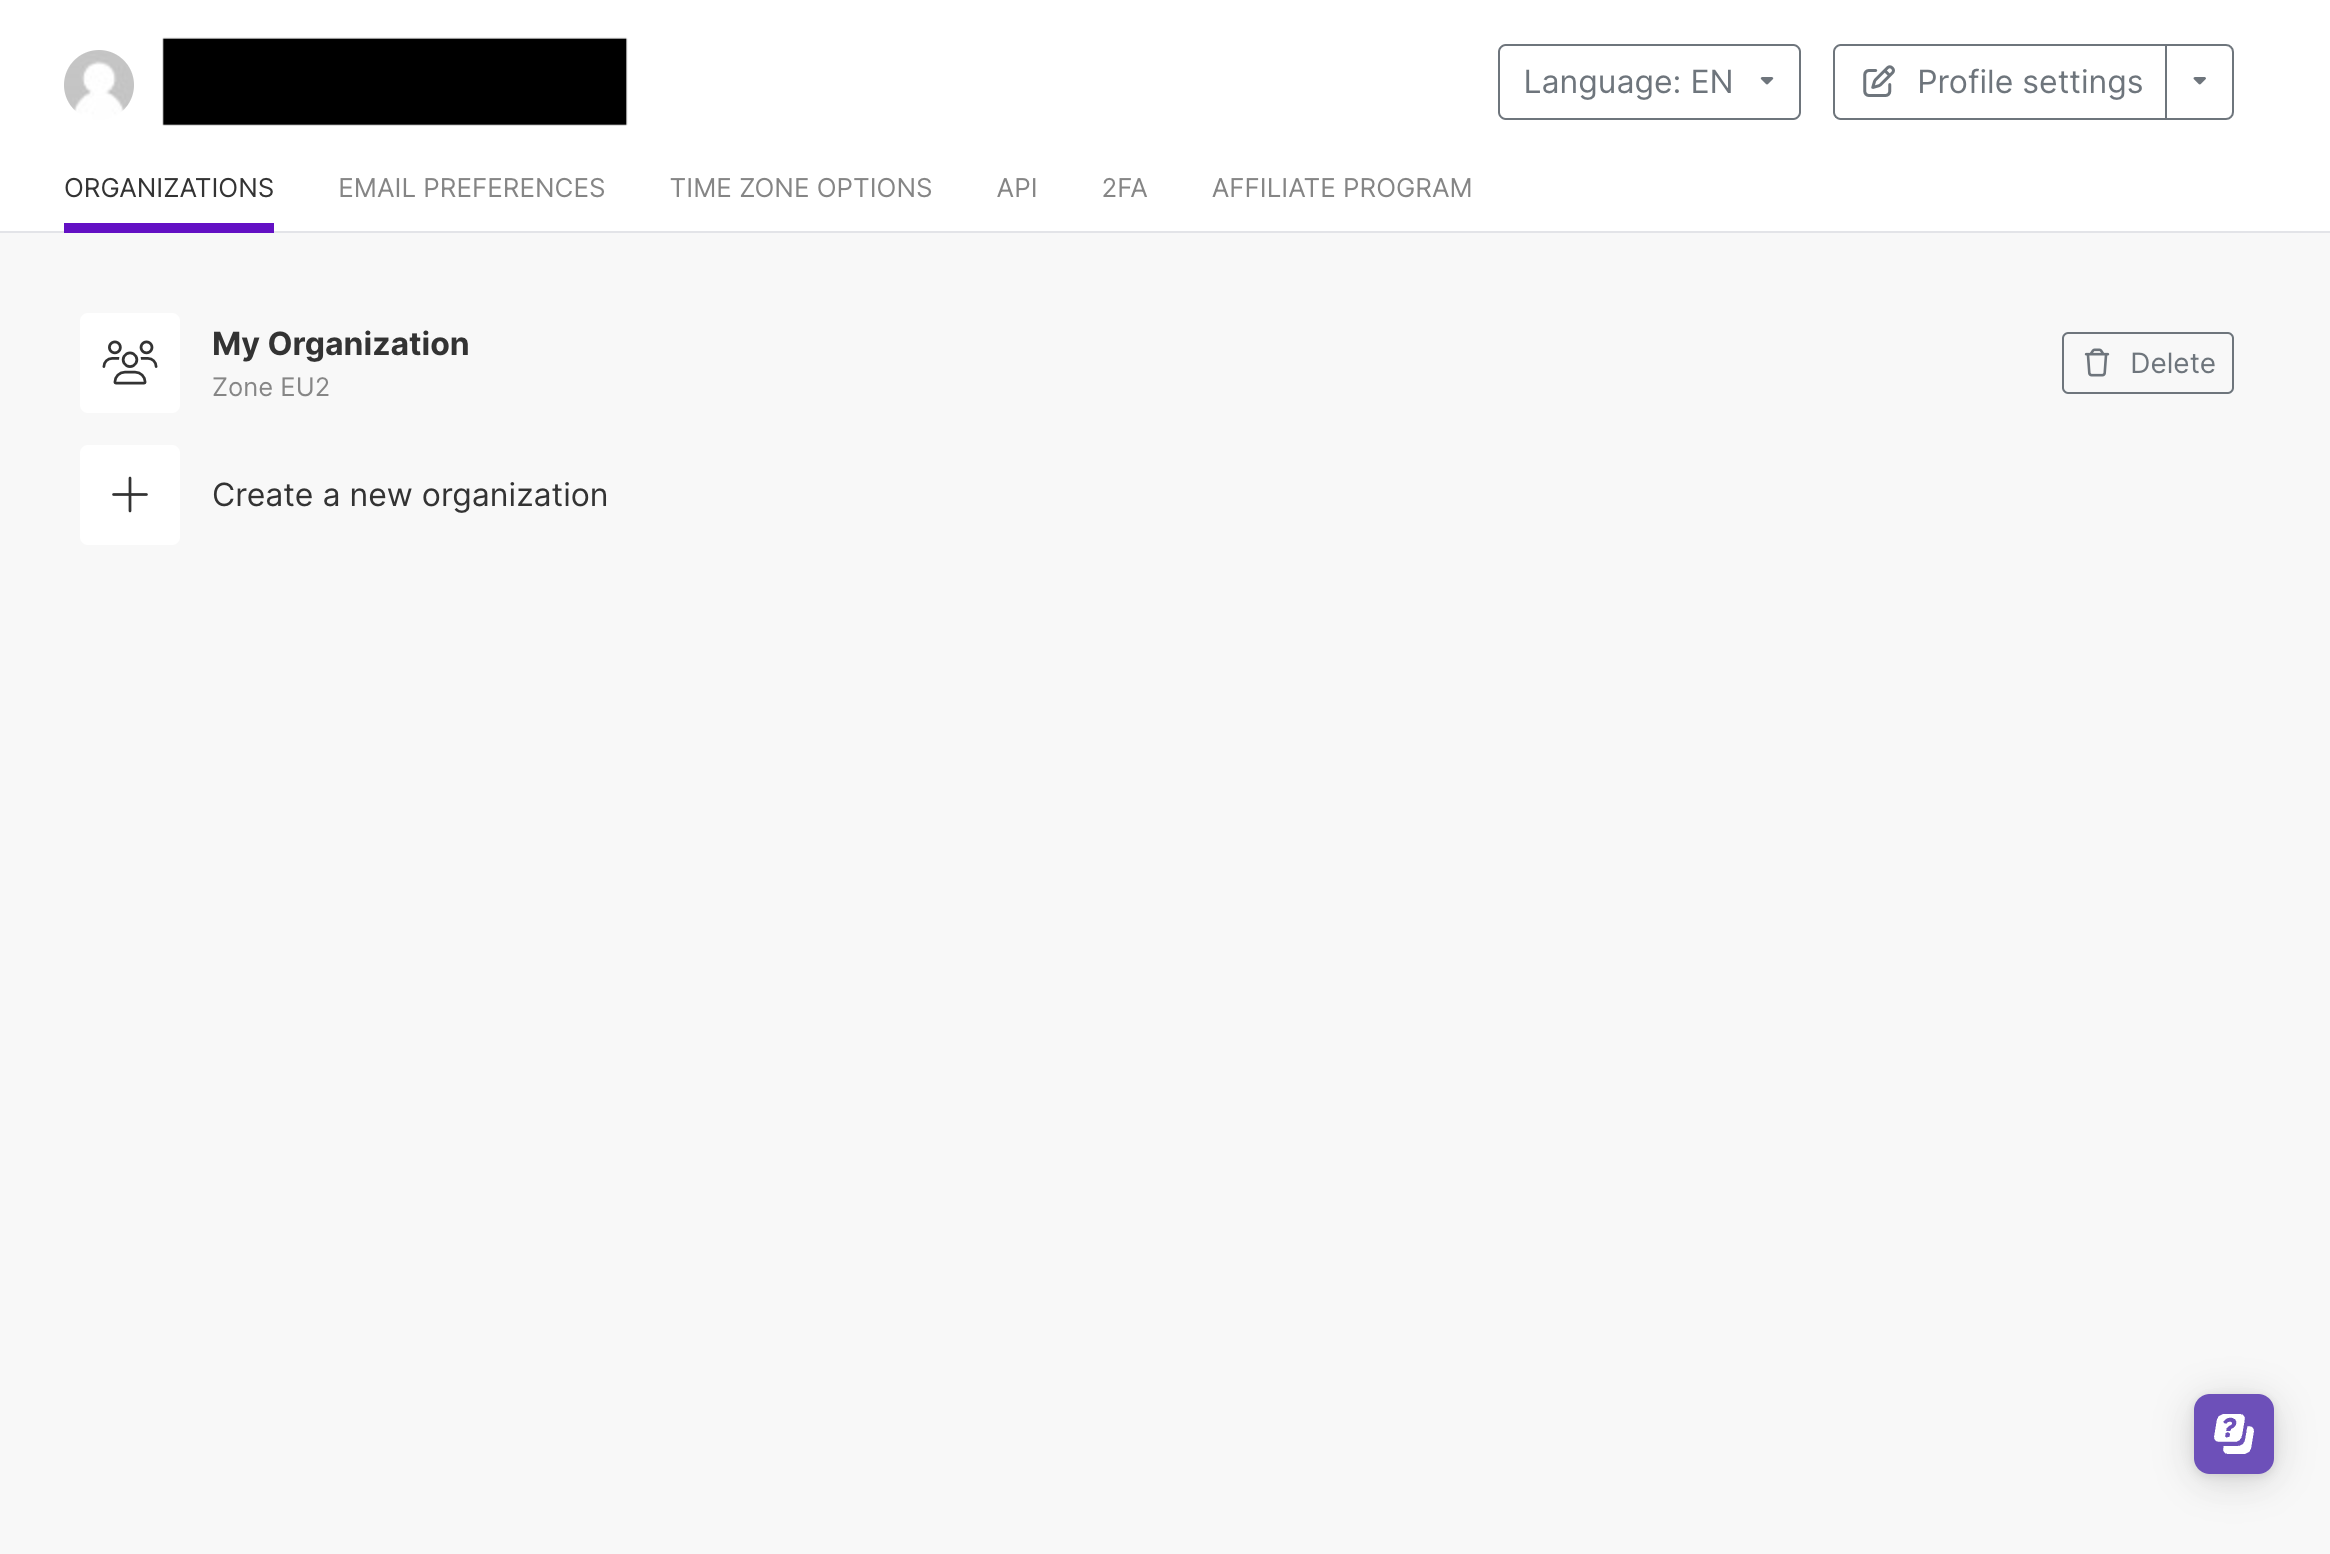
After completing sign up you will transfer to your organization page as you can see below.
Building Your First Project with Make
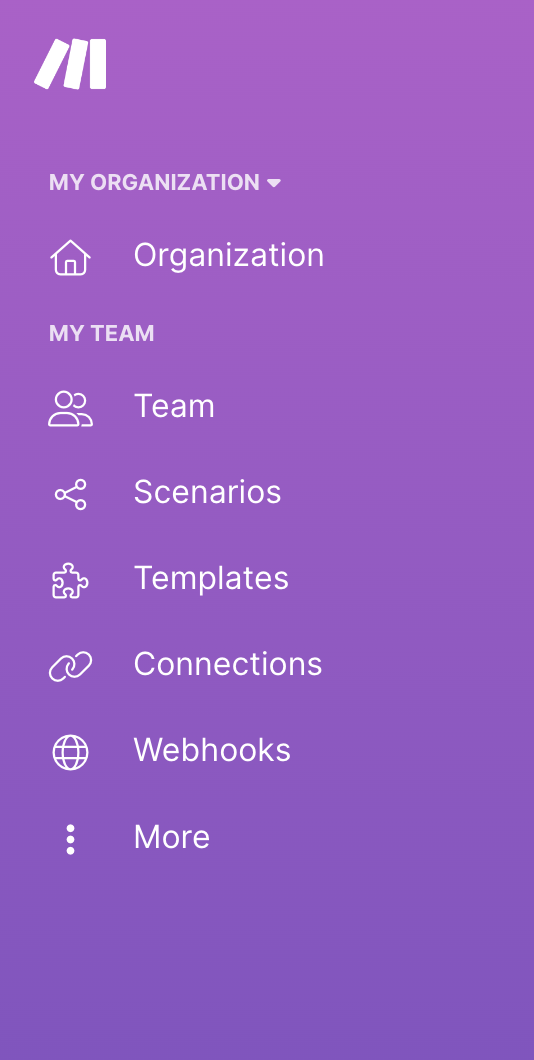
On the left side of the screen, you'll discover the navigation bar, neatly categorized to provide a seamless browsing experience. Here, you'll find a plethora of options tailored to suit your needs:
Organization
In this section, you will find much-categorized information about your Organization:
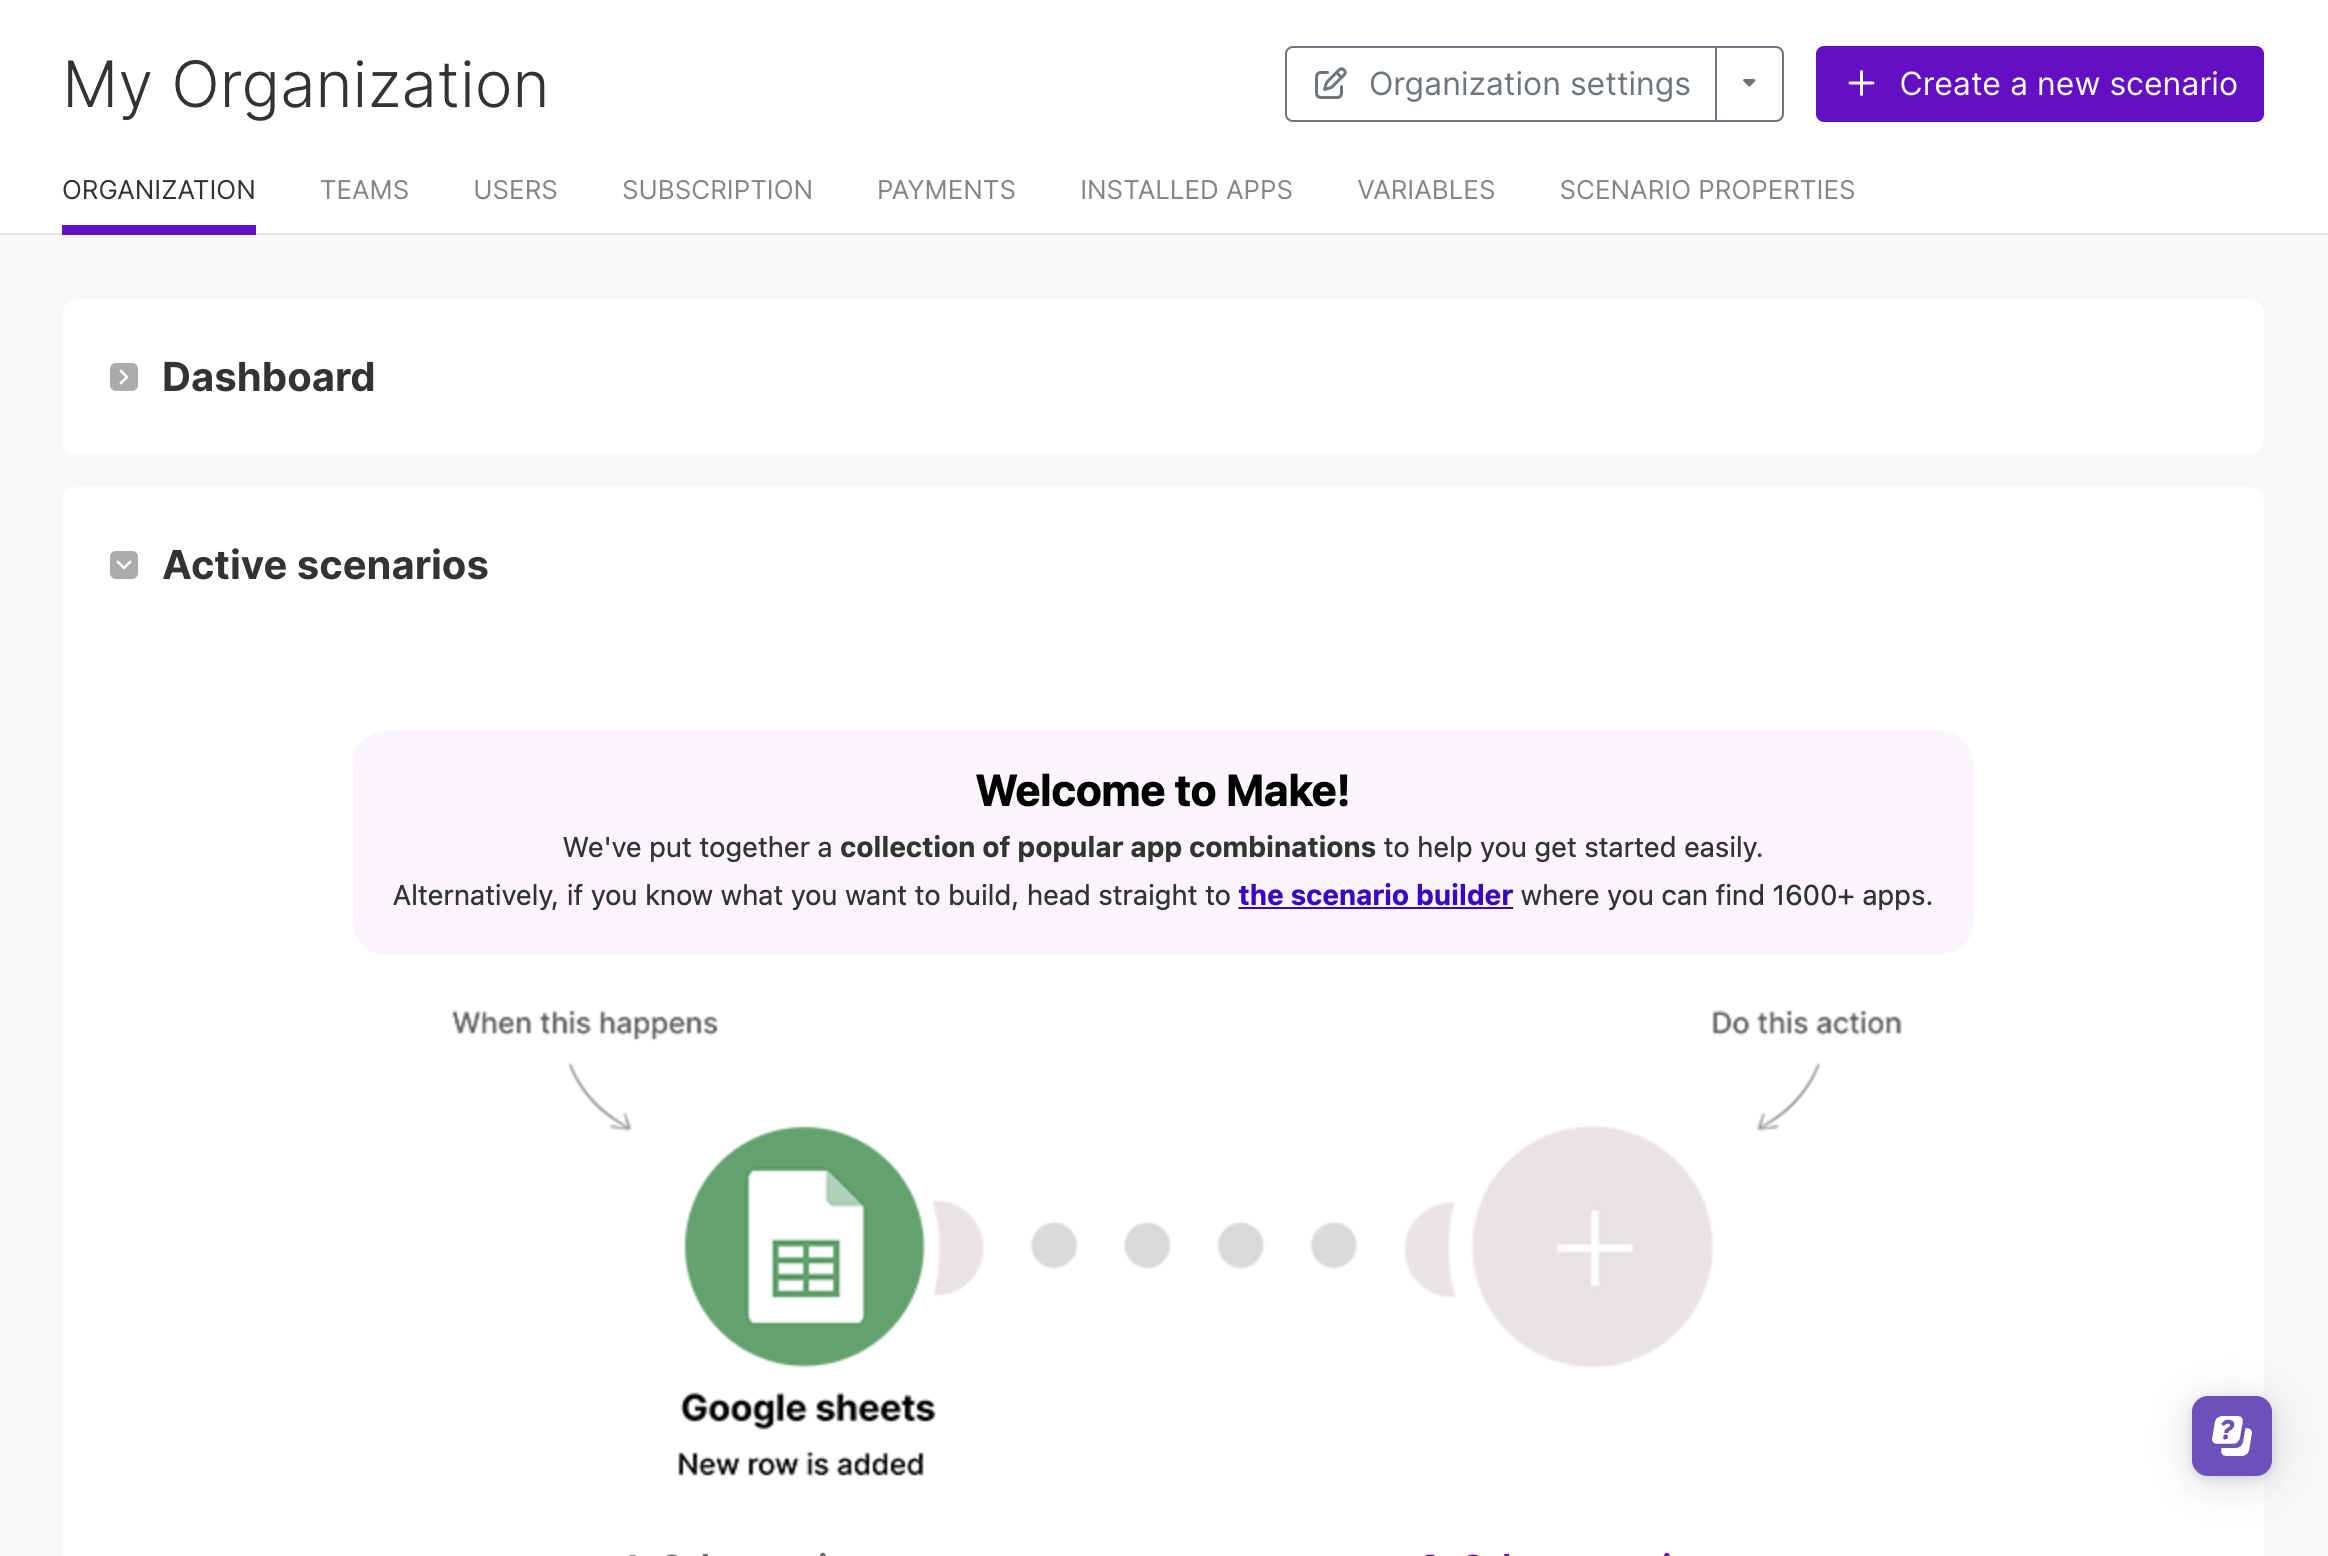
- Organization: You can view the dashboard, plan, and active scenarios. Additionally, you can check diagrams for available active scenarios, operations, and data transfers
- Team: You can edit, delete, or create a new team within your organization
- Users: You can manage user information or invite new users
- Subscription: You can explore all available plans and compare them. You can also purchase a plan, with the option to set up billing monthly or yearly
- Payments: This section contains your payment information
- Installed Apps: You can view all installed apps and possibly uninstall them
- Variables:You can access all variables relevant to your organization
- Custom Scenario Properties: You can keep your long list of scenarios organized. This feature is available exclusively for Enterprise plans
Team
In the Team section, you'll encounter four categories:
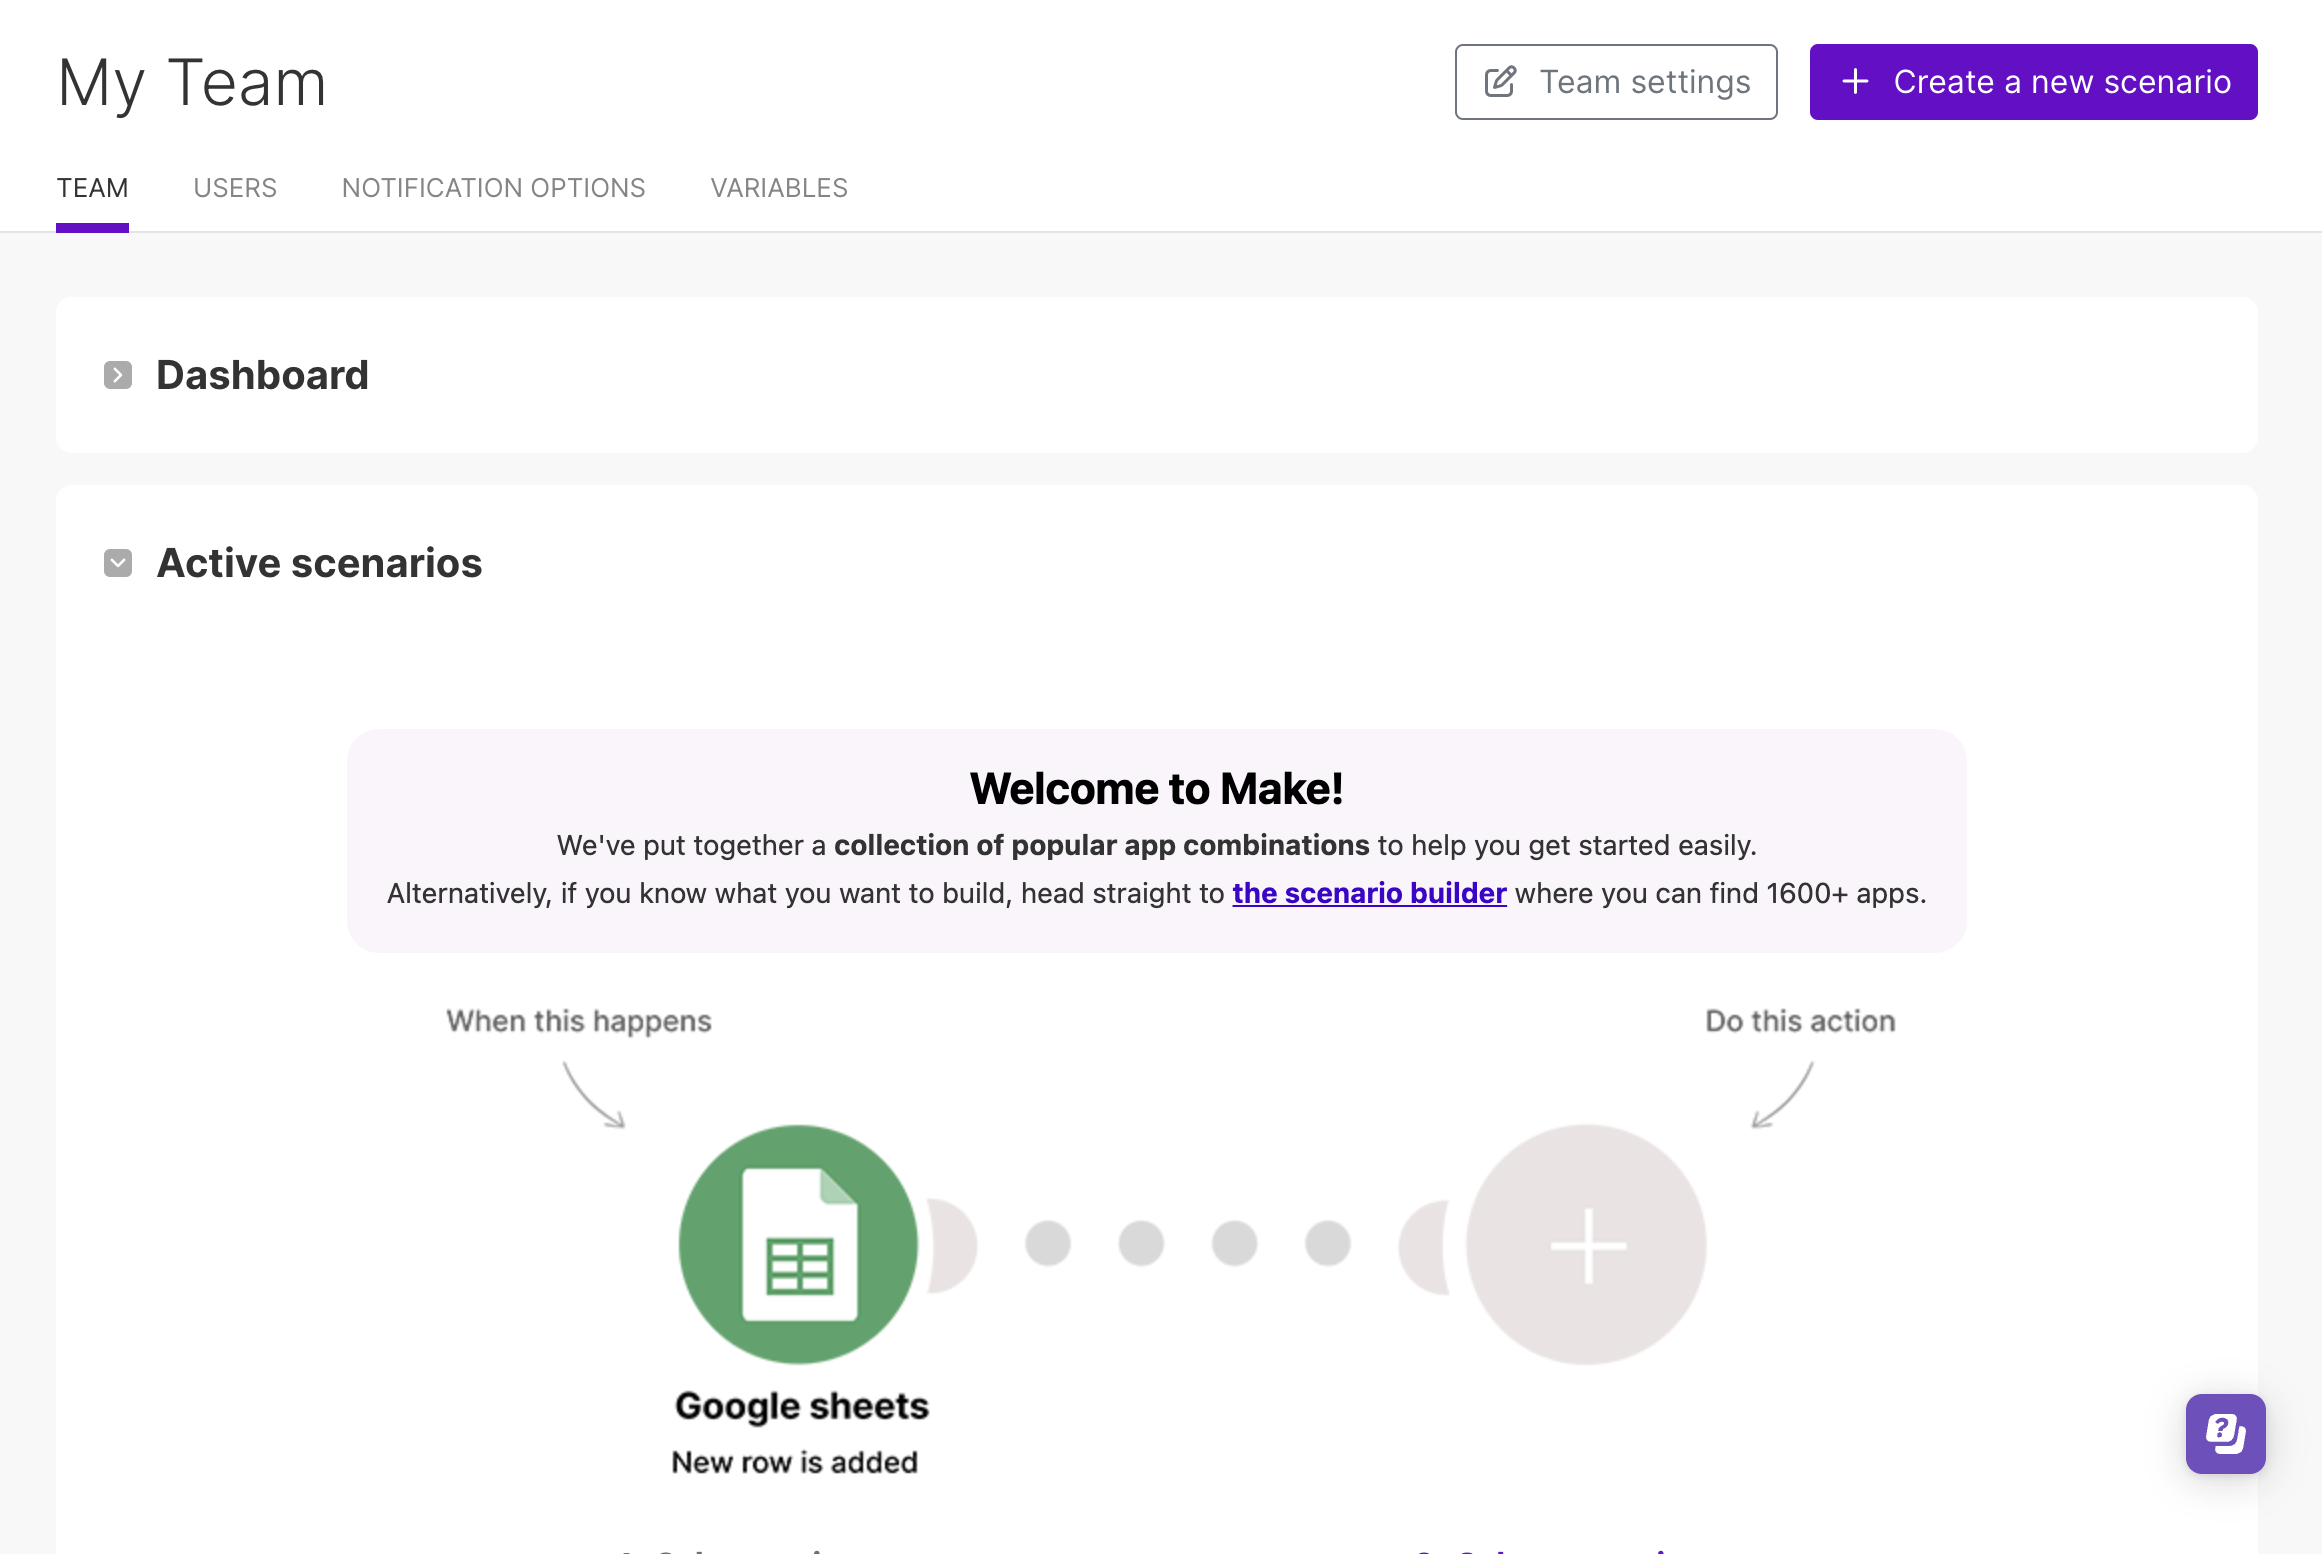
- Team: where you can view your active scenarios and dashboard
- Users: where you can see all team members along with relevant information for each
- Notification Options: where you can configure when to receive notifications for your organization
- Variables: where you can review all variable types, names, their respective types, and values
Scenarios
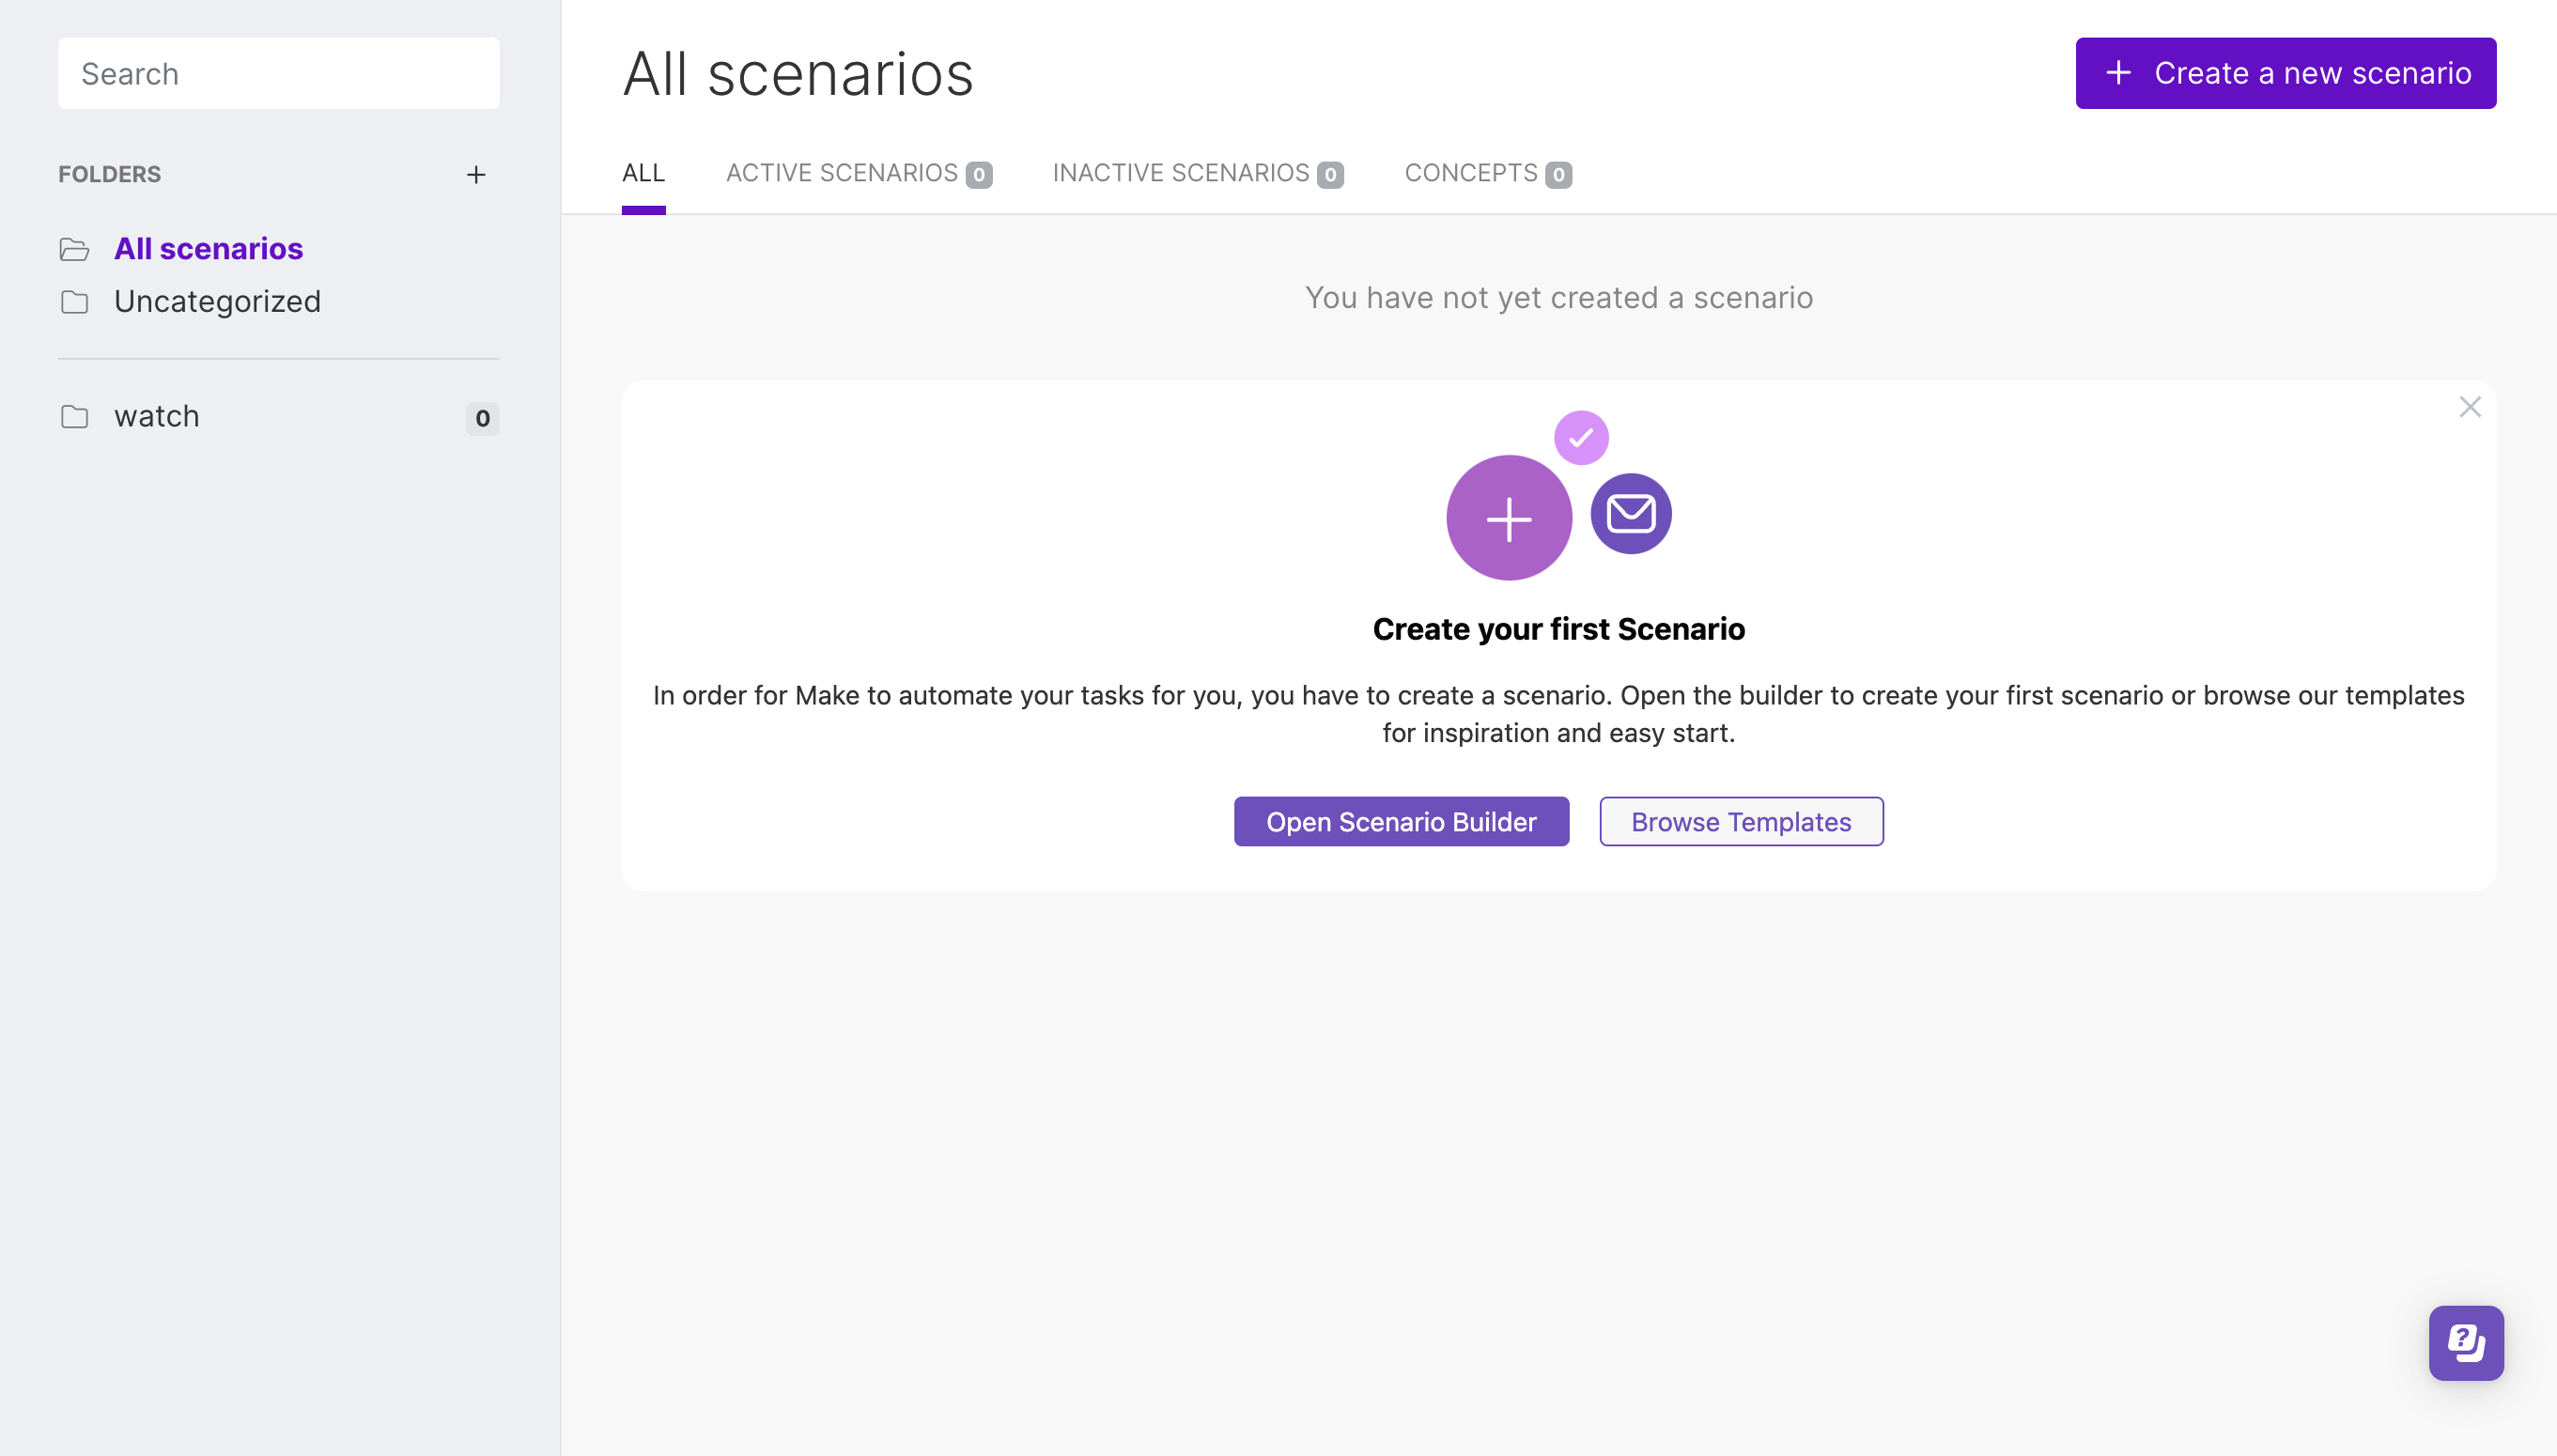
The Scenario section is where you'll likely spend most of your time. On the left side, you'll find folders to help you organize your scenarios. On the top of the screen, you'll also find categories that help you view your scenarios. You can choose to see all scenarios at once or filter them to view only active or inactive ones.
Templates
In this section you can finad all the existing Scenario Templates, clearly defined and searchable by apps or names. The range of ready-to-use templates is vast.

Connections
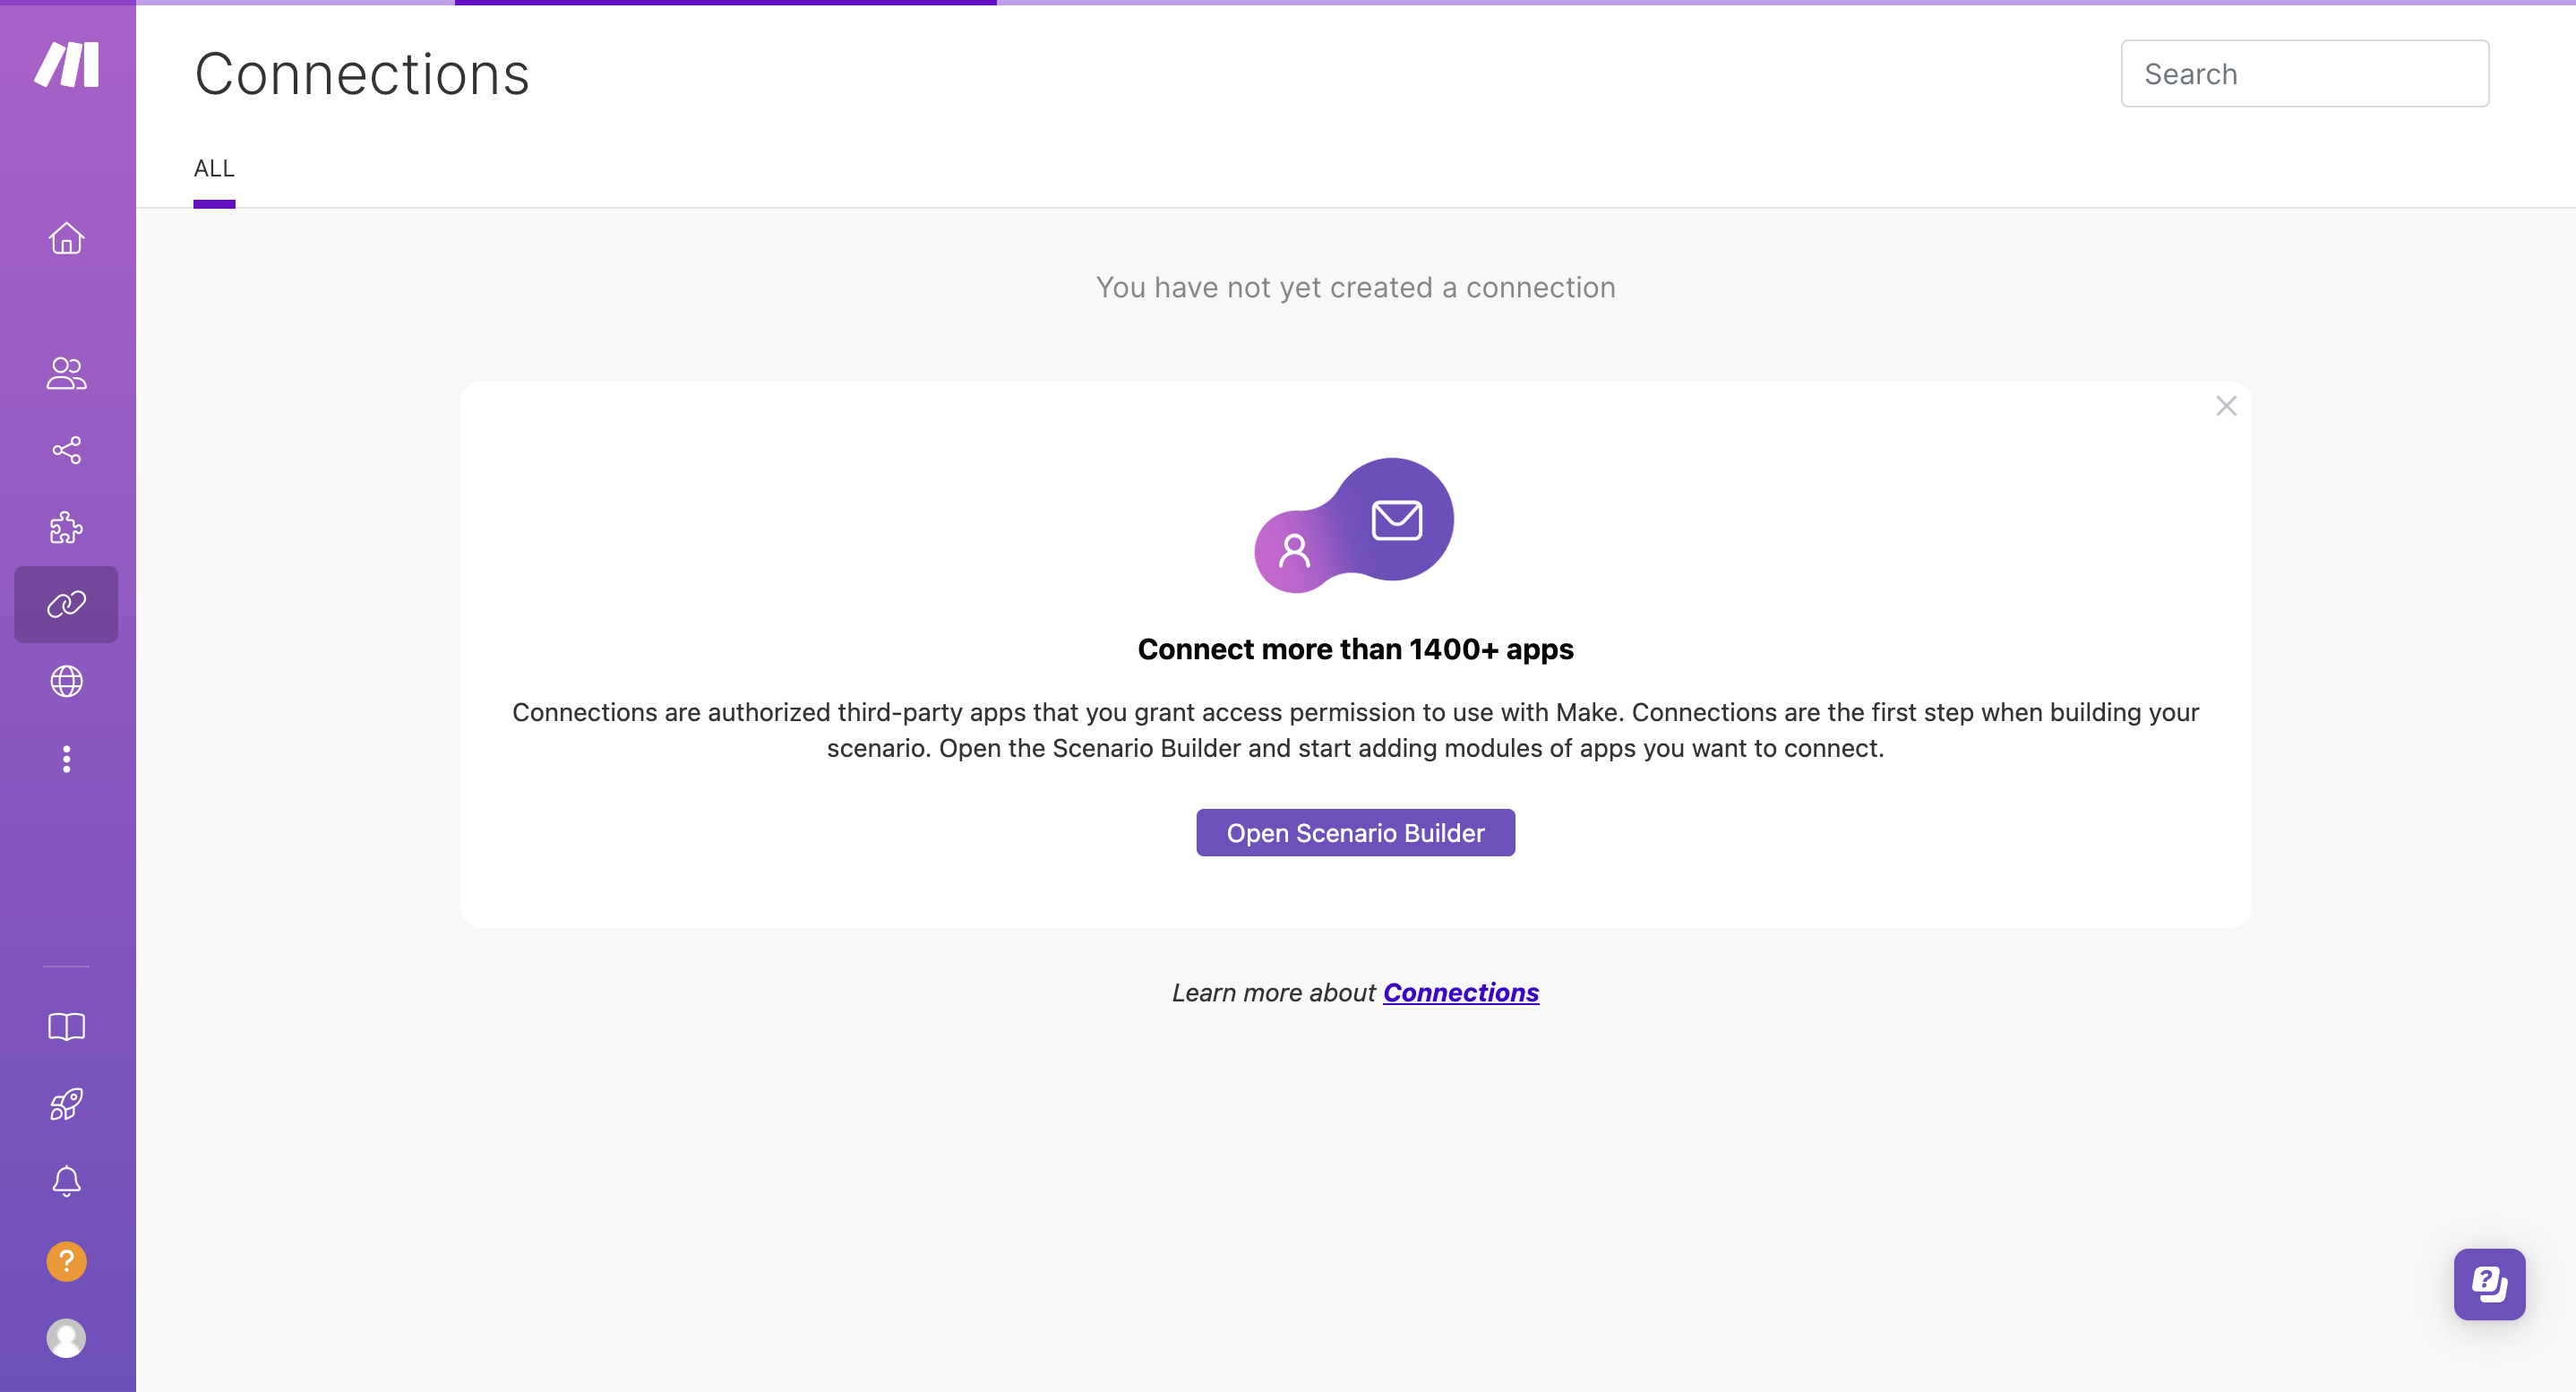
In this section, you can find all the Connections you have created in scenarios, such as connecting your Google account.
Webhooks
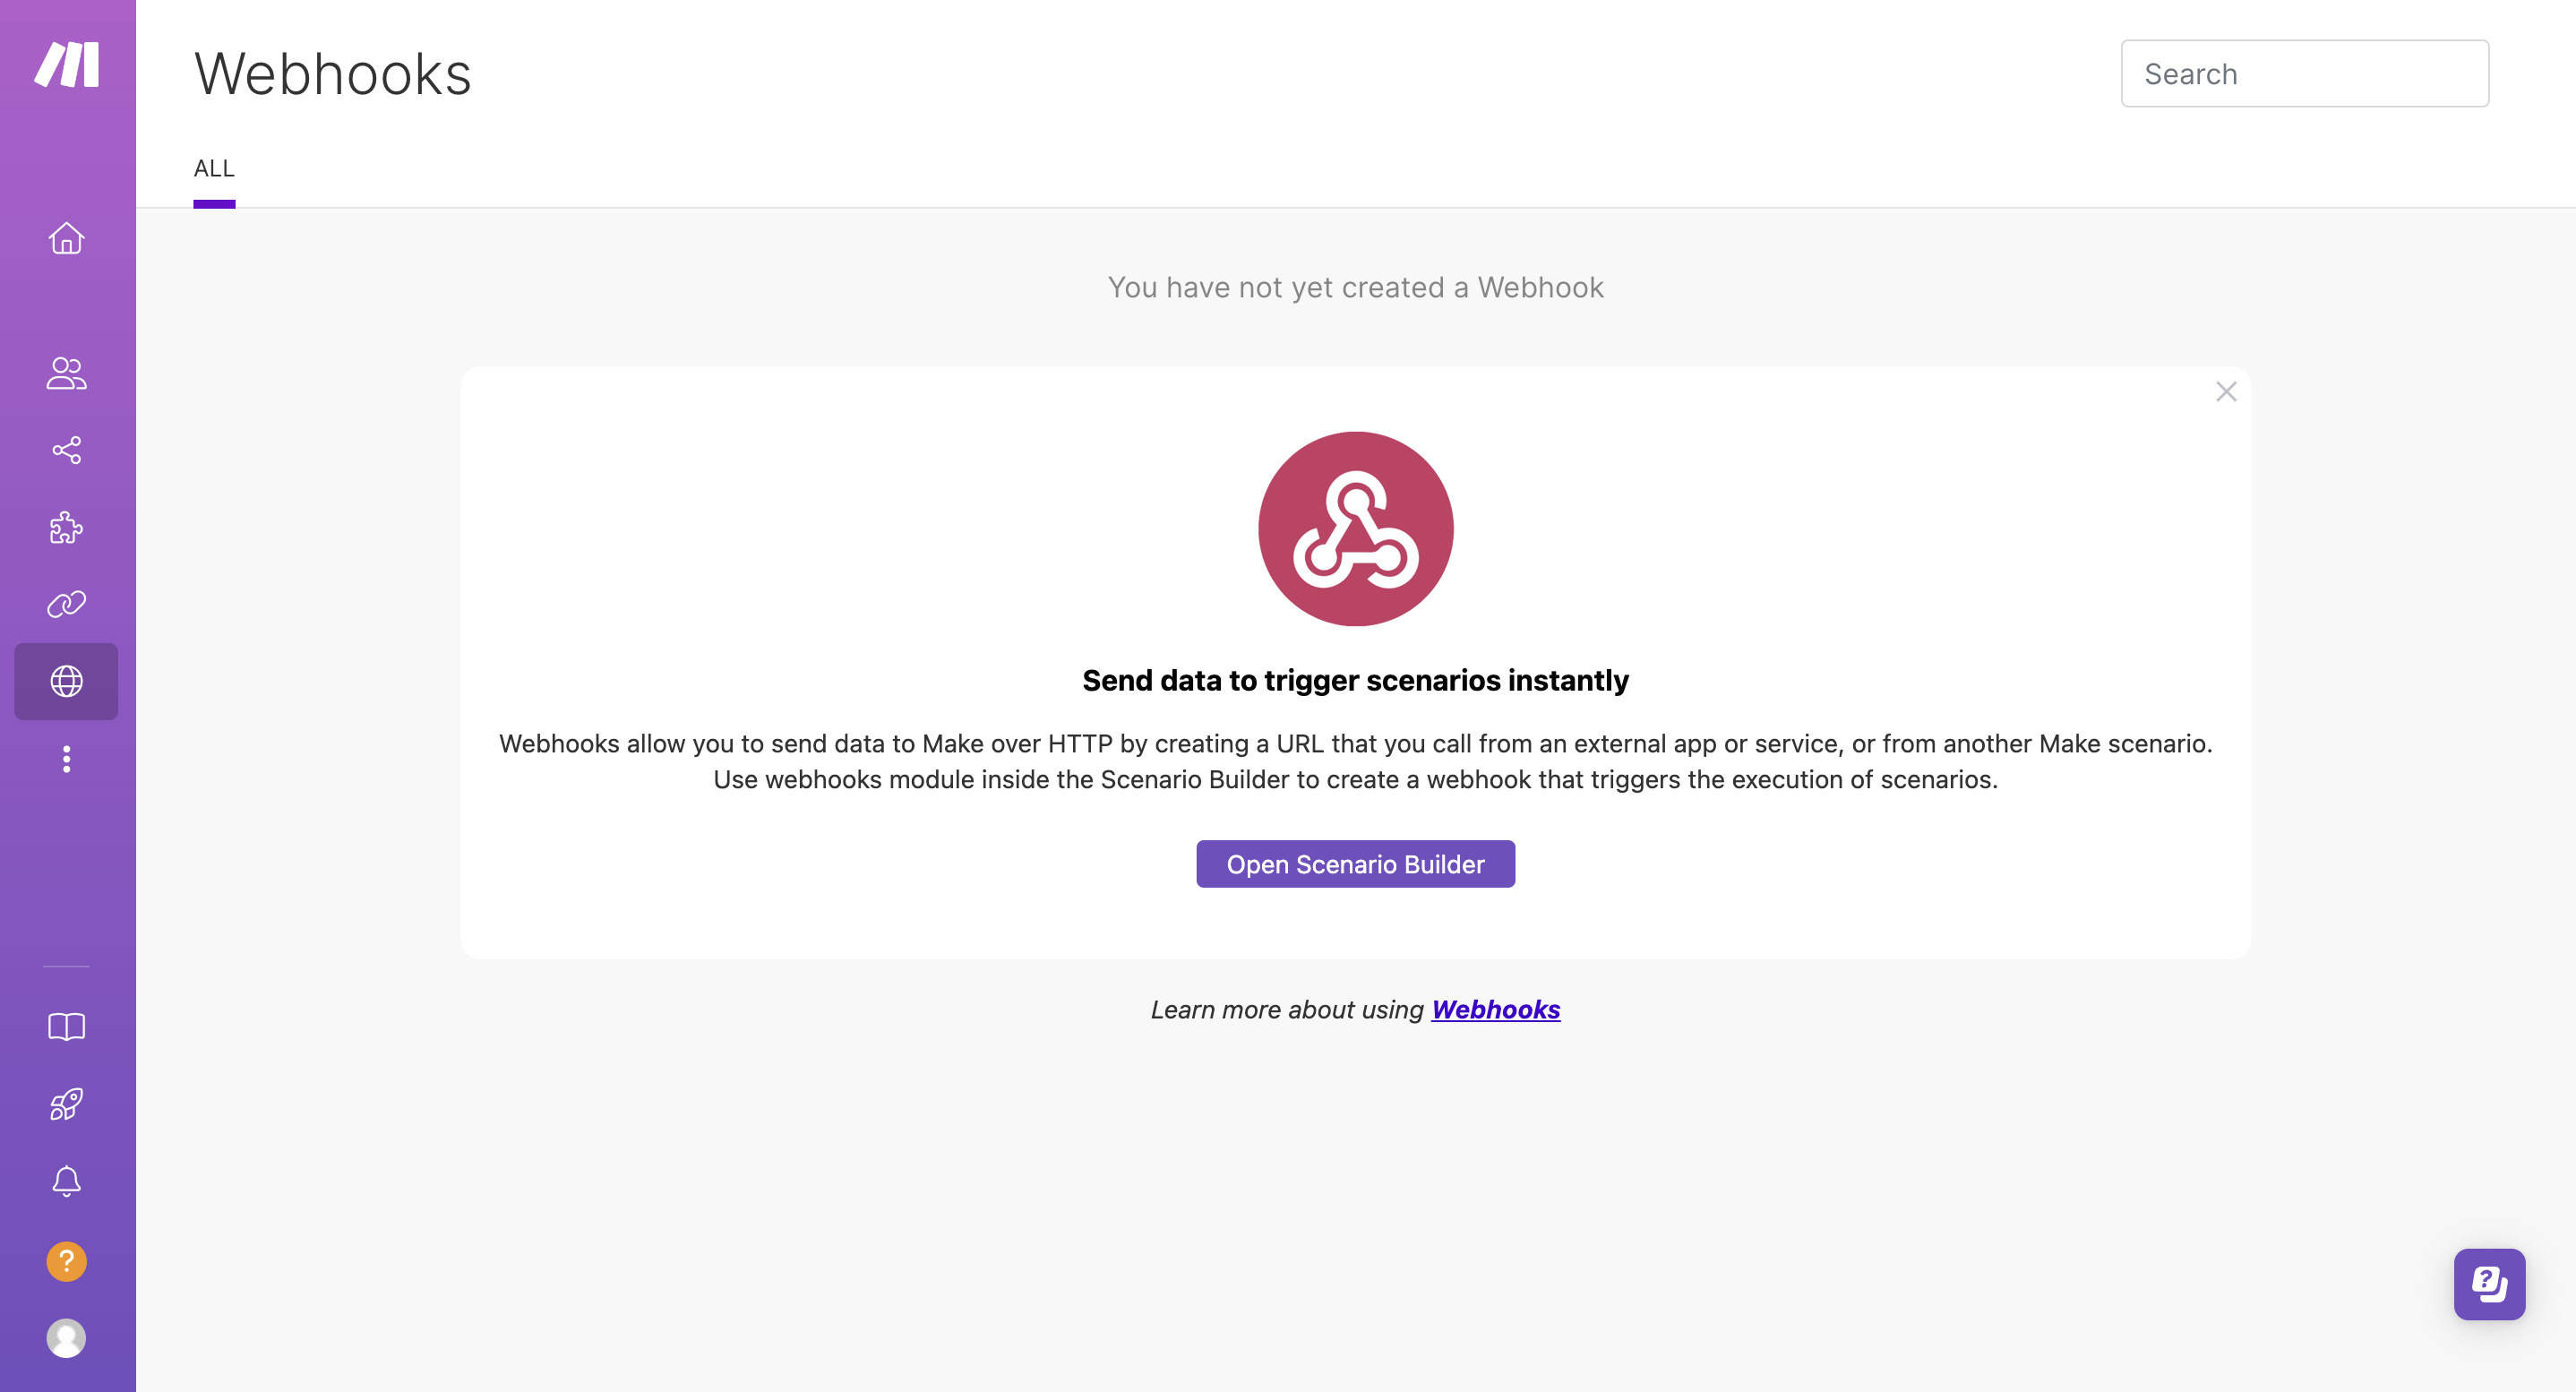
In this section, you can find all of your Webhooks. You can toggle them on or off, delete them, and access all the data that has been created. It's important to mention that webhooks are typically used to connect two different applications.
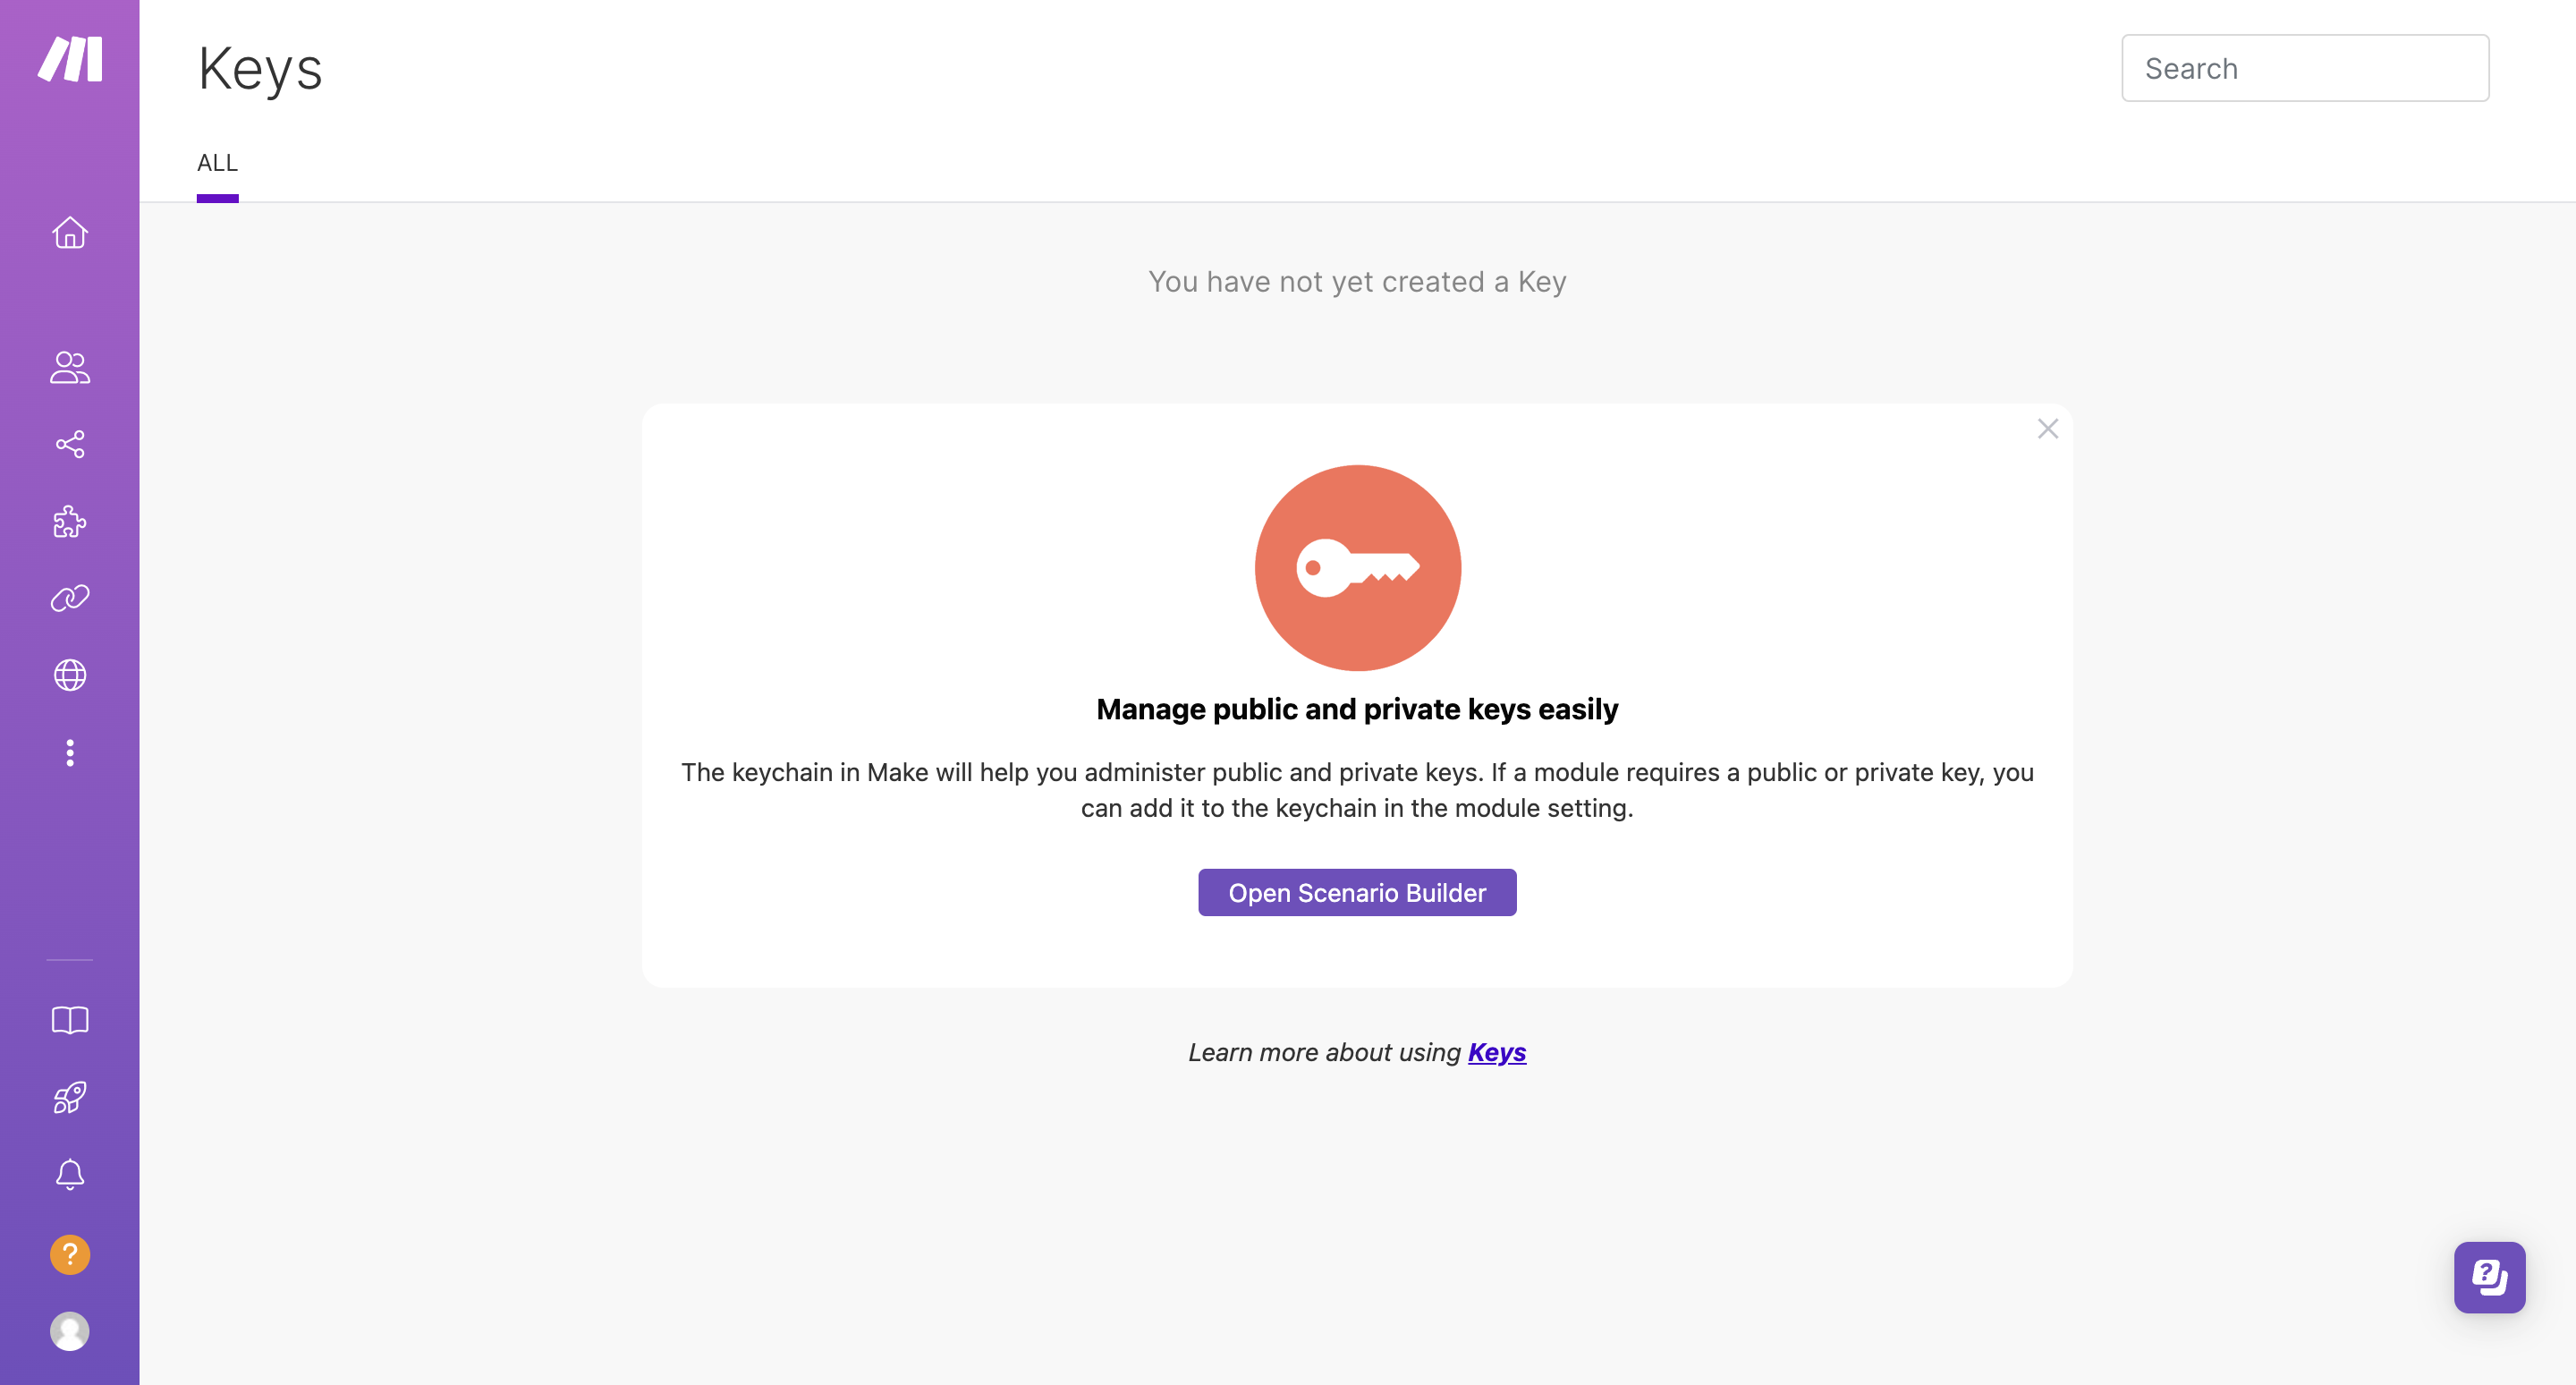
Keys
Here, you can easily manage all your public or private Keys.
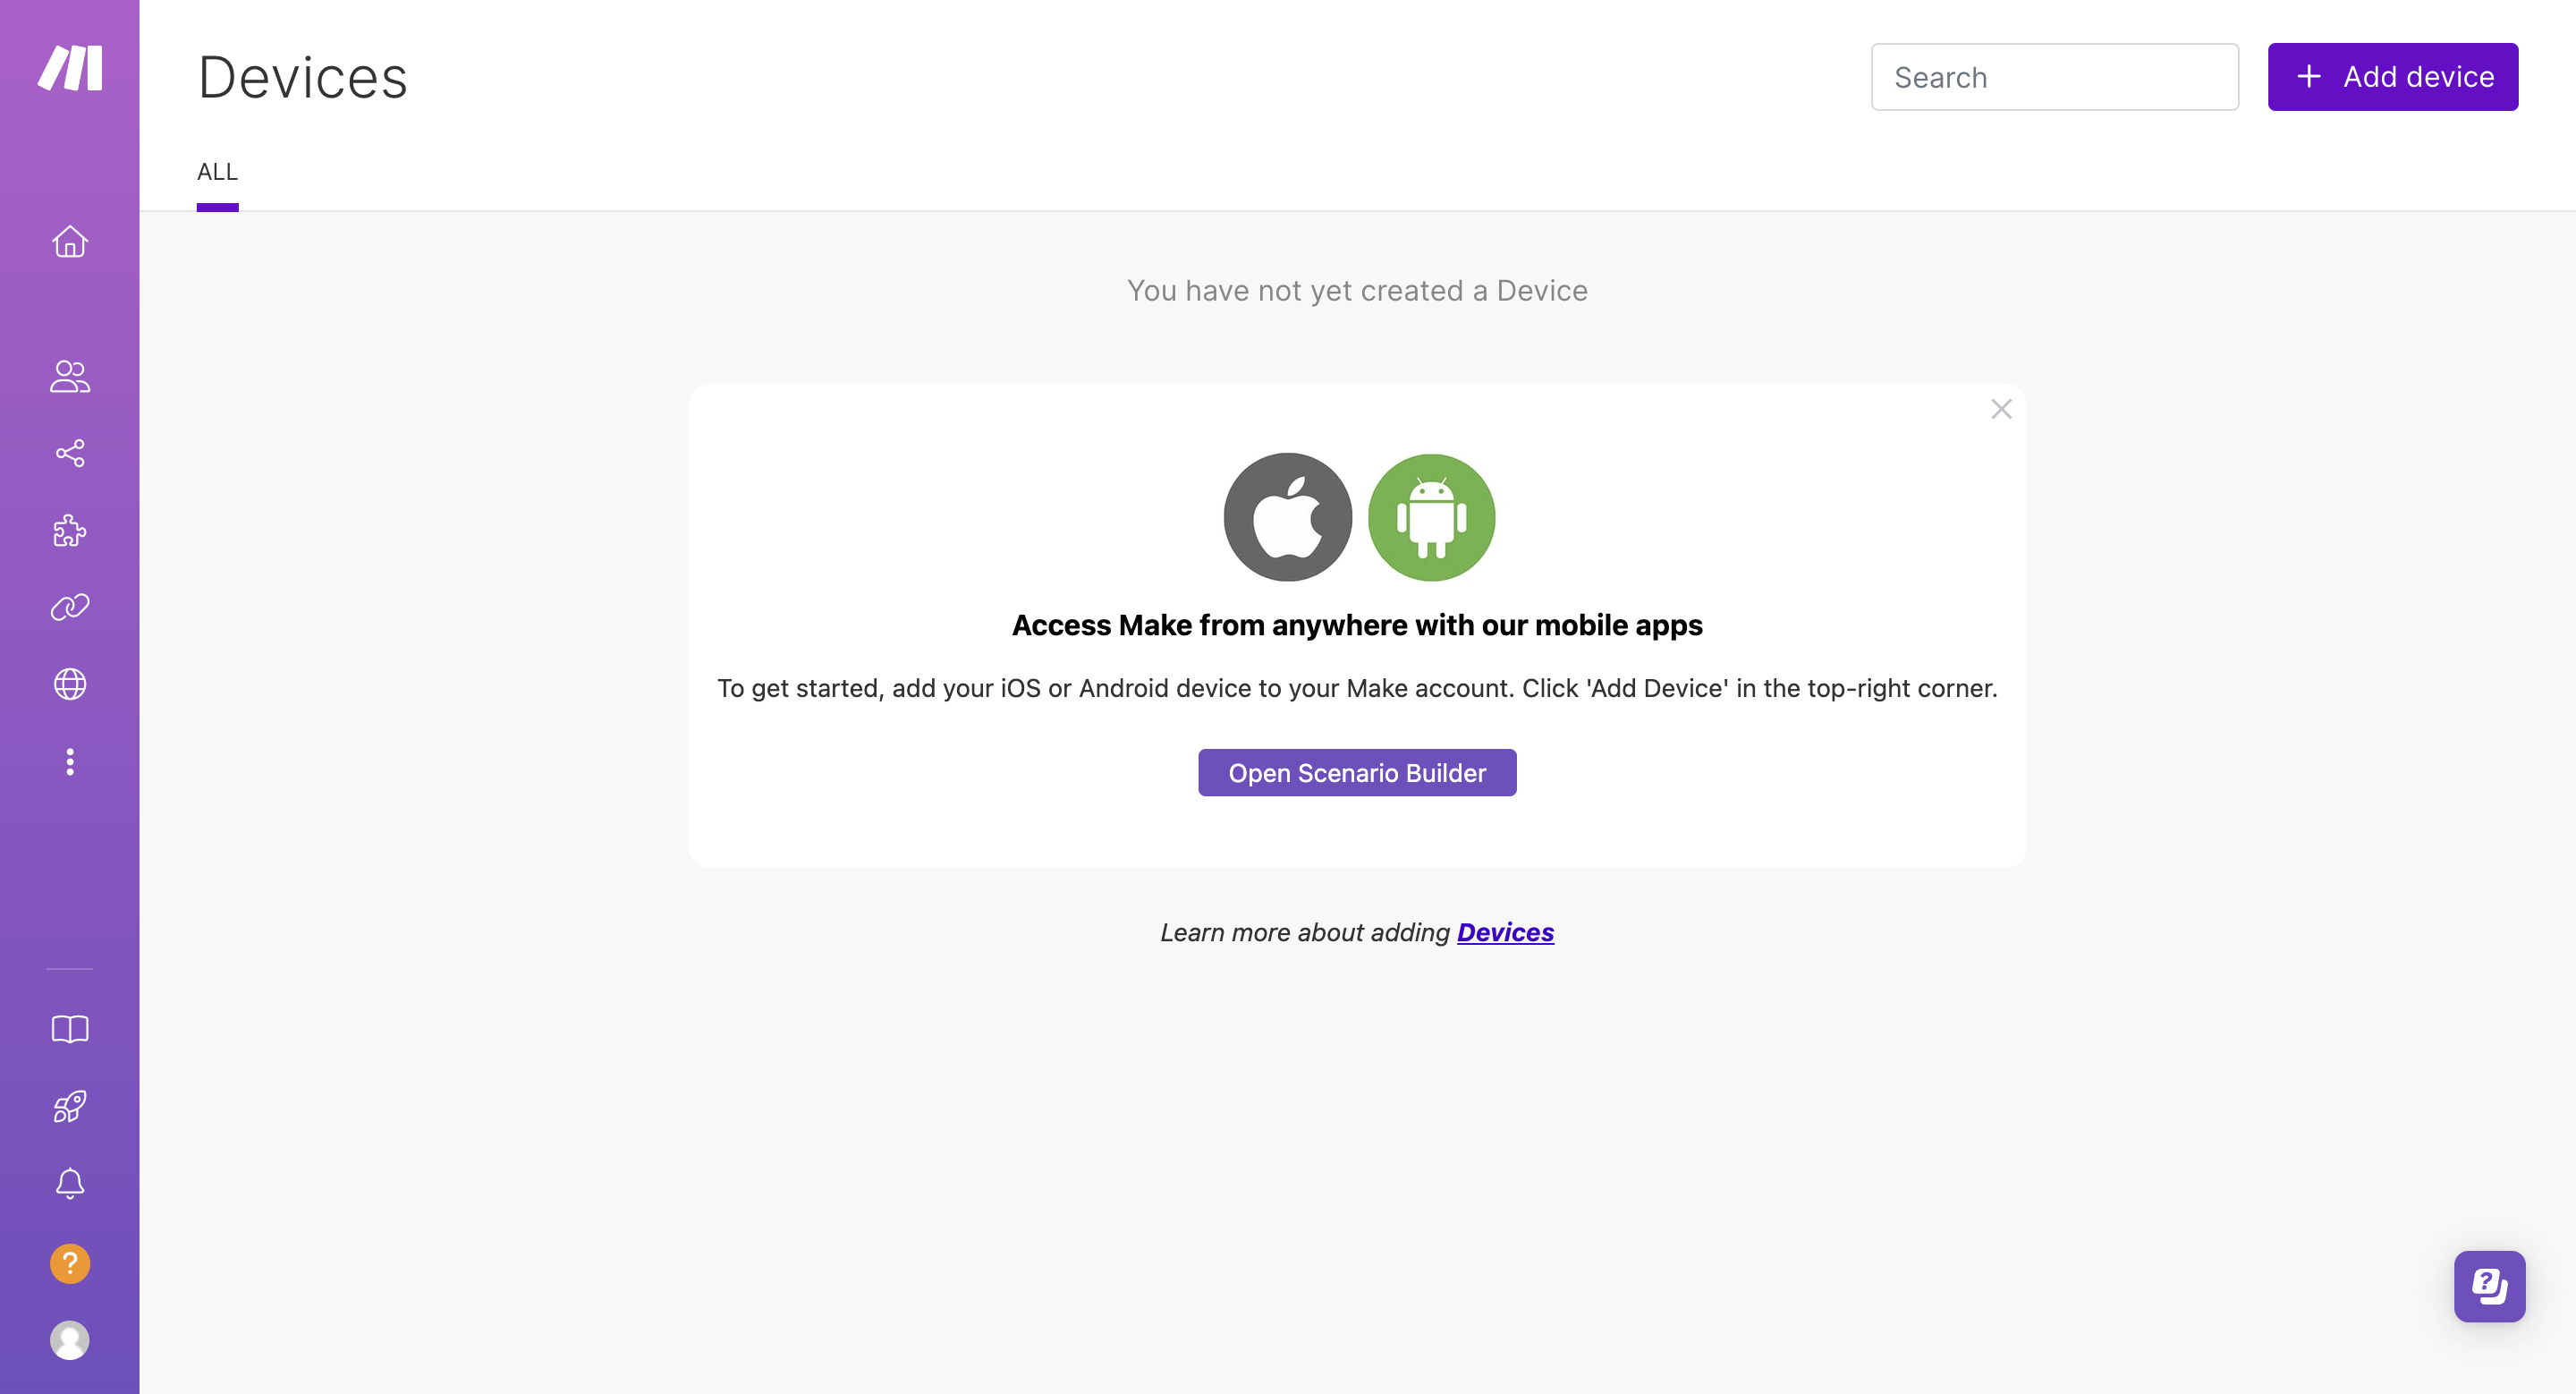
Devices
In the Devices section, you can download Make for both iPhone and Android devices and connect them to your organization.
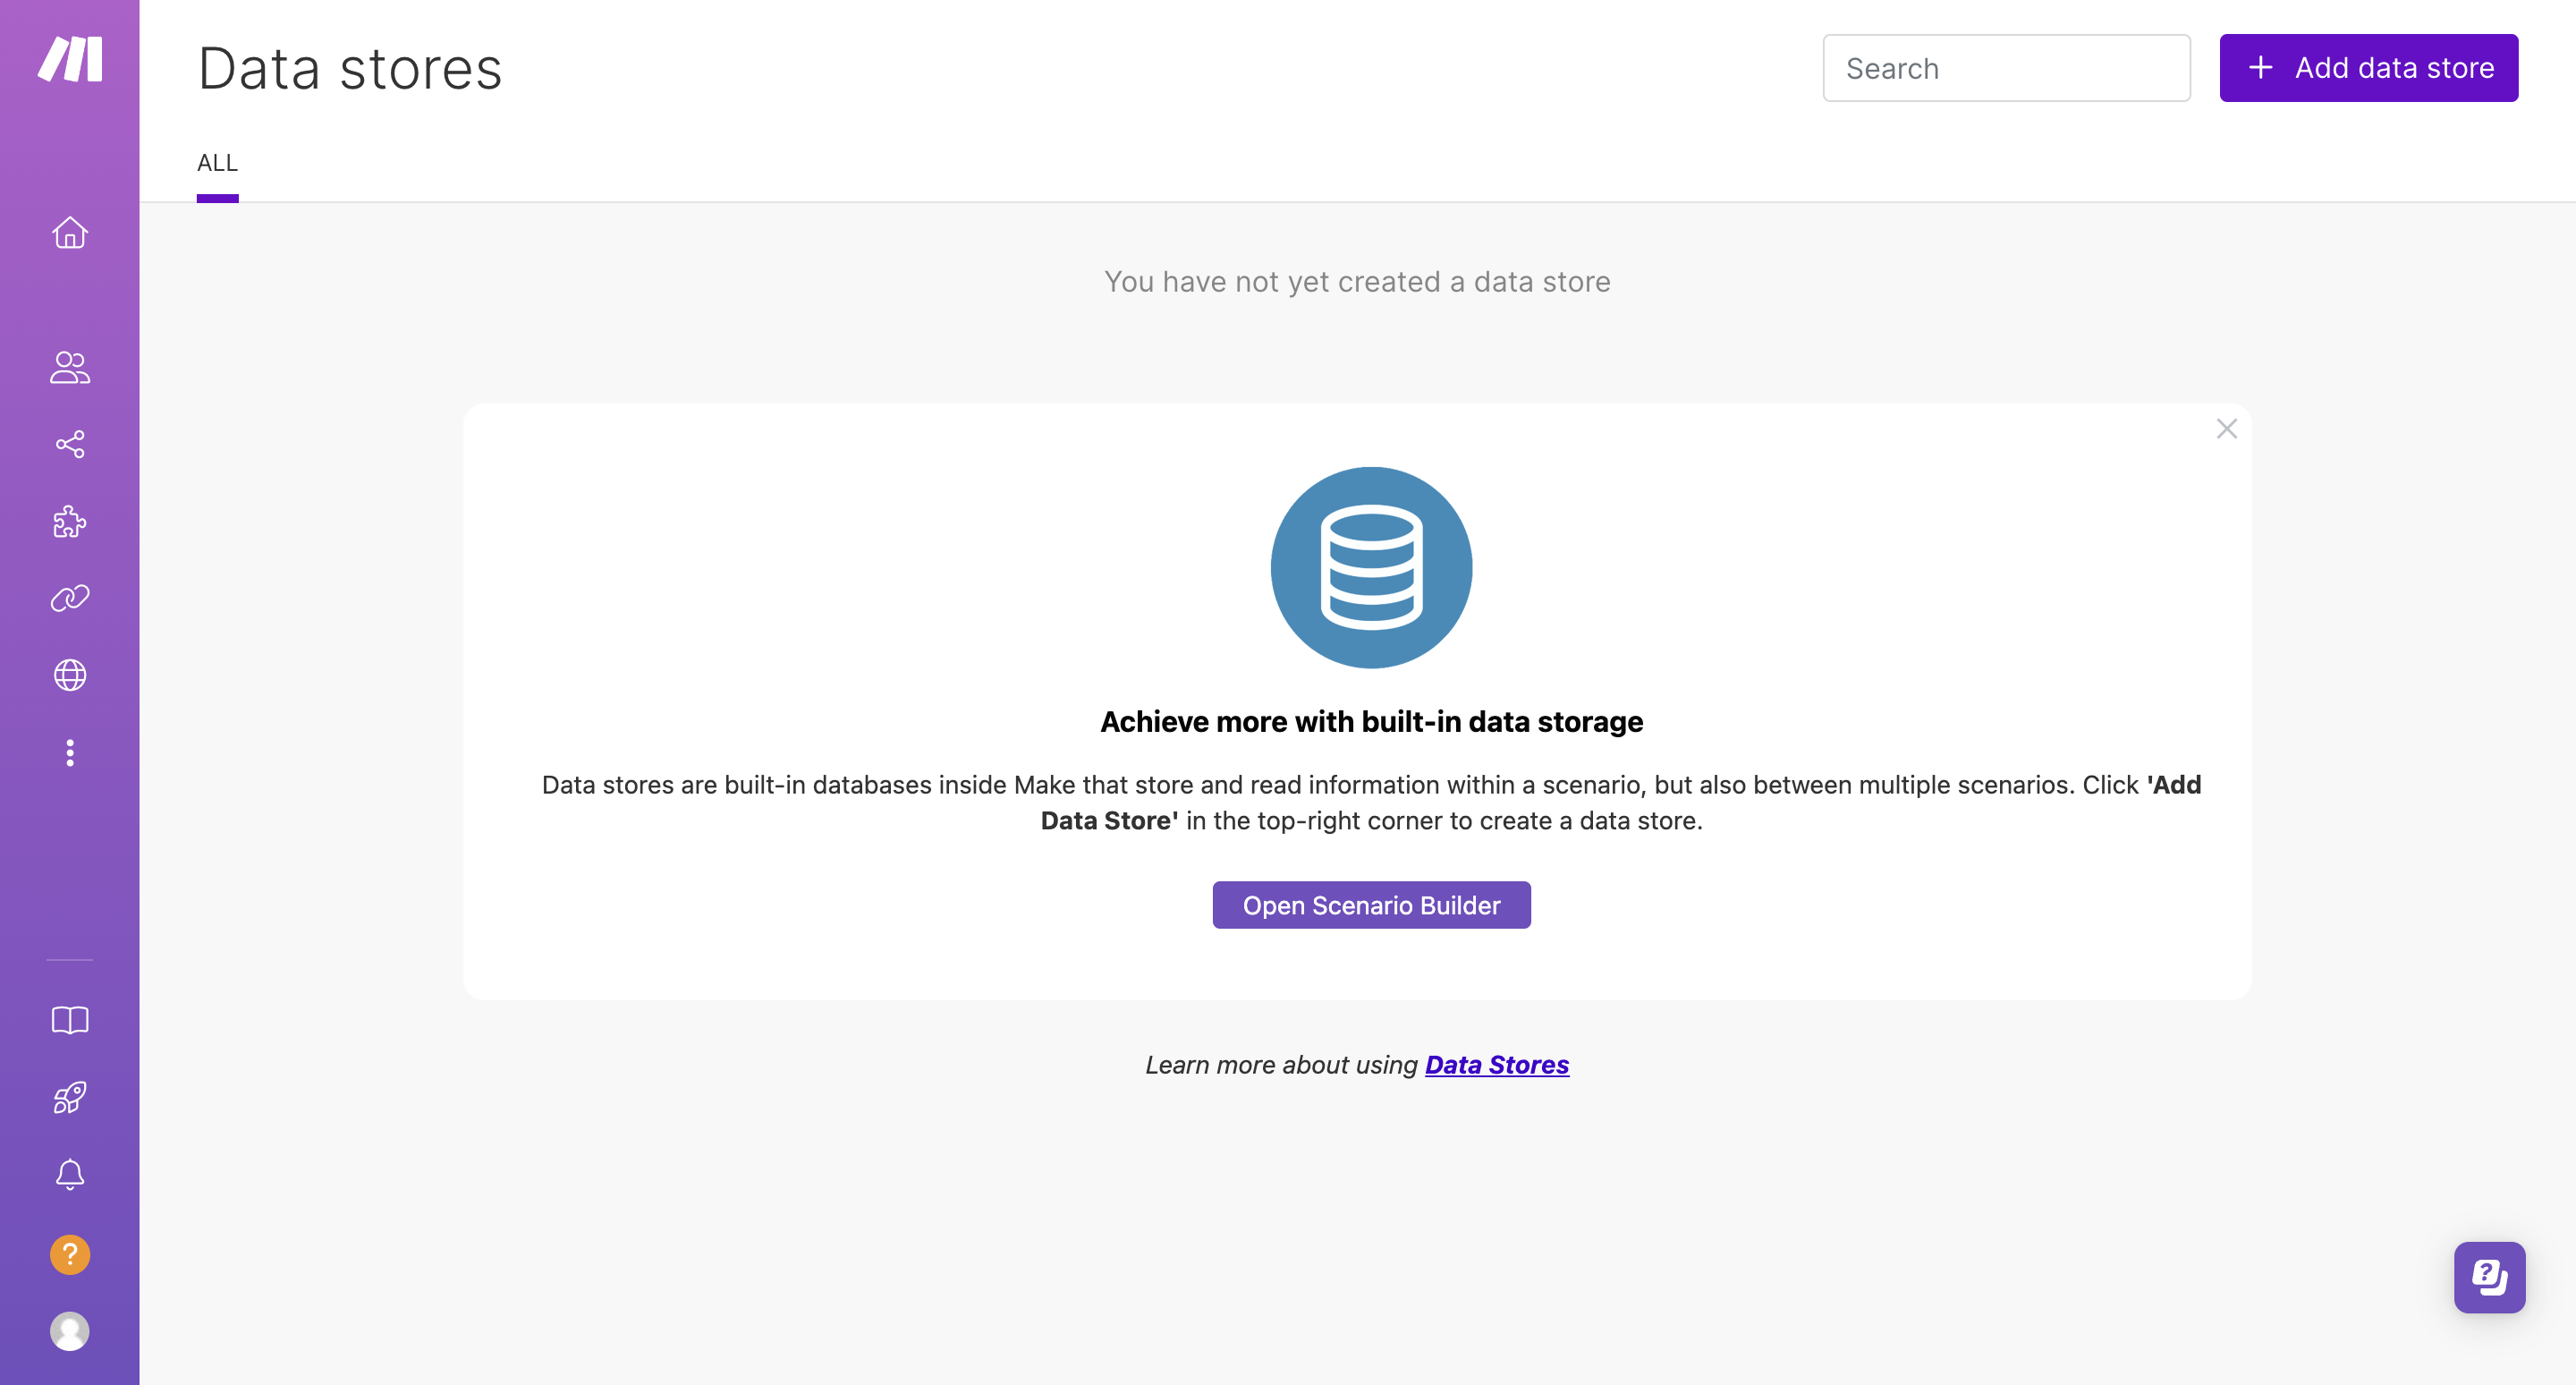
Data stores
In this section, you will find the Data stores you have created. You can browse, edit, or delete them.
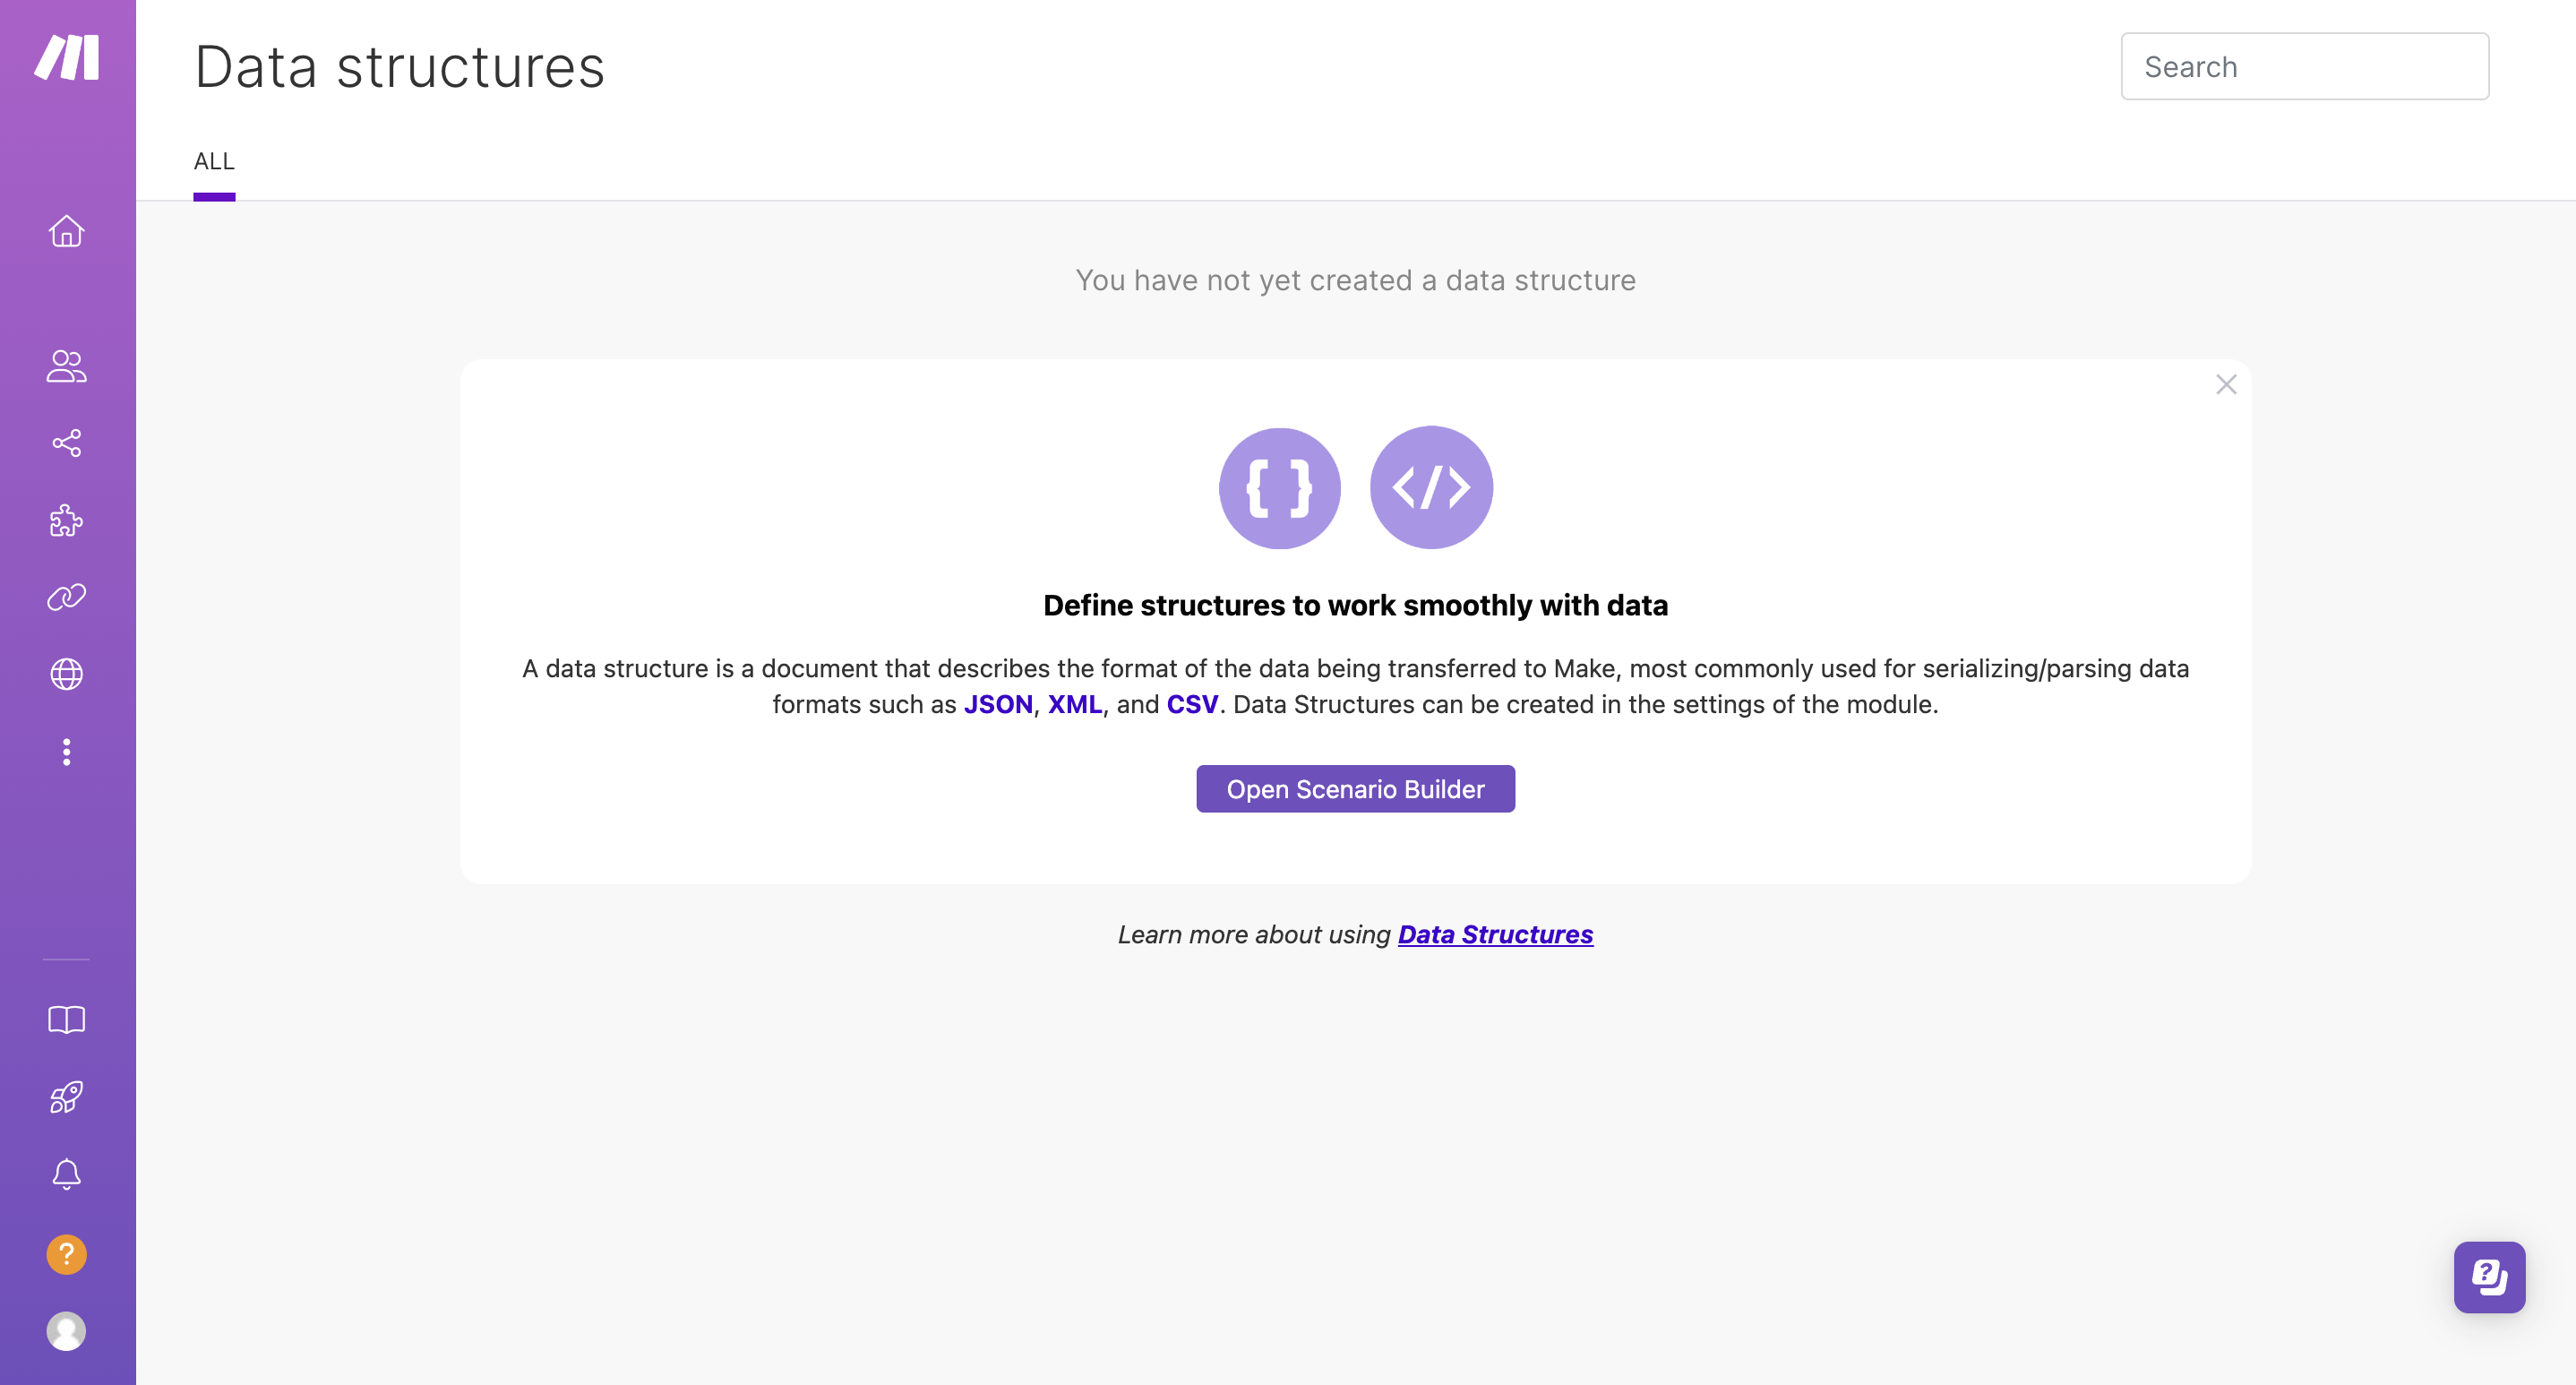
Data structures
Here, you can create Data structures, define as many values as you want, and edit or clone your existing designs.
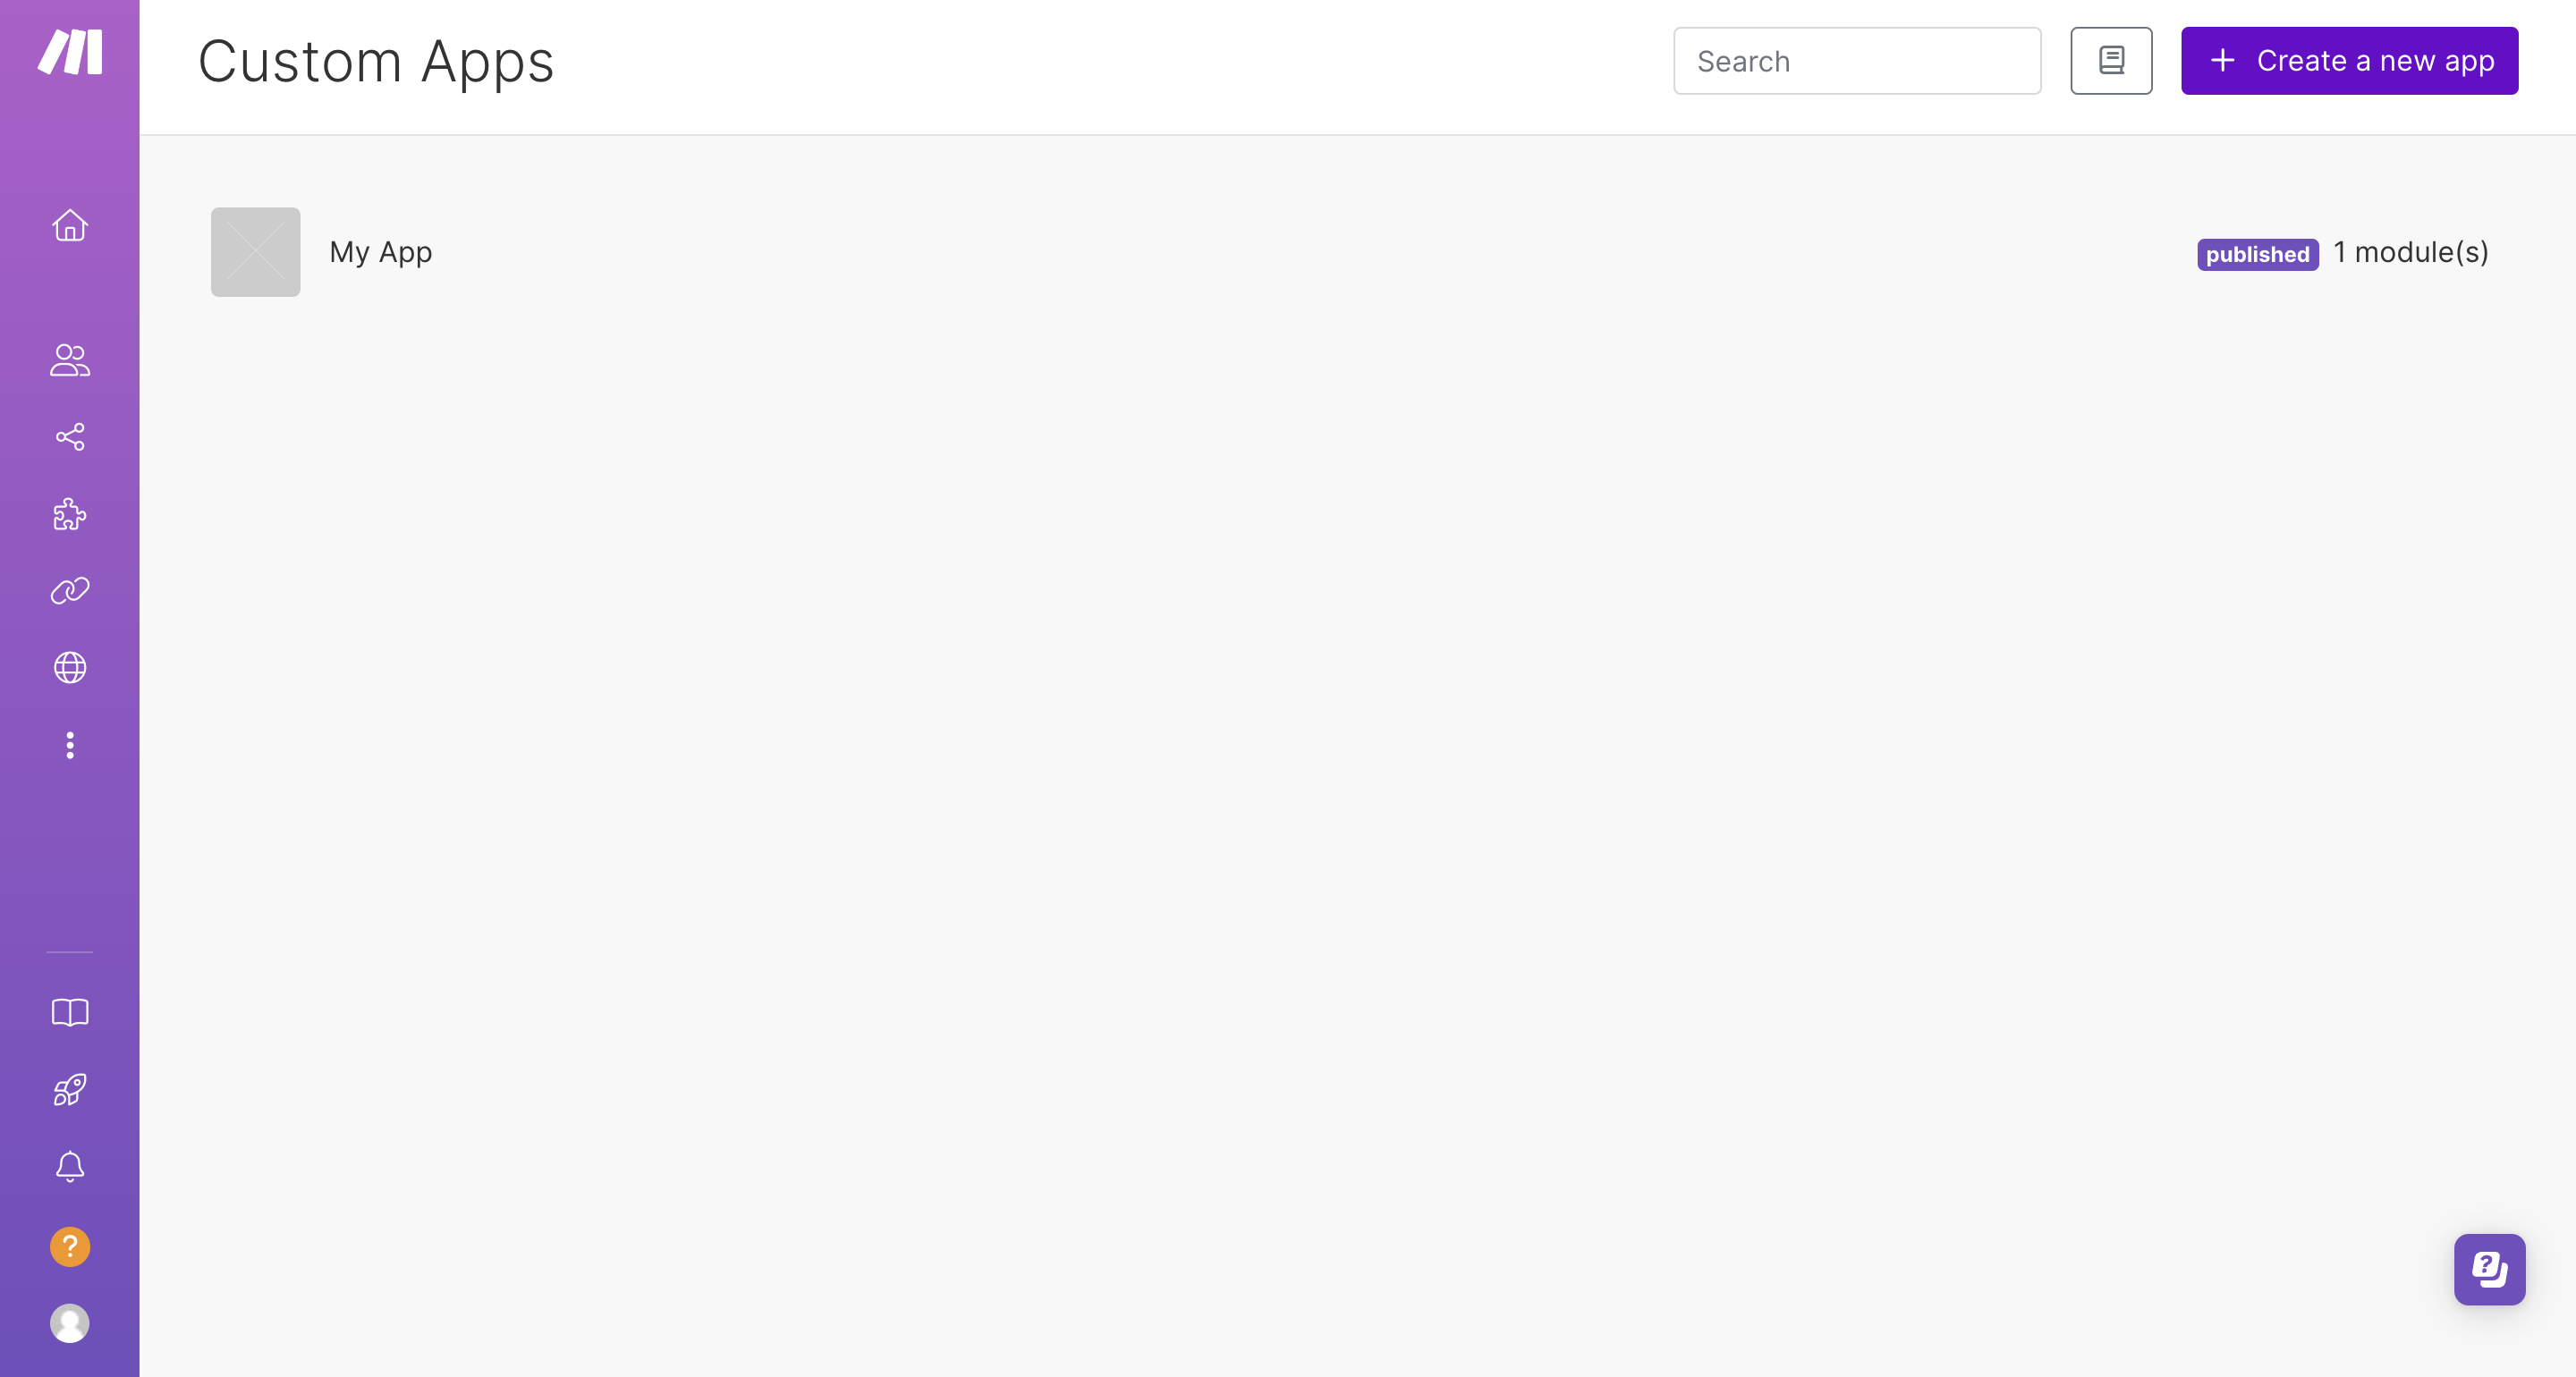
Custom apps
In this section, you can find all the apps you have created or create new ones.
Resource hub
It's like the documentation of Make. Here, you can find key concepts to learn, recommended templates, and an offer to join the Make Academy. You can also access tutorials for specific apps or explore tutorials created by the community. Additionally, you will receive an invitation to join the Make community.
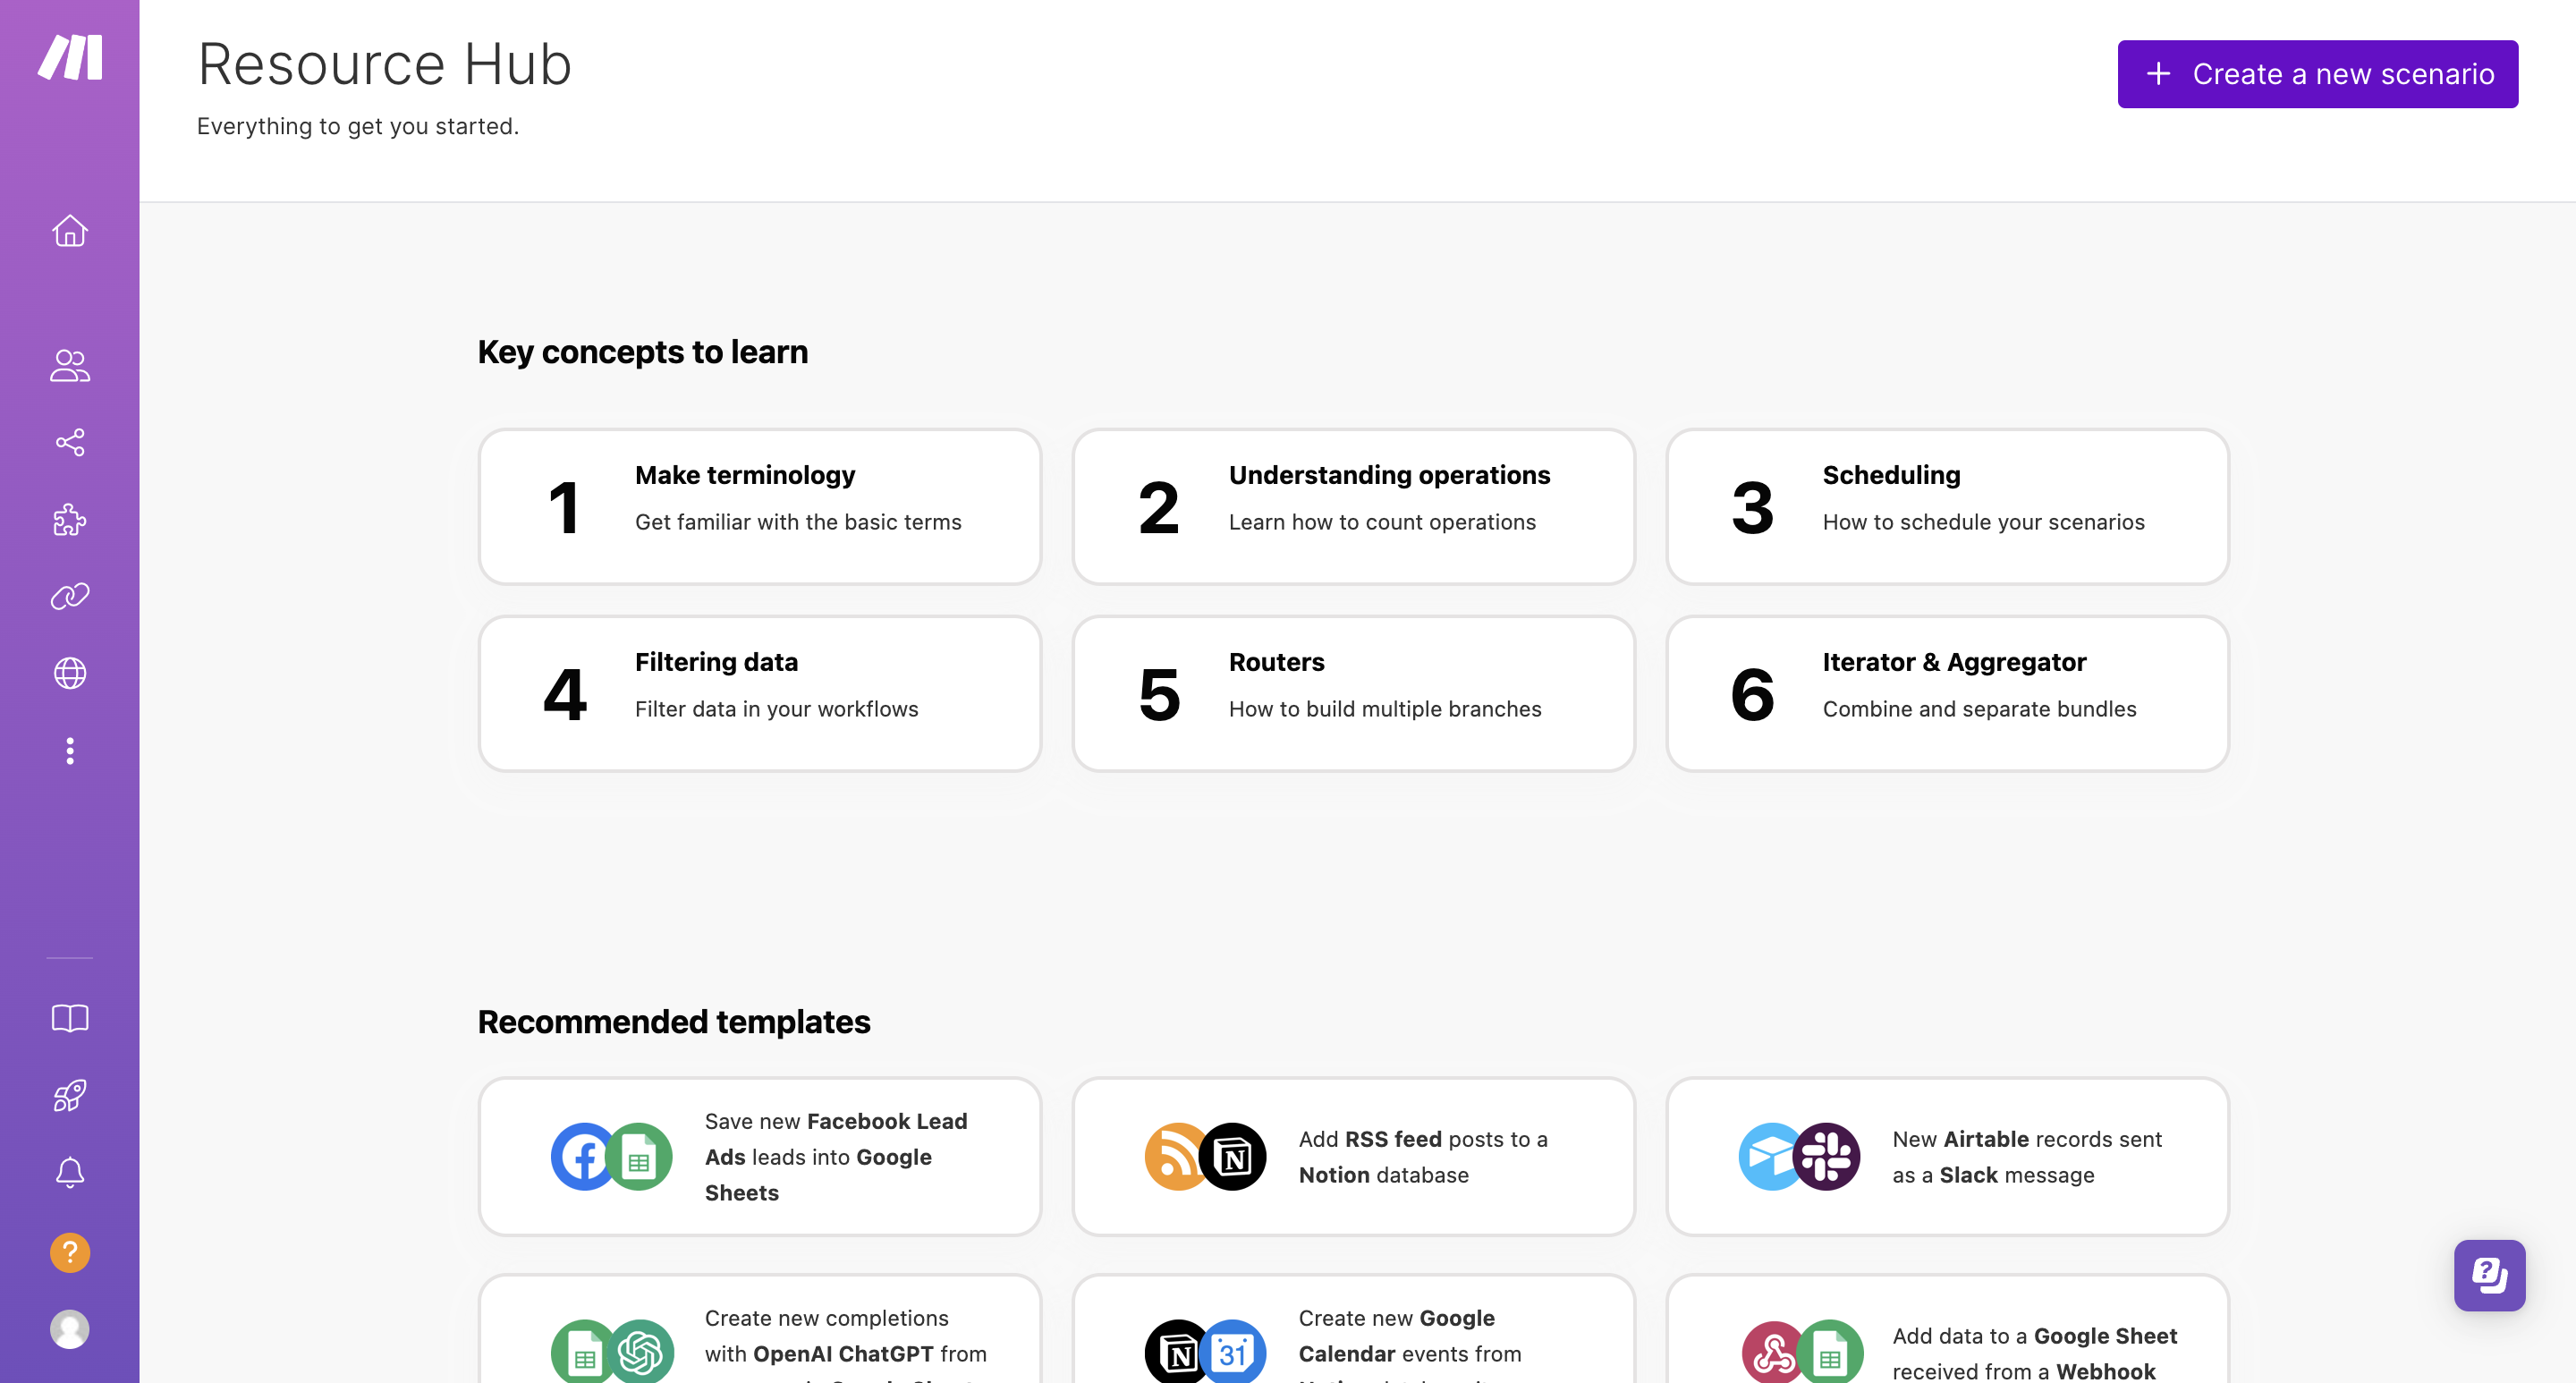
Moreover, you can read use case articles, and at the end of the page, you will find all the links mentioned above perfectly organized.
- What's new: In the "What's New" section, you can find monthly updates and the latest releases of Make. Everything is clearly categorized into Apps/Modules, Templates, and Stories
- Notifications: All the notifications will appear here
- Help: In the Help section, you can explore the Help page, community, Make Academy, or contact support
- Your account: You can enter your profile settings by clicking the account icon, starting your affiliate program, or signing out. By clicking the profile icon on your account, a window will appear in the center of the screen with several categories at the top. Here, you can view all of your organizations or create a new one. You can also manage your general notifications and set specific notifications for each organization and team. Additionally, you can change the GMT for data and scenarios, create API tokens, and set up two-factor authentication. On the last category, affiliate program page, you can start by reading a small guide about how it works, and then set up your unique code and PayPal link. At the top right of the screen, you can change the language or update your profile settings, such as your name, locale, and time zone
Creating Essential Automations in Make
Let's delve into creating a scenario.
Here's an easy example. We'll dive into the process of accessing email addresses and sender names from an email account. Once we've gathered this information, we'll seamlessly transfer it into a Google Sheet.
Firstly, let's navigate to the "Scenarios" category and click on "Create a new scenario". Once we've done that, we're prepared to connect our first app. To initiate this process, click on the "+" icon located at the center of the screen. Next, let's search for the "Email" app. Upon finding it, select the trigger option labeled "Watch Emails".
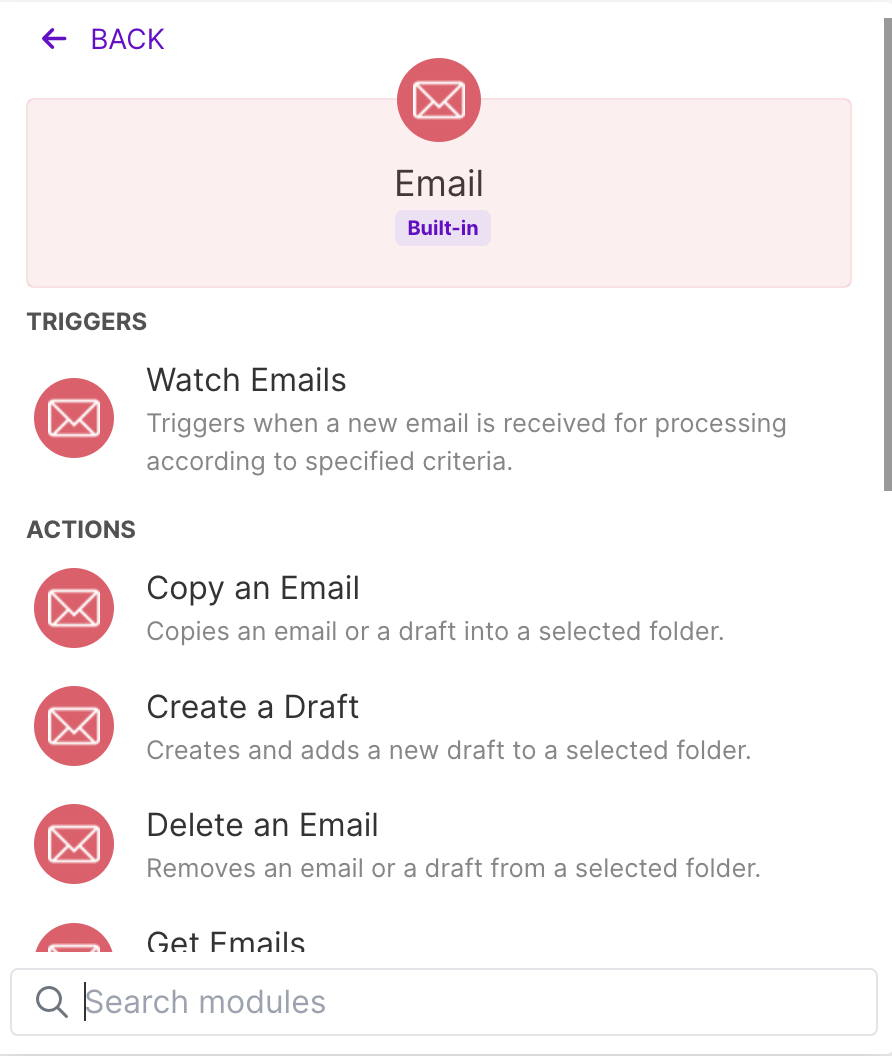
Following that, we'll proceed to connect our Email account. Upon doing so, a window will appear presenting various options. We'll need to select the folder from which we want to monitor emails and specify the criteria for triggering actions. Additionally, this window offers a range of other customization options, providing flexibility to tailor the process according to our specific requirements.
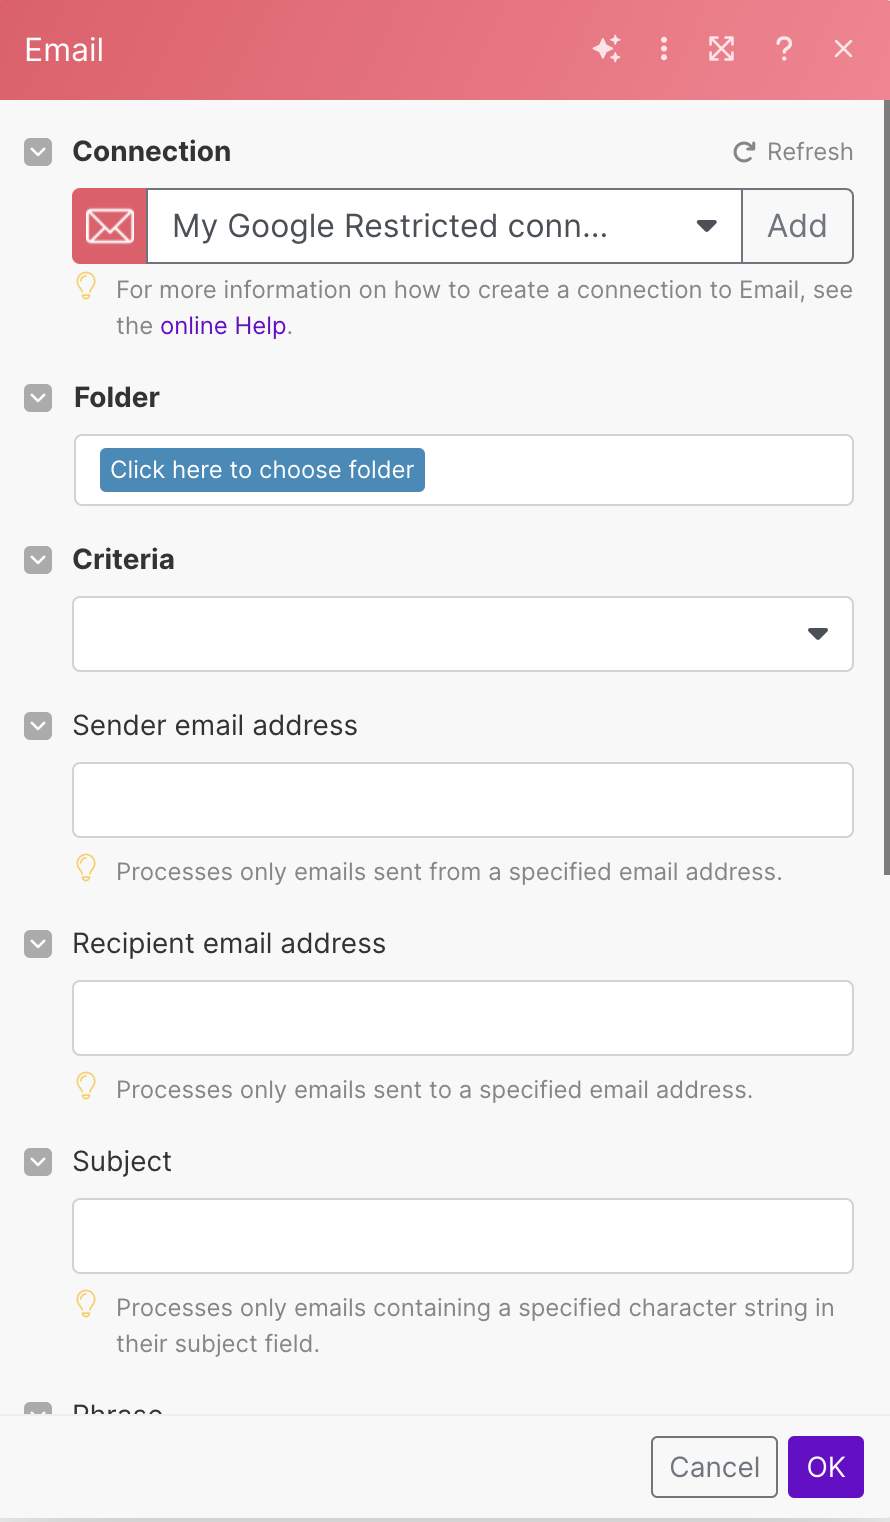
In our case, I'll simply opt for the INBOX folder and select ALL emails. I'll set the maximum number of results to 1. Now, let's include another tool: "Google Sheets Add A Row." This will help us smoothly move the email data we've collected into a Google Sheets spreadsheet. Here, we'll need to connect our Google account to gain access to our Google Sheets. After Completing connecting this is the window we will get.
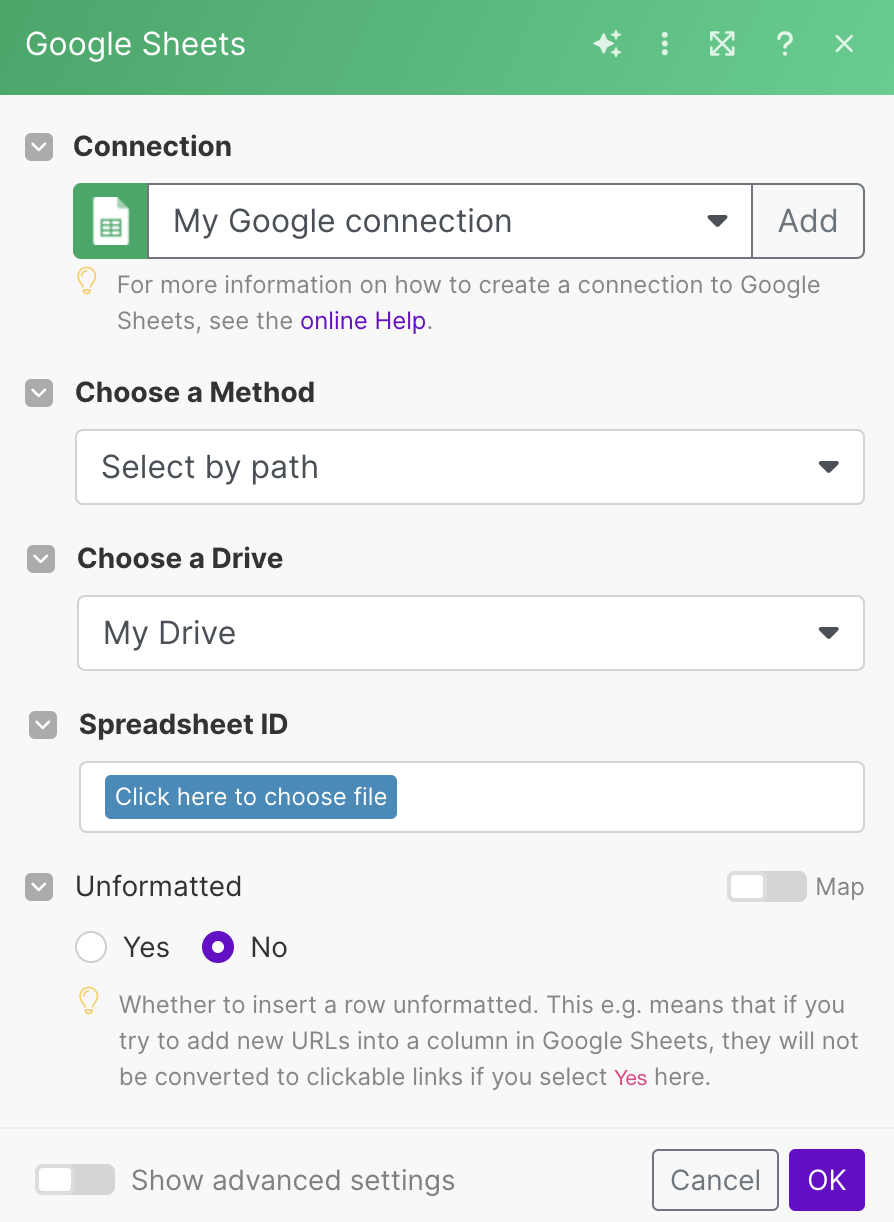
Once we've selected the Spreadsheet ID and Sheet, we're set to configure our new row. Simply clicking on the columns allows us to add text. But How do we get the sender's name and email? By leveraging the data collected through the "Watch Email" step, we can effortlessly retrieve this information. Upon clicking the text box, a window will appear, displaying the data obtained from the "Watch Email" action. We'll then select "Sender: Name" and "Sender: Email Address" from the available options. It should look like that:
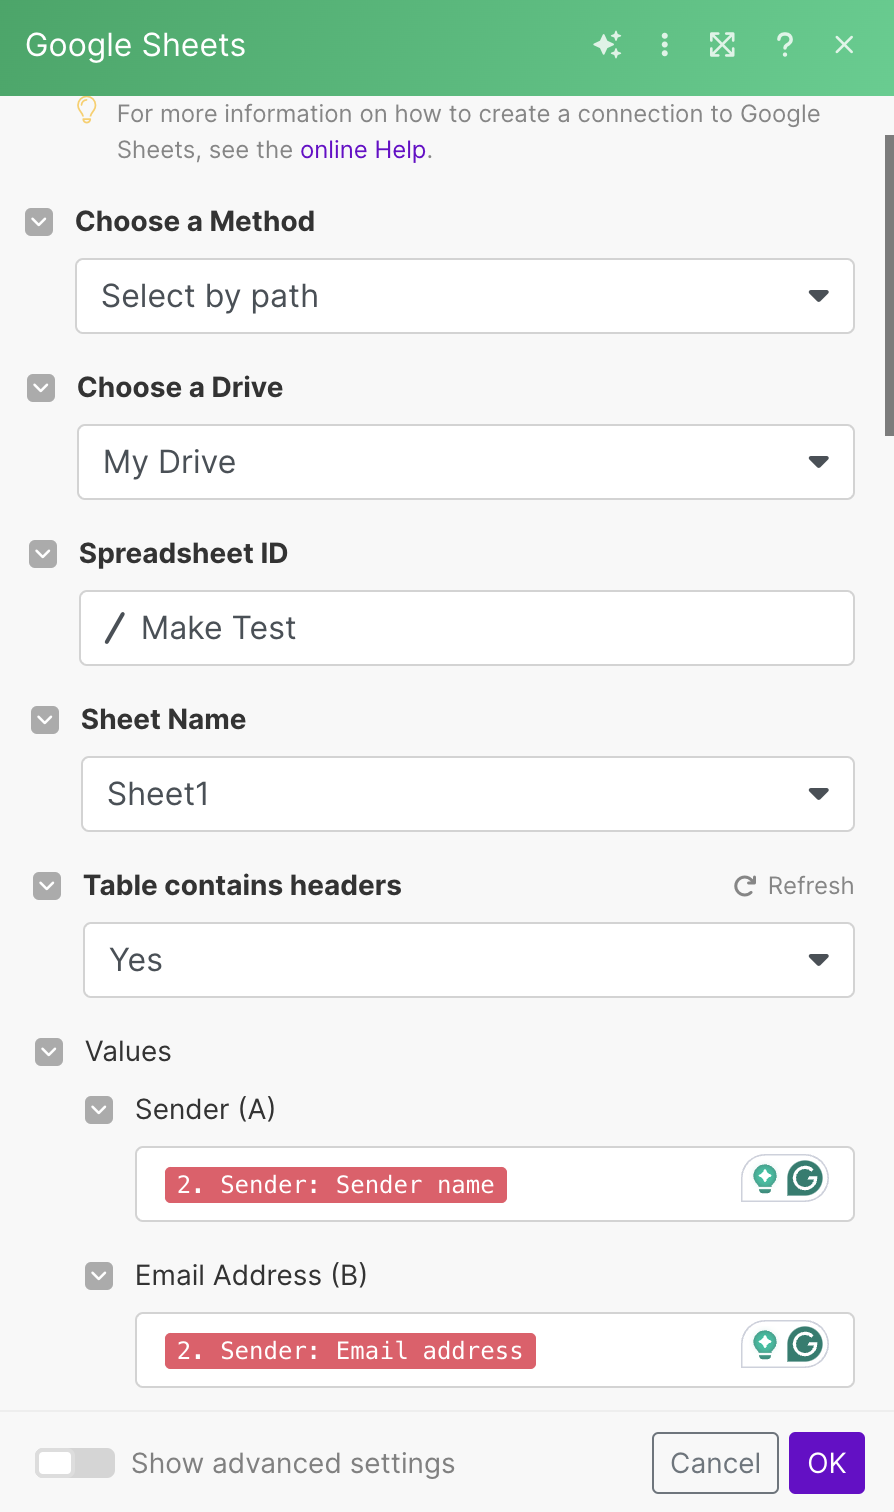
This example shows the basics of Make, using just two apps and simple features. But Make offers a lot more! It supports many apps and has advanced features for creating detailed workflows.
Publishing and Going Live
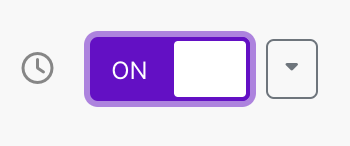
Publishing your scenario is incredibly straightforward. Simply navigate to the "Scenarios" section from the navigation bar, where you can toggle the activation of your scenarios on or off. Depending on the schedule settings you've configured, your scenario will run accordingly. For instance, if you opt for the default setting, which runs every 15 minutes, your scenario will execute at that interval until you deactivate it. Before activating your scenario, it's crucial to run a test to ensure everything functions smoothly without any errors.
Beyond the Basics
Make is renowned for its simplicity as a scenario creator, yet it boasts a vast array of advanced features that can cater to even the most complex needs. These additional functionalities expand the possibilities exponentially, offering seasoned users an extensive toolkit to tackle intricate scenarios. Here are some of the Make’s advanced features:
- Setting up filters between 2 modules
- API Integrations
- Scheduled Tasks
- Conditional Logic
- Role-Based Access Control
Conclusion
In summary, Make offers users a seamless and intuitive platform for crafting scenarios, catering to both novices and seasoned experts alike. Its user-friendly interface and extensive feature set, including advanced functionalities like conditional logic and API integrations, empower users to effortlessly bring their ideas to life. With Make, users have the essential tools at their disposal, ensuring a smooth scenario creation experience from start to finish. Whether you're just starting out or looking to delve into more complex projects, Make stands as a powerful ally, offering endless possibilities for creativity and innovation.
If this article has piqued your interest, we recommend checking out our comprehensive overview of Make. You can also dive into our detailed instructions on how to learn to maximize the benefits of this platform.

