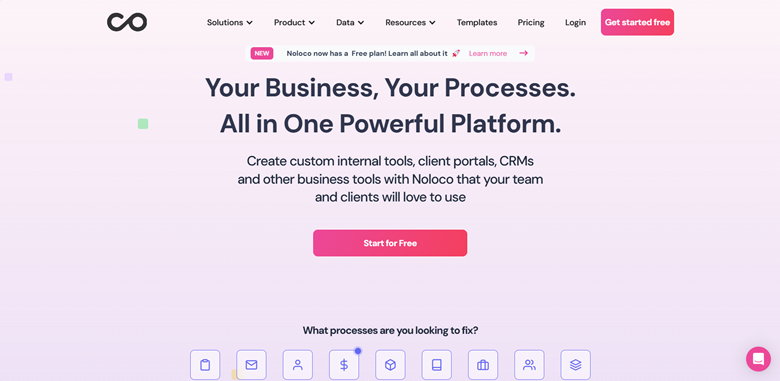
Noloco is a robust no-code platform that enables you to create fully customized and functional apps without the need for coding or programming knowledge. Designing, developing, and administering applications is made simple by its user-friendly interface, while database and automation tools make workflows more efficient.
Noloco allows you the freedom to quickly and precisely design the business tool, CRM, or client site you need. Noloco is a fantastic option if you want an easy approach to create and modify apps without having to deal with technical hassles.
Getting Started with Noloco
Noloco has a variety of paid options,but you can also get started for free to see if it fits your needs.
After creating your free account, it is highly recommended to explore the following guides and video tutorials.
- Read the relevant support guide for setting up your data source like Noloco Tables , PostgreSQL, Airtable or Google Sheets).
- Learn how to add collection views to create pages, record views and forms around your data
- Explore using blank pages to create dashboards with data from different collections
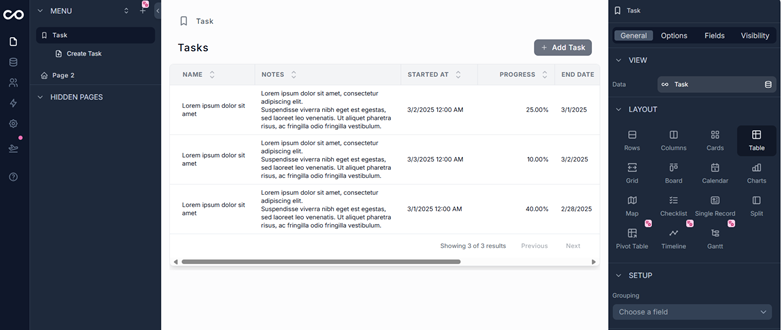
- Choose the best collection display for your data (tables, cards, kanban, calendar, maps etc.)
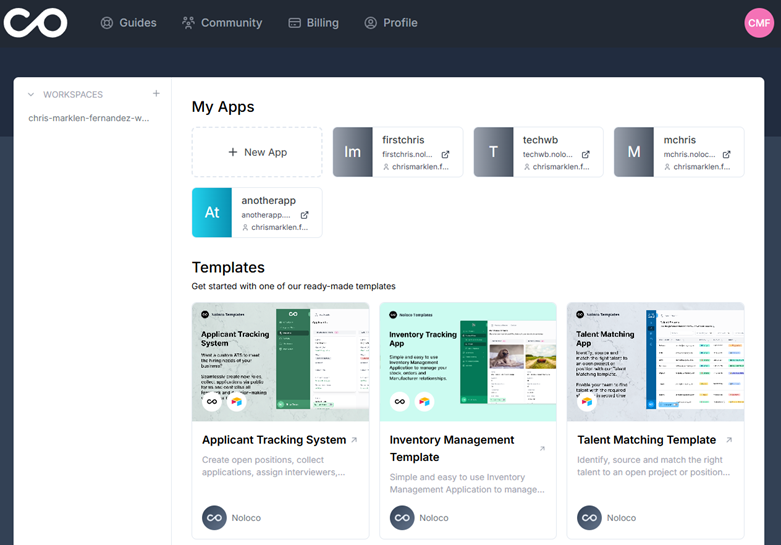
To start creating a project, just click “New App” or choose from the templates.
If you want to learn more about Noloco or read an external overview you should check our other articles:
Building Your First Project with Noloco
Step-by-step guide to help you build your first app with Noloco
Step 1: Create a Plan
Decide on what will be your app’s purpose. Is it for data collection, process automation, or customer engagement? Having a plan gives more meaning to what you are doing.
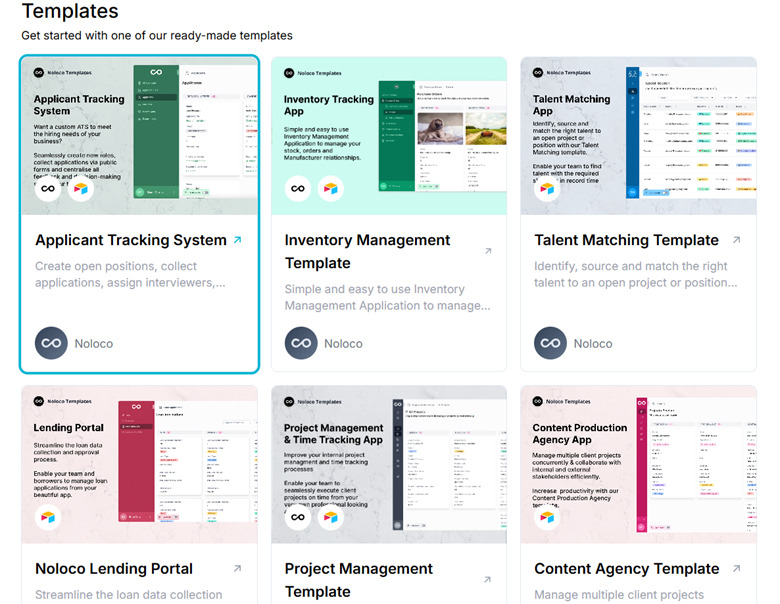
Step 2: Simply choose a Template or Start from Scratch.
Select from Noloco’s library of templates or start with a clean workspace. These templates are useful to speed up the process of creating, and these templates also serve different purposes. So, choose the appropriate one if you are opting to use templates.
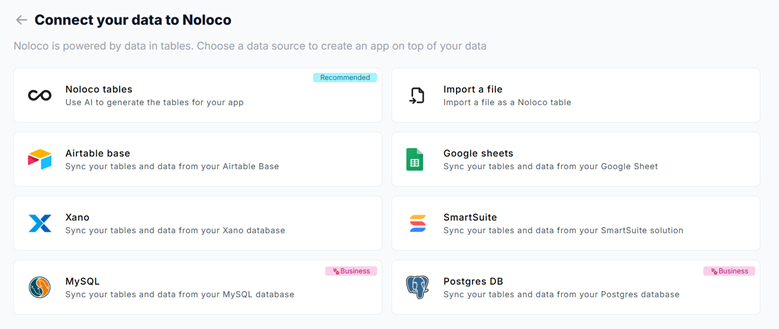
If you decide to start from scratch, you need to select what data to be used, whether Noloco tables, Google sheets, Xano, etc.
Step 3: Design Your Interface
Use the point-and-click builder to create a user-friendly interface. You can easily add buttons, forms, filters and more based on your needs with just a few clicks.
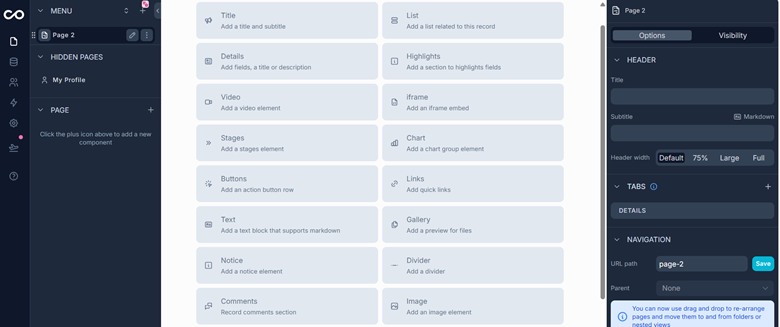
You can add pages by clicking the add symbol on the upper right-most part of the menu sidebar.

After adding a page, you are now free to add any component or feature you need to complete the app.
Step 4: Add Workflow Functionality
By adding workflows that automates tasks and processes, the app becomes more powerful and functional, you can also integrate it with other tools via Zapier or Make.

Step 5: Add Permission Roles
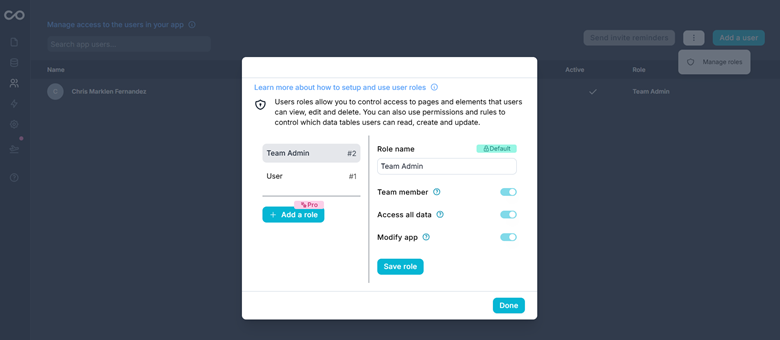
With the use of user list syncs, user roles & permissions, and visibility rules, you can have more control on who can access the app, what can be accessed according to user types or roles, and visibility of the app.
Step 6: Test It
Test your app comprehensively. Make sure that all features and functionalities work before publishing.
Step 7: Publish and Share Your App
If your app is complete and fully-functional, it is time to launch! Toggle on live mode, share it with your team or customers and let them experience your creation.

Beyond the Basics
Dynamic Data Relationships
✔ Relational Databases – Link multiple tables together (e.g., Tasks assigned to Users).
✔ Lookups & Rollups – Pull related data from other collections (e.g., Total Tasks per Project).
Advanced User Roles & Permissions
✔ Role-Based Access Control (RBAC) – Limit what users can see and do.
✔ Record-Level Permissions – Show different records to different users based on ownership.
Workflow Automation & Actions
✔ Conditional Logic – Trigger actions when certain conditions are met.
✔ Email & Notification Automations – Send alerts when a status changes.
✔ Auto-Assign & Update Records – Automatically change data based on rules.
Formulas & Calculations
✔ Math & Date Calculations – Perform calculations like total costs, deadlines, or time tracking.
✔ IF Statements – Create logic-based fields (Example: IF a task is overdue, show "Overdue").
✔ Concatenation & Formatting – Merge text fields for better display.
External Integrations
✔ Sync with Airtable & Google Sheets – Keep external databases in sync.
✔ Zapier & Make – Automate workflows with 3rd-party tools.
✔ Webhooks & API Access – Connect Noloco with other software.
Custom Components & UI Enhancements
✔ Charts & Graphs – Visualize data with dashboards.
✔ Custom Buttons & Actions – Create interactive buttons for tasks.
Conclusion
Noloco makes it simple to create internal tools, CRMs, and custom apps without the need for coding. Noloco allows you the freedom to design something that precisely suits your needs, whether that be project management, customer tracking, or workflow simplification.
You can finally go beyond spreadsheets and create something more robust using drag-and-drop tools, intelligent automation, and an integrated database—all without the aggravating aspects of traditional programming.
Ultimately, it all comes down to simplifying and optimizing your work. You can easily and naturally take control of your data and processes using Noloco. If you’re ready to build smarter tools for your team, now’s the perfect moment to give Noloco a try!
If this article has piqued your interest, we recommend checking out our comprehensive overview of Noloco. You can also dive into our detailed instructions on how to learn to maximize the benefits of this platform.
