Introduction
In this article, we will talk about the basics of Nowa and how a new user can use it to create a very basic application using no code.
If you want to learn more about Nowa or read an external overview you should check our other articles:
How can I get started with Nowa?
Inside Nowa’s app builder, you can find a variety of things to do. First, you can see the outline where all your screens with their different components are. On the bottom left of the screen you can find:
- The data sources tab, where you can connect different data sources to your app such as Supabase, Firestone, or a custom API
- The settings menu
- All your project’s files
- And a list of all the shortcuts
On the right part of the screen, you can change the details and the variables of your project and the selected screen.
On the top right, you can find the most important buttons. The download, save, and play buttons.
They are pretty self-explanatory. With the download button, you can download an offline version of your app.
With the save and play buttons, you can save your project and see it in preview mode as a user would see it.

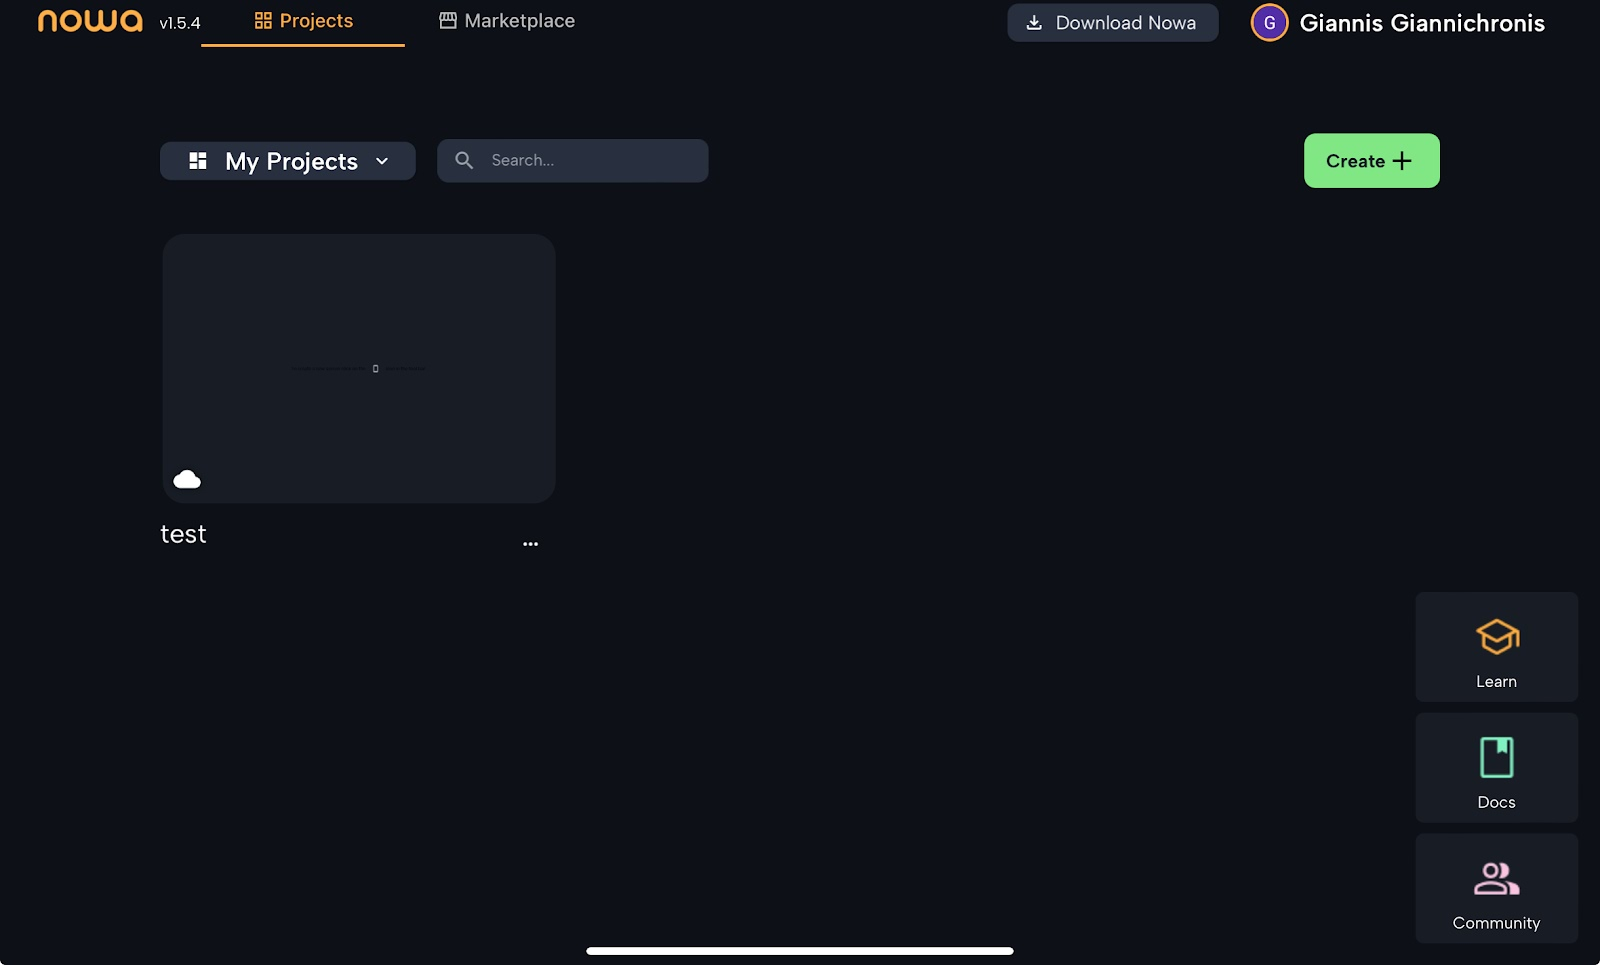
Building your first Nowa project - Recipe App
We are going to create a very simple and easy-to-use Recipe App in Nowa, using Supabase as an information manager.
All of our recipes will be stored there and our app will use them in our app.
We are using Supabase to store our recipes instead of manually adding each one inside the app for our benefit and ease of use because storing them individually in the app will require as many screens as our recipes.
By using this method we will only need three!
- Start by creating a Supabase account, a new project, and then a new table for our app
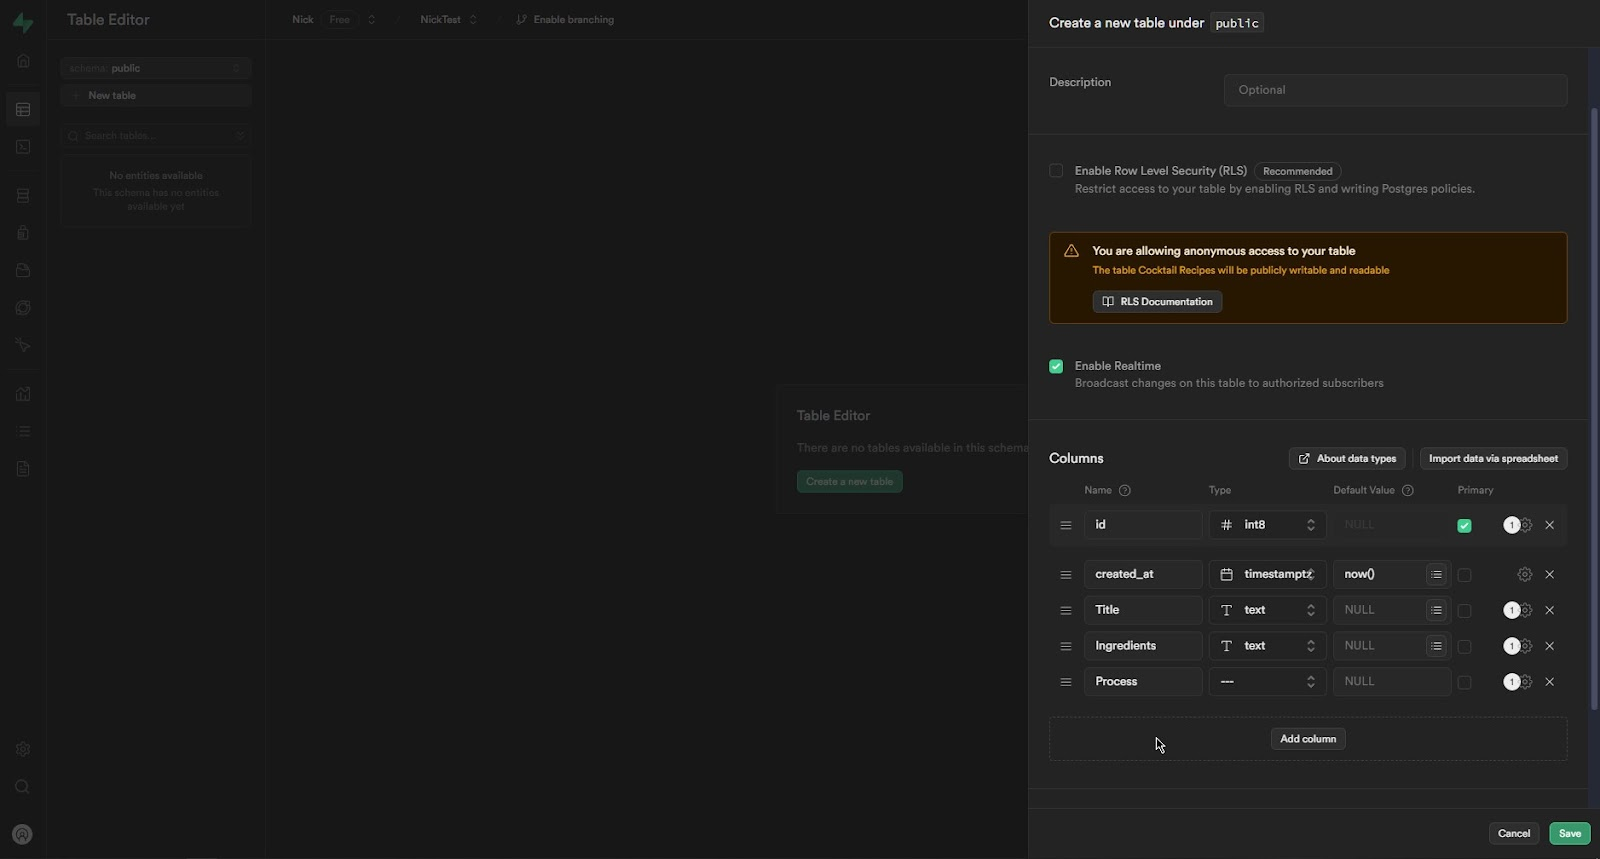
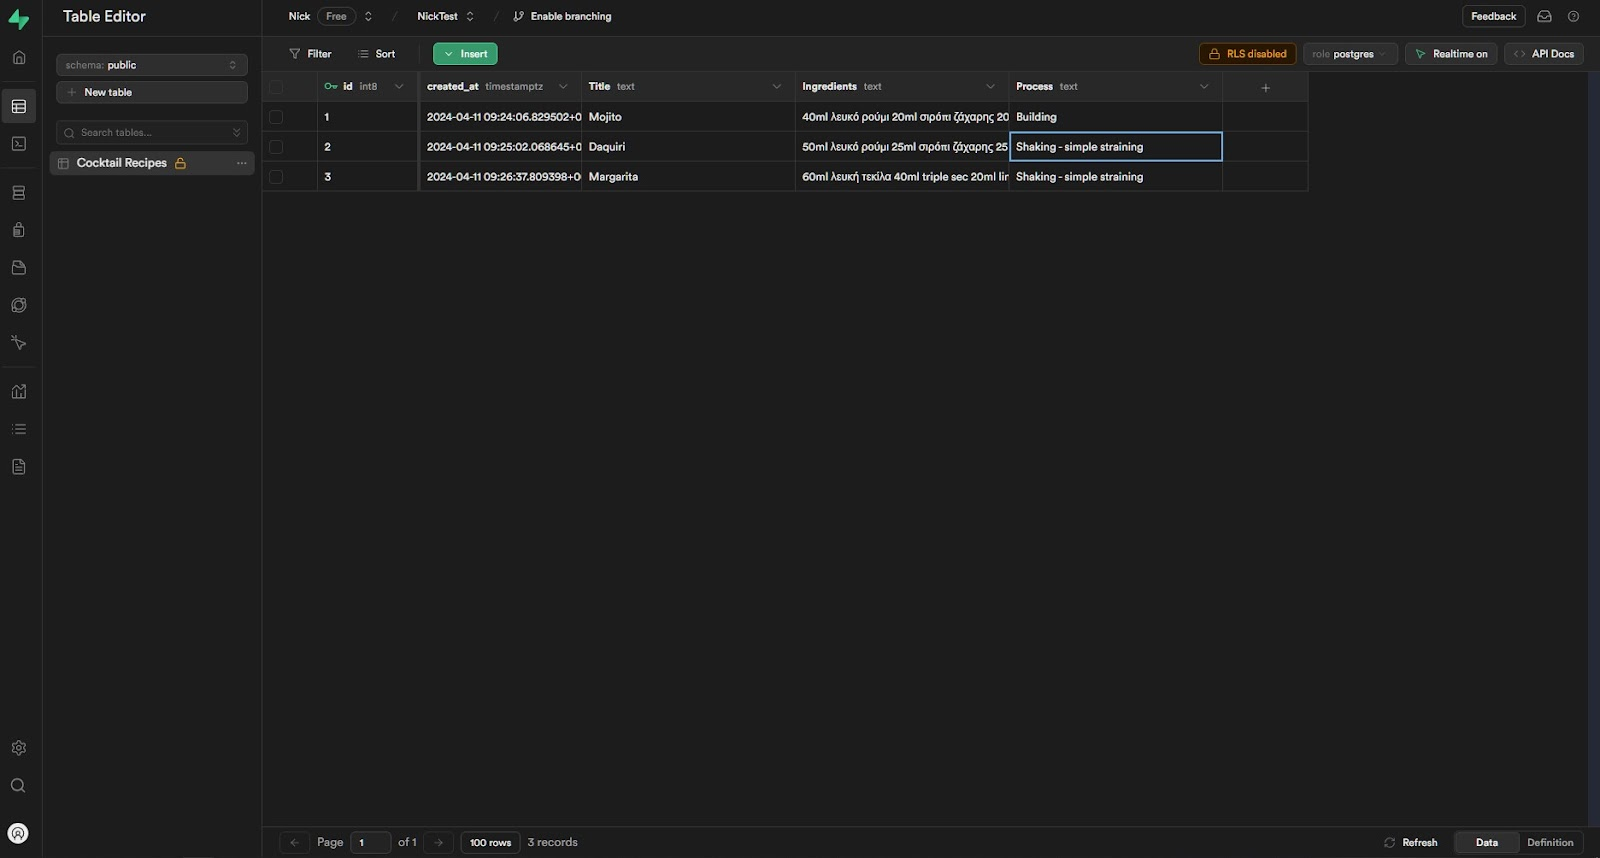
- Create as many columns as many screens you have. Now insert the recipes you wish to have in your app by clicking on the insert new row button
- Then go to Nowa, create a new blank project and from the top select the new screen, and create 3. Then for our main screen, we want to have all our recipes with their names presented here
I chose to create small rectangles with some dummy images. Name all the recipes, since the names will be added automatically from Supabase.
From the widget menu find the text option and the shape option and create the basic shapes with the names under them.
You can also group the different elements together for easier organization.

- Then for the second screen, we want to create the recipe screen. Again from the widgets menu create a rectangle with the word drink inside and under it two text widgets where the process and the ingredients are going to be displayed from Supabase
- For our third screen, we want to create a “new recipe” screen where the user can manually add a new recipe to the database
From the widgets find the text field widget and with a little customization you can make it look like the screenshot above
- Now let's create some buttons to navigate through the different screens. From the widgets menu find the button you want and place it in the main screen
Click on the button and on the bottom right of the screen you can find the gestures.
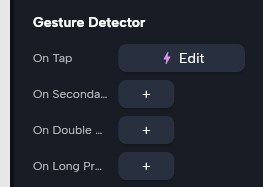
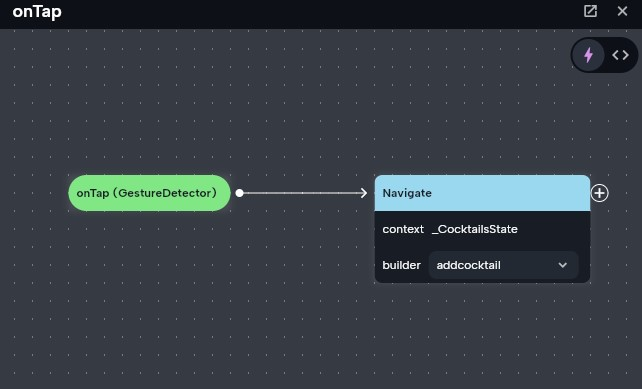
- By clicking edit the circuit window appears. This is where we program the button to do what we want. In our case, we want to navigate to the new recipe screen
Press on the plus icon next to the on Tap bubble and search for the navigate function.
On the Navigate bubble select the builder you want, i.e. the screen you want. Then connect the two bubbles and the button should work. Do the same for any other buttons you want to create.
- Now let’s connect Supabase with our app and play around with variables
Go to the bottom right of the screen and select Supabase from the data sources. Go to supabase get your url and api key and paste them in nowa.

- Now select the column with the recipe card and add a data builder wrapper and select supabase and the table you created. Above the column properties connect the children with the data
Still with the column selected click on the card inside it on the details panel and connect the variables to the corresponding data.
- We now have to make this card clickable and navigate to the next screen and display the recipes. Create variables for the properties that will display the data
Now select the columbine on the first screen and from the outline select the recipe card. Add a gesture detector on tap and find the navigate function. Select the screen with the recipe view.
Connect each field to the corresponding data.
- Finally, we will add some functionality to the third screen to let us submit recipes. Select the column with the recipes and select the real-time property in the data builder settings
Now click onm the add recipe button, open circuit, and find the insert record node. Connect the corresponding variables of the text fields.
Lastly, add another block to navigate back to the main screen like we did before.
- Feel free to test the app anytime you want from the play button on the top right of the screen
Your recipe app is now complete.
Beyond the Basics
Nowa’s community and YouTube channel are very helpful for new users. There are many tutorials to choose from and learn the basic and the advanced features later on. Feel free to explore on your own and ask any questions you have in the community.
Conclusion
In conclusion, Nowa is a very useful app for people new to no code and programming.
The circuit mechanism helps illustrate the concept of programming visually and helps you structure your code and thoughts and the tool’s UI in general pushes you to explore new environments.
If this article has piqued your interest, we recommend checking out our comprehensive overview of Nowa. You can also dive into our detailed instructions on how to learn to maximize the benefits of this platform.

