Introduction
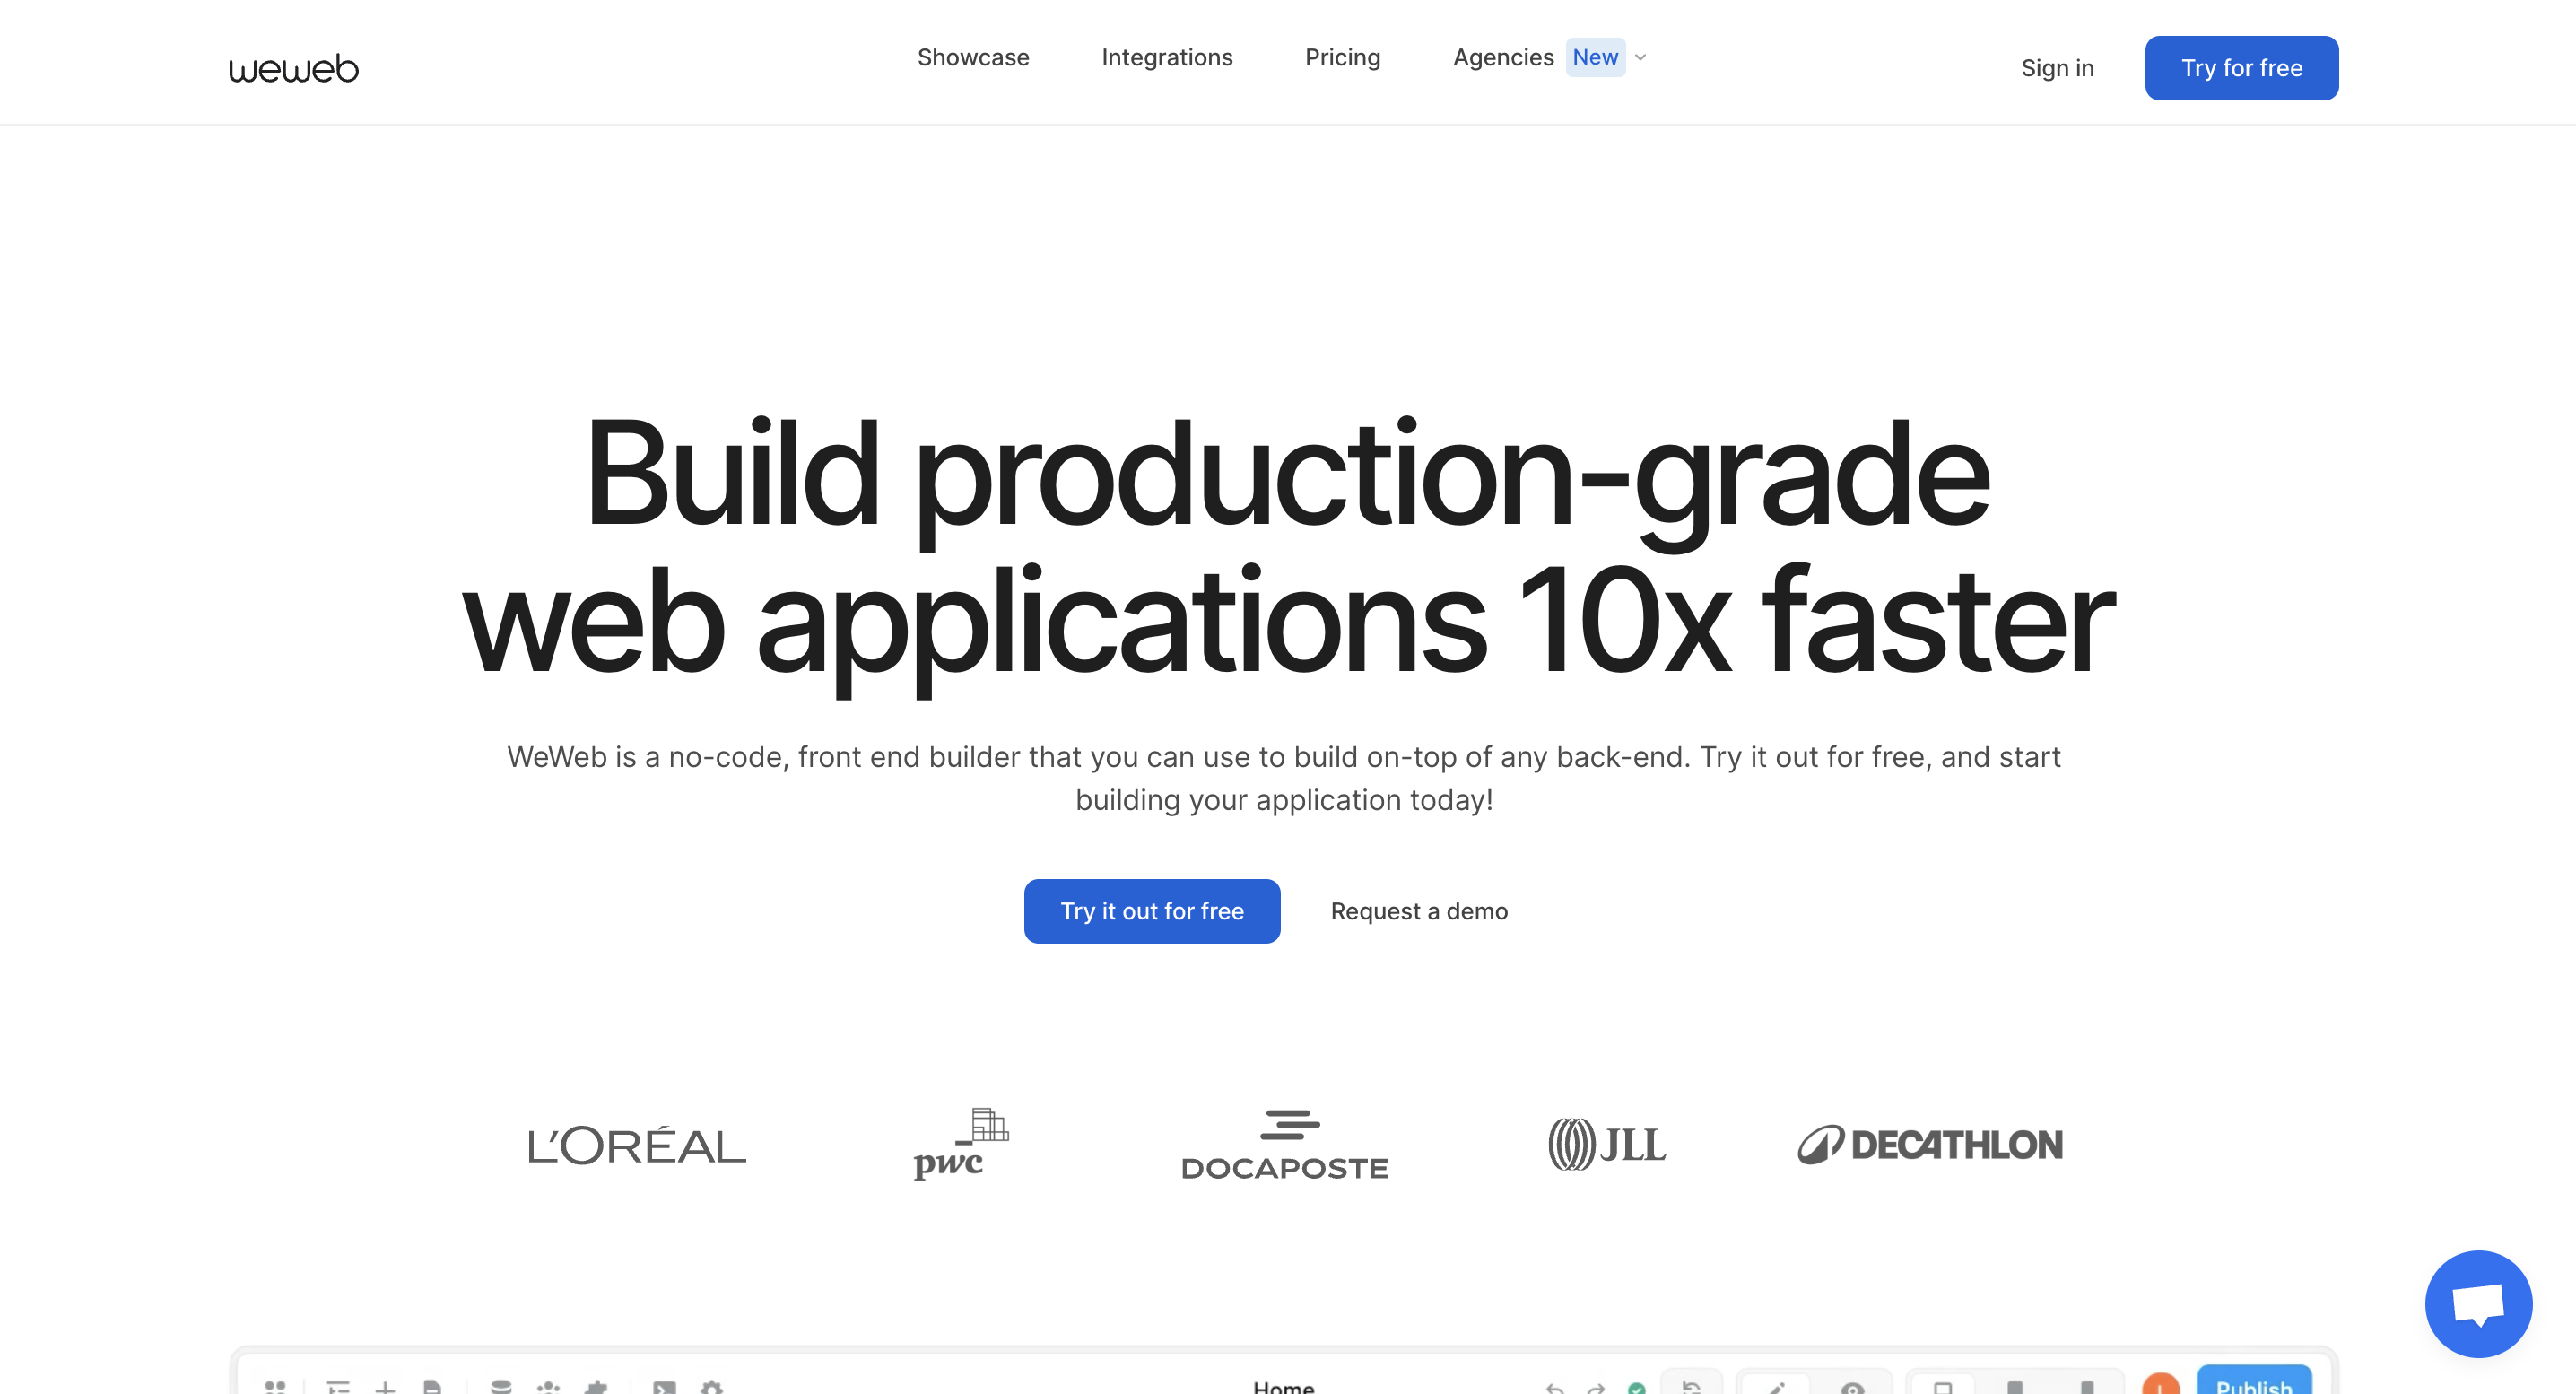
WeWeb is a versatile drag-and-drop builder equipped with developer-friendly functionalities, facilitating comprehensive customization. This no-code platform transcends traditional boundaries, offering a paradigm shift not only for non-coders but also for seasoned developers seeking to craft sophisticated front-end web applications.
If you want to learn more about WeWeb or read an external overview you should check our other articles:
Getting Started with WeWeb
You can log/sign in with your Google account or by using your email. After that, WeWeb guides you through the process of creating your first website, facilitating a seamless journey from concept to completion.
Building Your first project in WeWeb
Once you open the editor, you'll notice a plethora of tools provided by WeWeb. Let's delve into them.
- In the top corner, you'll spot three dots. Clicking on them enables you to toggle between dark and light mode, access shortcuts, toggle workflow, check deployment options and backups, set your domain, or return to the dashboard. You'll also be able to view the page you're currently editing. Last but not least, you have the option to change the page language

- In the top right corner, you'll find options to undo and redo actions, reload data, toggle between edit and preview modes. You can also switch between different screen sizes, from desktop to tablet or phone, and adjust the screen size manually. Additionally, you have the option to publish your website once you're ready

- At the top of the screen you'll find the Navigation Bar. In the Navigation Bar, you'll find various categories of features to enhance your website-building experience. Here's a rundown:
- Add
- Libraries
- Plugins
- Auth
- Copilot
- More

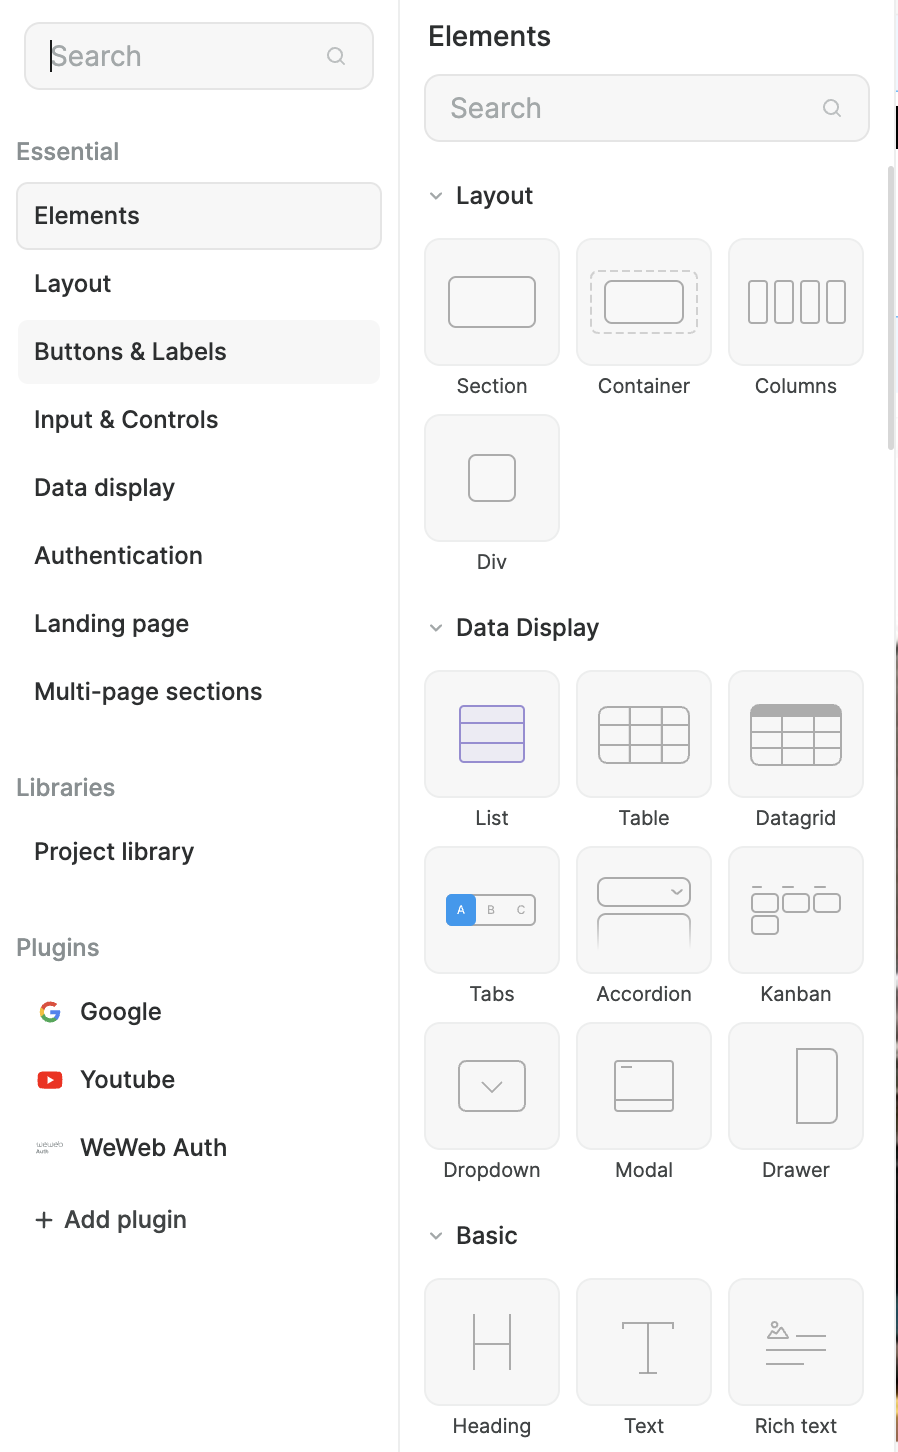
You can incorporate elements, layouts, buttons, labels, input controls, data display widgets, and many other features into your website. You can choose from a vast selection of ready-made templates designed to cater to virtually any element you might need.
To add an element, you'll need to navigate to the 'Add' category on the navigation bar and select the corresponding section. Last but not least you can add containers, columns, alerts, pop-ups, and much more layouts.
Creating the Essentials
Maintaining an effective website structure is paramount for various reasons, one of which is to improve user accessibility. Additionally, a well-organized structure greatly streamlines the web app creation process for you.
Key pages that are essential for almost any type of website include the Home page, About Us, Contact page, and Privacy Policy page.
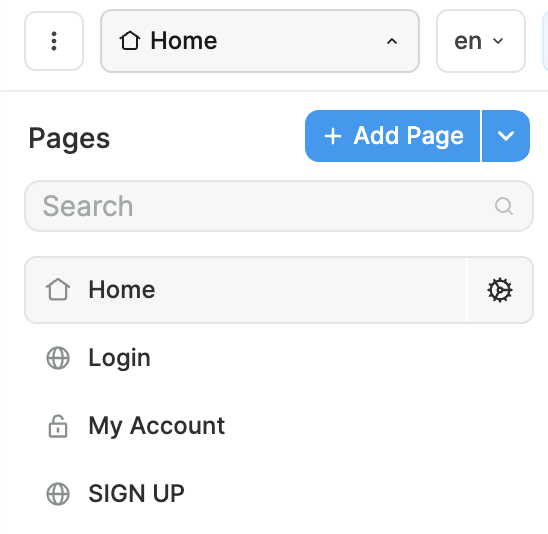
Within the editor interface, on the top side of the screen, you'll find a section titled "Pages" in the navigation bar. Here, you can easily access all the pages you've previously created or quickly generate new ones as needed.
Clicking on the page you're currently editing allows you to view and manage all the pages within your web app. You can create new pages effortlessly by simply clicking "Add Page.”
Making Your Web App Shine
Within the navigation bar, you'll come across the "Plugins" category. Upon clicking it, a menu will appear on the left side of the screen.
You'll find all the added plugins and their respective categories on the left side. On the right side, you will find the plugins. Simply click on a plugin to begin setting it up. You can add three types of plugins, Data sources, Authentications, and Extensions.
Data Sources
Numerous data sources are available for integration into your web application. Here's a list of some of the data sources you can find on WeWeb:
Various methods exist for integrating a database into your web application, with the approach depending on the chosen data source. Let's delve into a few of these:
- Xano: To connect your Xano workspace to WeWeb, you'll need to set the Metadata API key and the instance. To locate your Metadata API key, navigate to your profile at the bottom left of your Xano dashboard
From there, access your Instances. Click on the Settings icon of your desired instance, then proceed to the Metadata API section. Navigate through Manage Access Tokens to create a new one. Upon creation, you'll find your Metadata API key.
After setting your Metadata API key and selecting your instance, you're ready to add your database to a collection. Simply click on 'Add Collection' to navigate to the Data section.
From there, you can create a new collection, choose a folder if desired, and add the data source. Your database is ready to use now.

- Google Sheets: To begin, log in to your Google account. Utilizing Google Sheets requires only the link to the sheet. Once you've obtained the link, create a collection
Provide the link within the designated area, then select the specific sheet to load and the desired cell to retrieve. Additionally, you have the option to specify whether the titles correspond to the first row or the first column.
In the navigation bar, you'll locate the "Auth" category. Here you'll find three categories: Users, where you can manage authenticated users; Roles, where you manage user roles; and File Storage, where you can manage files uploaded by users.
It's important to mention that you have to add an authentication plugin to utilize all these features.

Authentications
You have the option to implement various types of authentication methods, including:
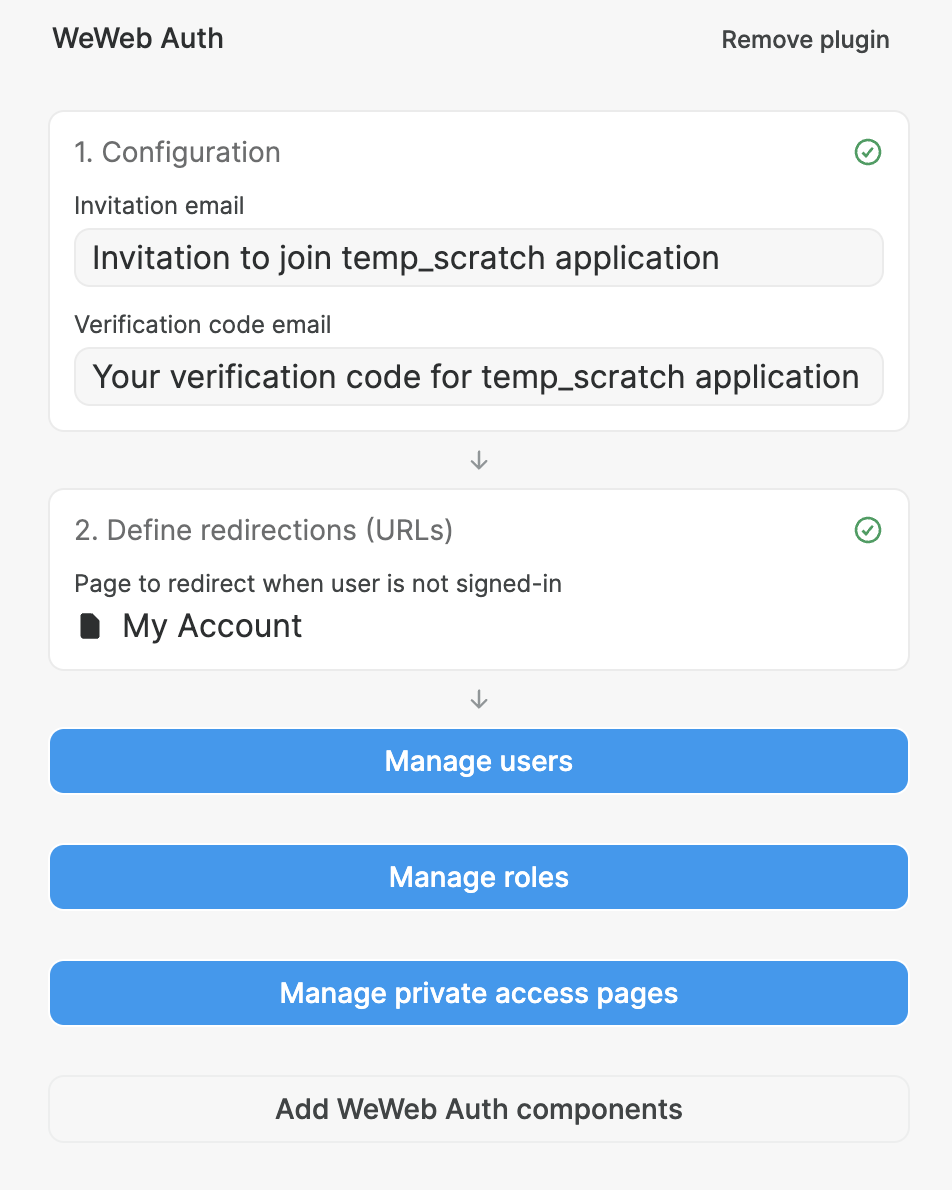
Adding authentication is a simple process: just click on the desired method, then proceed by setting up invitation and verification code emails. Afterward, configure the redirection, choosing from available pages.
Your authentication setup is now complete. To access the templates for signing in or logging in, simply navigate to the "Add" category on the navigation bar and select the authentication method you've chosen. There, you'll find all the relevant templates.
Extensions
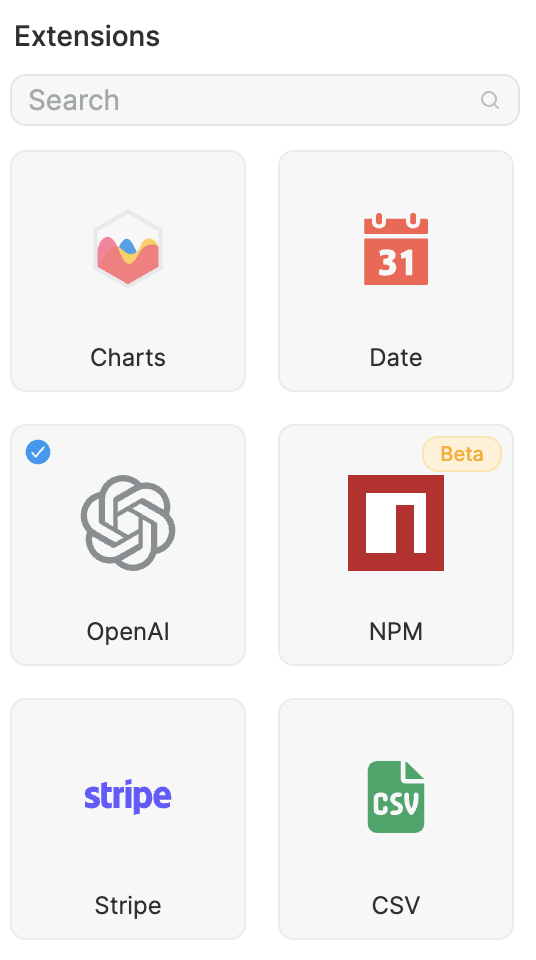
You also have the option to incorporate various other extensions, such as YouTube, Calendly, OpenAI, Sounds, Charts, Twitch, and many more. These extensions come with straightforward setups, making integration a breeze.
Publishing and Going Live
To set up your domain or publish your project, you'll need to become a member. In the editor mode, you'll find the "Publish" button at the top right of your screen. From there, you can easily publish your web app.
Beyond the Basics of WeWeb
WeWeb boasts an extensive array of features, with many of them being foundational and commonly found on similar platforms. However, interspersed among these are advanced features tailored for more proficient users.
These advanced functionalities serve to enhance the capabilities of the platform, enabling users to delve deeper into customization, optimization, and integration possibilities.
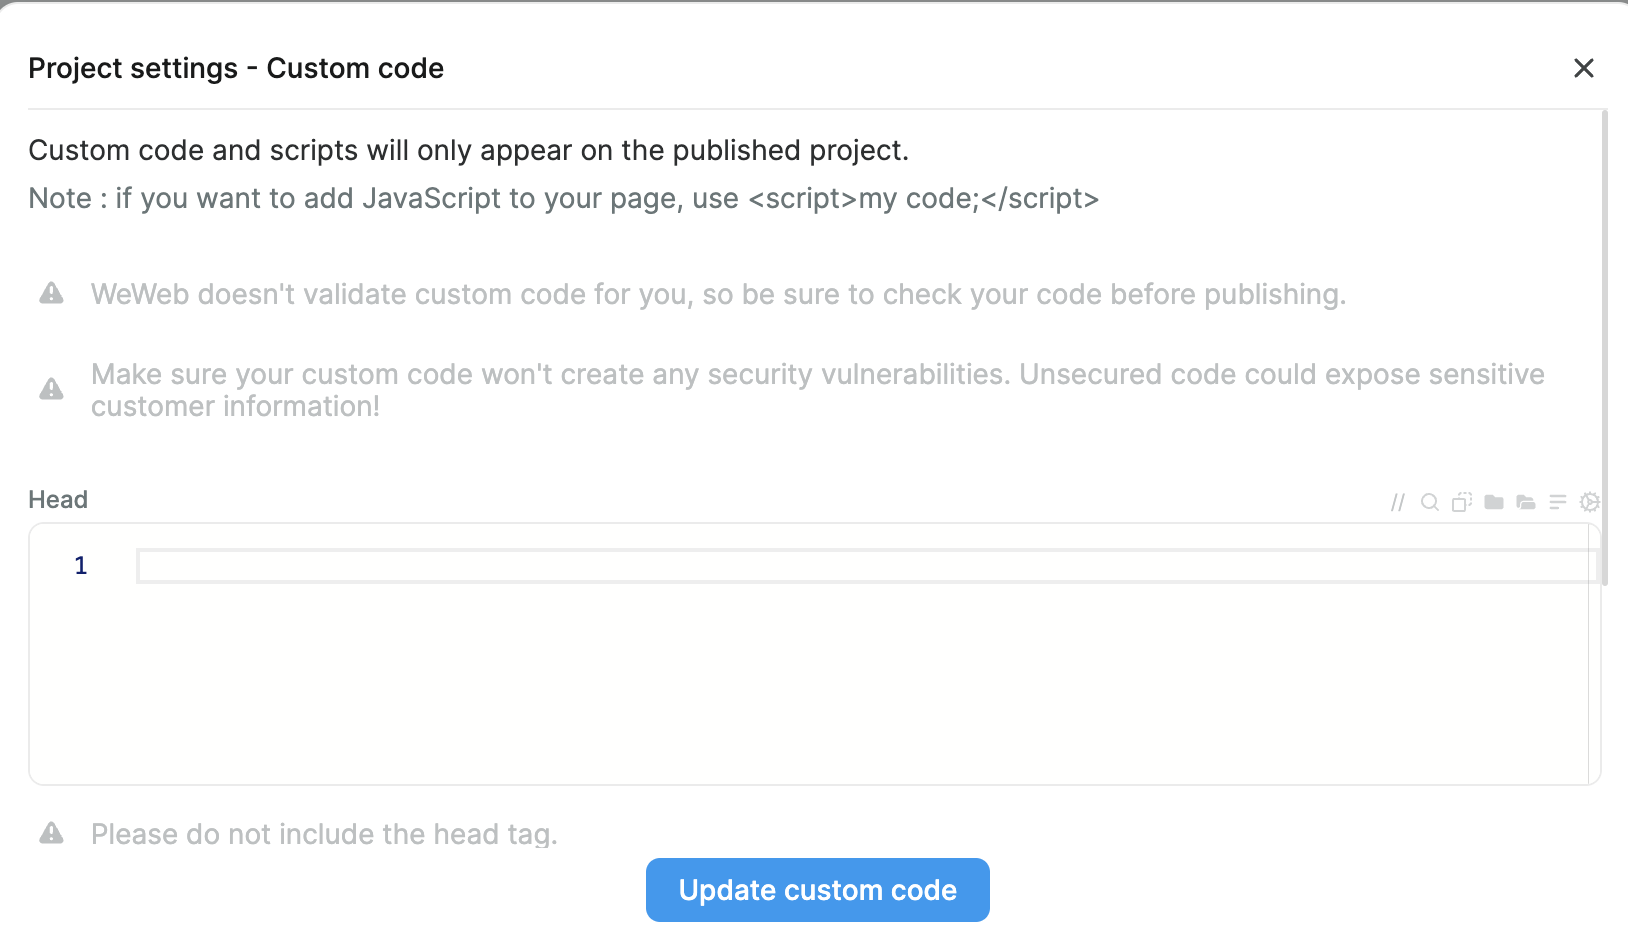
- Custom Code Integration: Allows users to incorporate custom HTML, CSS, and JavaScript code to further customize their websites beyond the standard features offered by WeWeb
- E-commerce Integration: Enables users to set up online stores with features such as product listings, shopping carts, and secure payment processing, making it easier to sell products or services directly from their websites
- Database Integration: Integration with databases allows users to dynamically display and manage content, such as user-generated data, blog posts, or product catalogs, enhancing the interactivity and functionality of their websites
- API Integration: WeWeb supports integration with various APIs, enabling users to incorporate external services and functionalities into their websites, such as social media feeds, maps, or analytics tools
- Advanced Design Tools: Provides access to advanced design tools and features, such as advanced typography options, custom animations, and complex layout controls, allowing users to create visually stunning and highly customized websites
- Responsive Design Controls: Allows users to fine-tune the responsiveness of their websites across different devices and screen sizes, with advanced controls for adjusting layout, typography, and content placement for optimal viewing experiences
Conclusion
In summary, WeWeb presents users with a user-friendly interface and an extensive array of features, empowering them to swiftly and effortlessly create web apps.
Whether you're a beginner or an expert, WeWeb equips you with essential tools, like plugins, copilot, single sign-on, and more, ensuring a seamless web app creating experience.
With its robust capabilities, WeWeb stands as a potent web app creator offering endless possibilities.
If this article has piqued your interest, we recommend checking out our comprehensive overview of WeWeb. You can also dive into our detailed instructions on how to learn to maximize the benefits of this platform.

