Carrd is an intuitive, user-friendly platform that allows you to create simple, responsive, one-page websites quickly and easily.
Whether you’re building a personal profile, a landing page, or a portfolio, Carrd provides a wide range of customizable templates and tools to help you bring your vision to life without needing extensive technical skills.
This guide is designed to help you get started with Carrd, walking you through the basics of setting up your first site. We’ll cover everything from signing up and choosing a template to customizing your content.
Accessing the Editor
To begin editing your site in Carrd, you first need to access the editor.
Steps:
1) Log in to Carrd: Go to the Carrd website and log in to your account.
2) Open your site: Select the site you want to edit from your dashboard or click on “Choose a Starting Point”
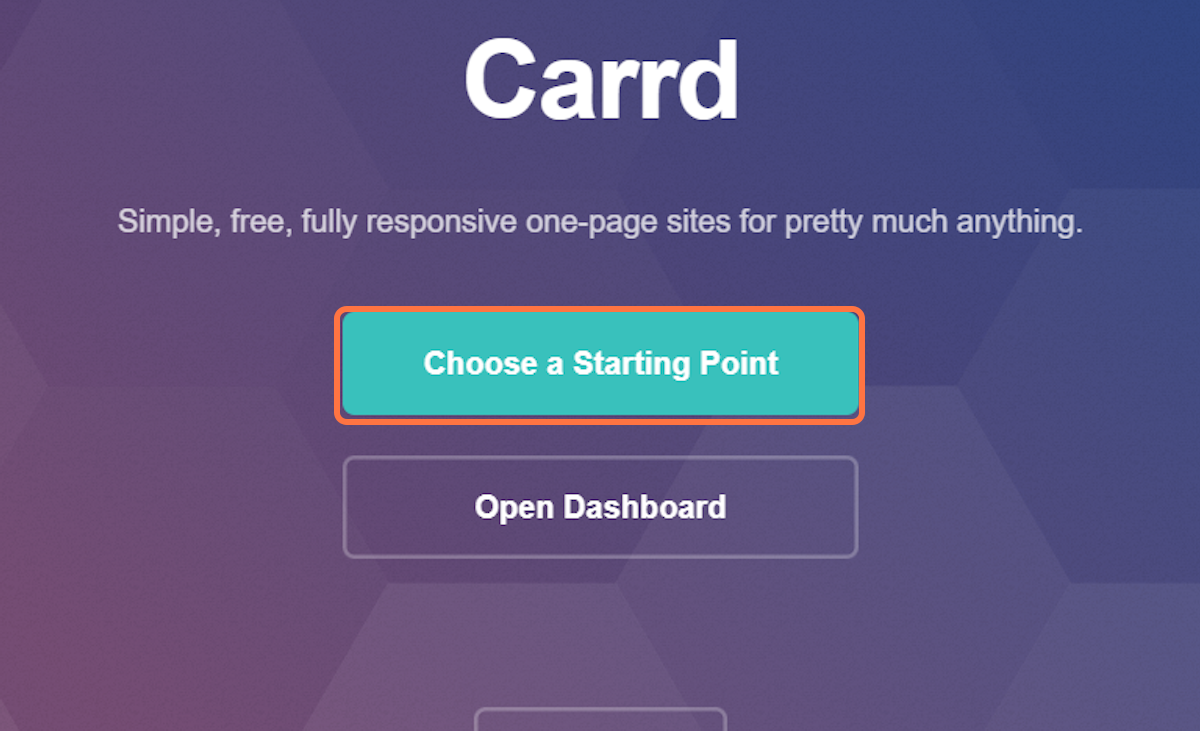
3) Enter Edit Mode: Click on “Blank page” or on a template to enter the editing interface.
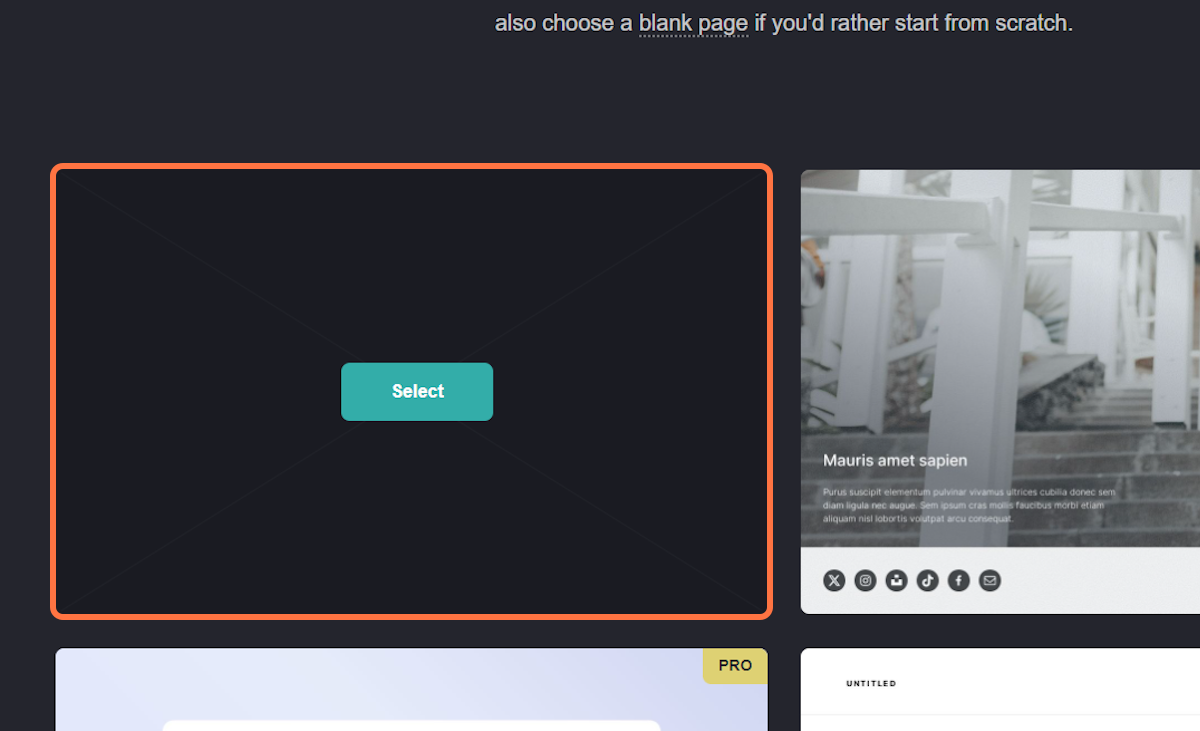
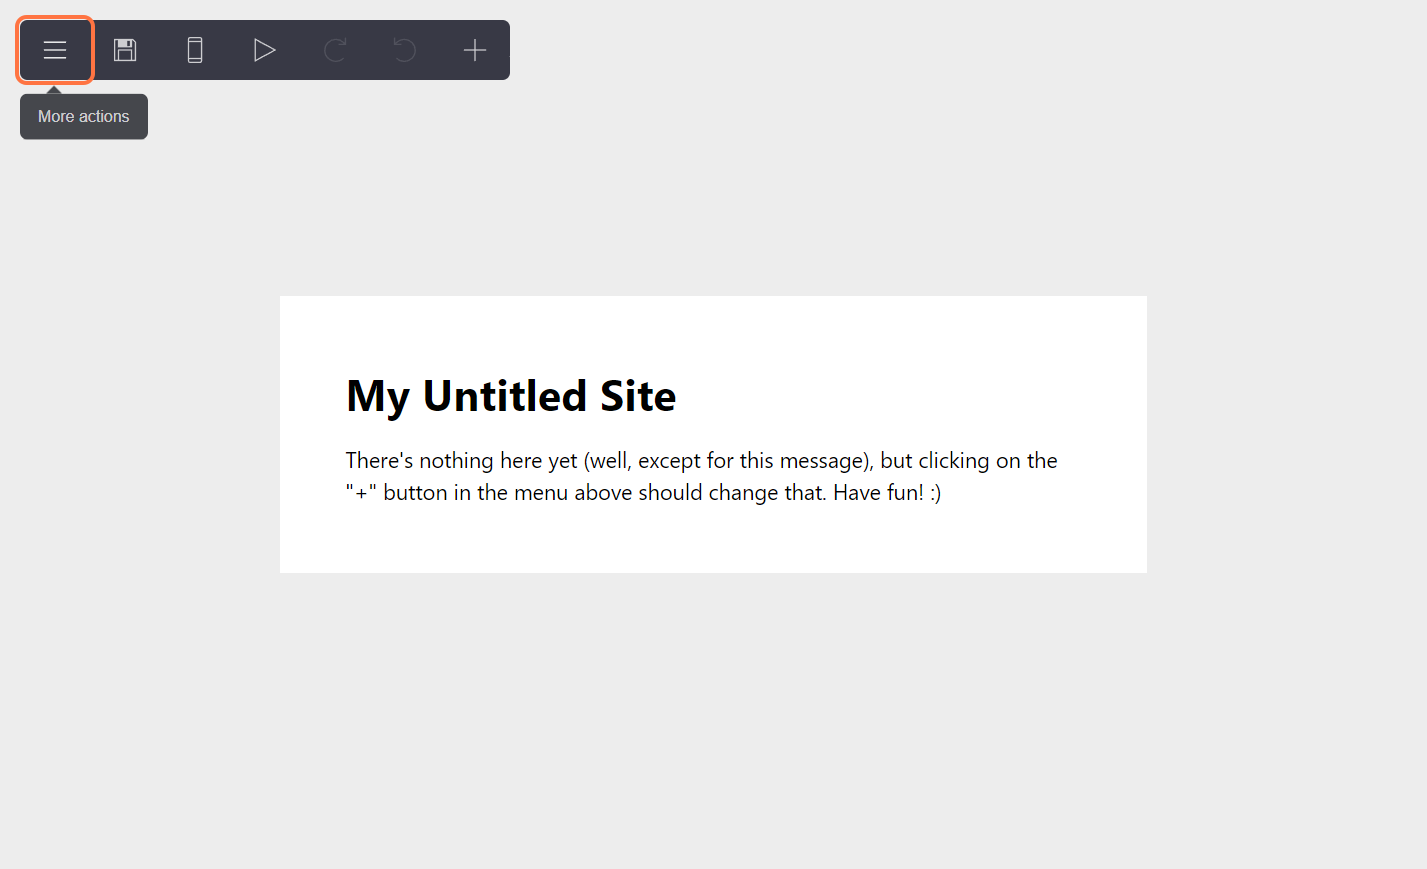
Editing the “Page”
This is our step-by-step example.
1) Click on “Page”:
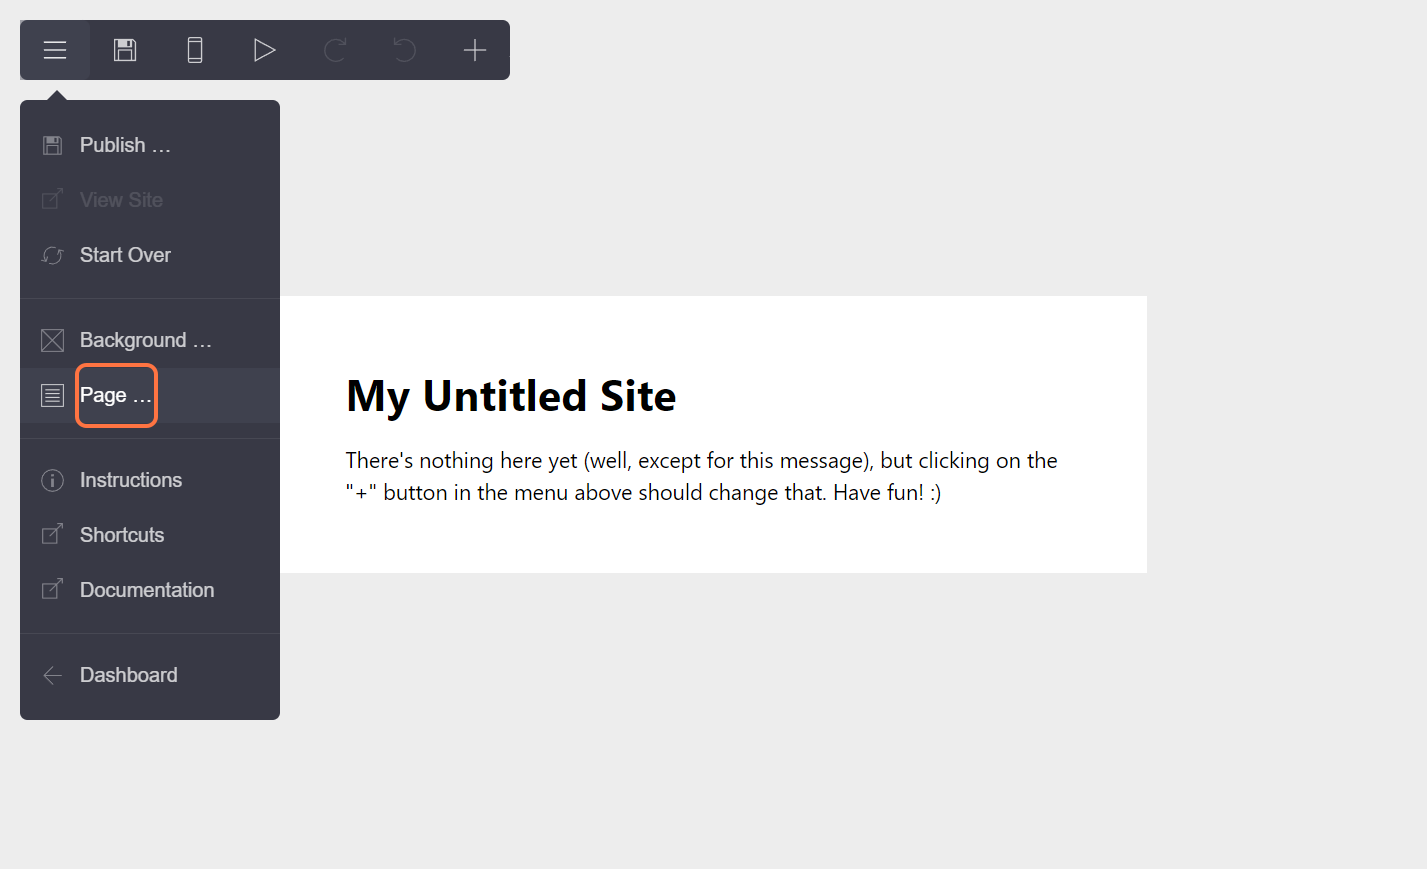
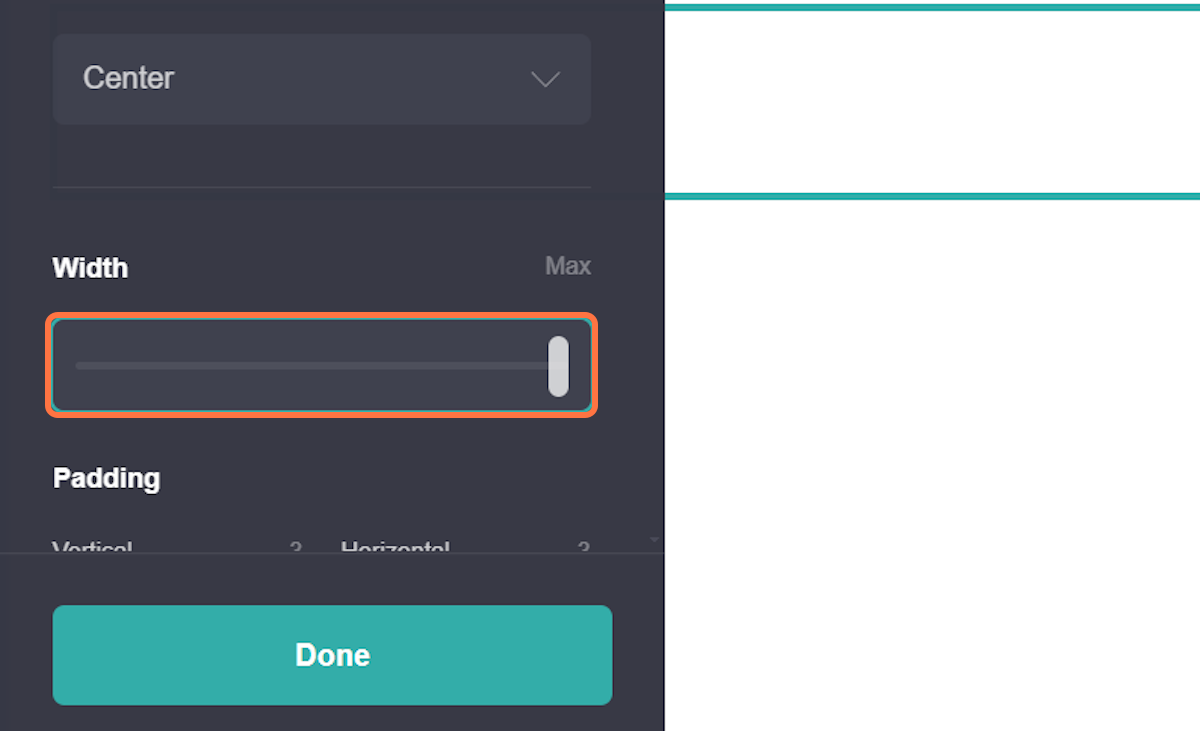
2) Change Width:
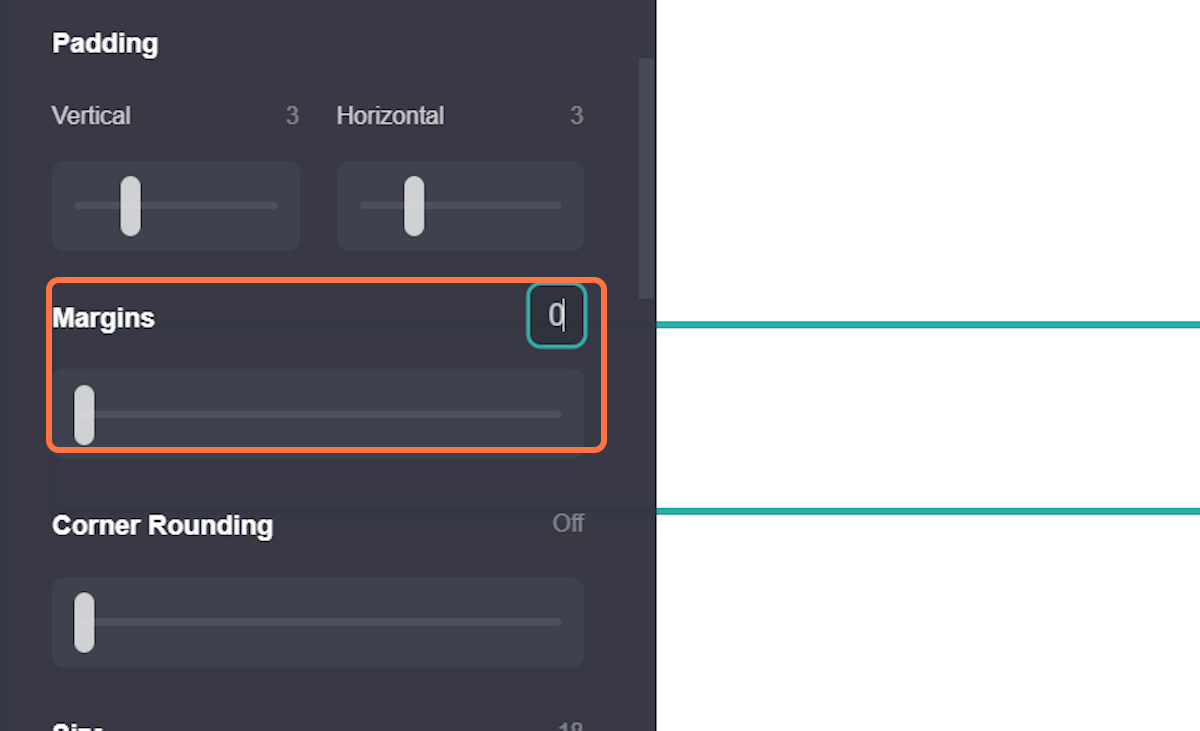
3) Change the margins:
Changing Background
Customize the background of your site or specific sections to enhance visual appeal.
Steps:
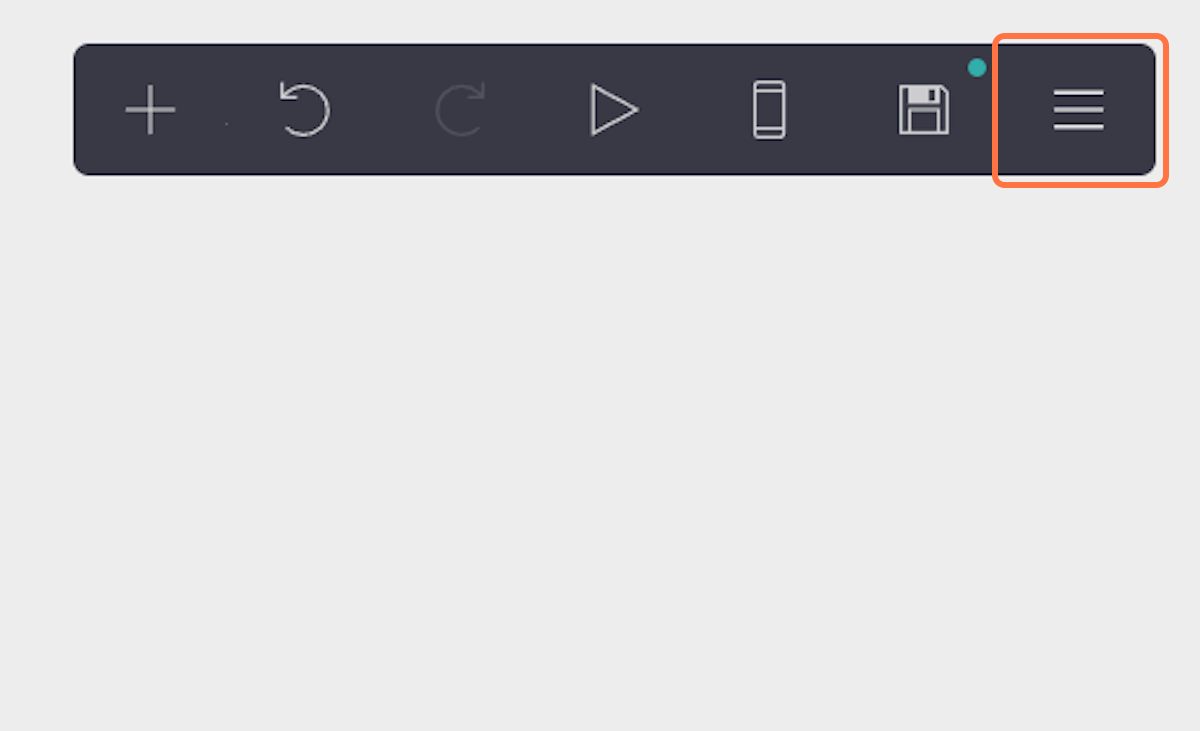
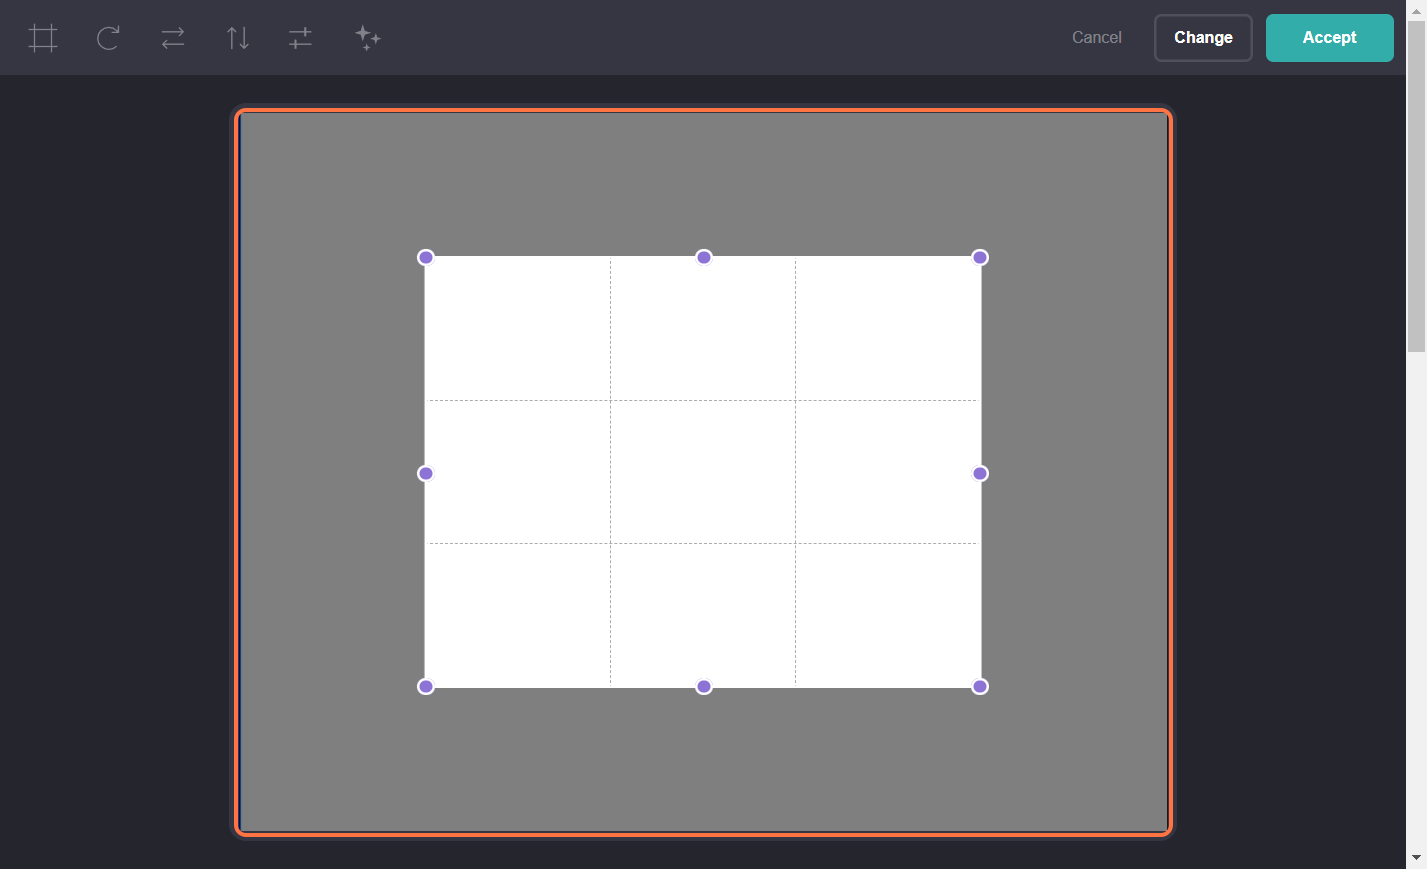
1) Add Background: Click on “Menu” and select “Background” alternatively click on the area you want to change the background for (e.g., section, container).

2) Change Background Color: Use the color picker to choose a new background color.

3) Add Background Image: Click "Add Image" and upload a new background image or you can pick stock images from the Carrd library.
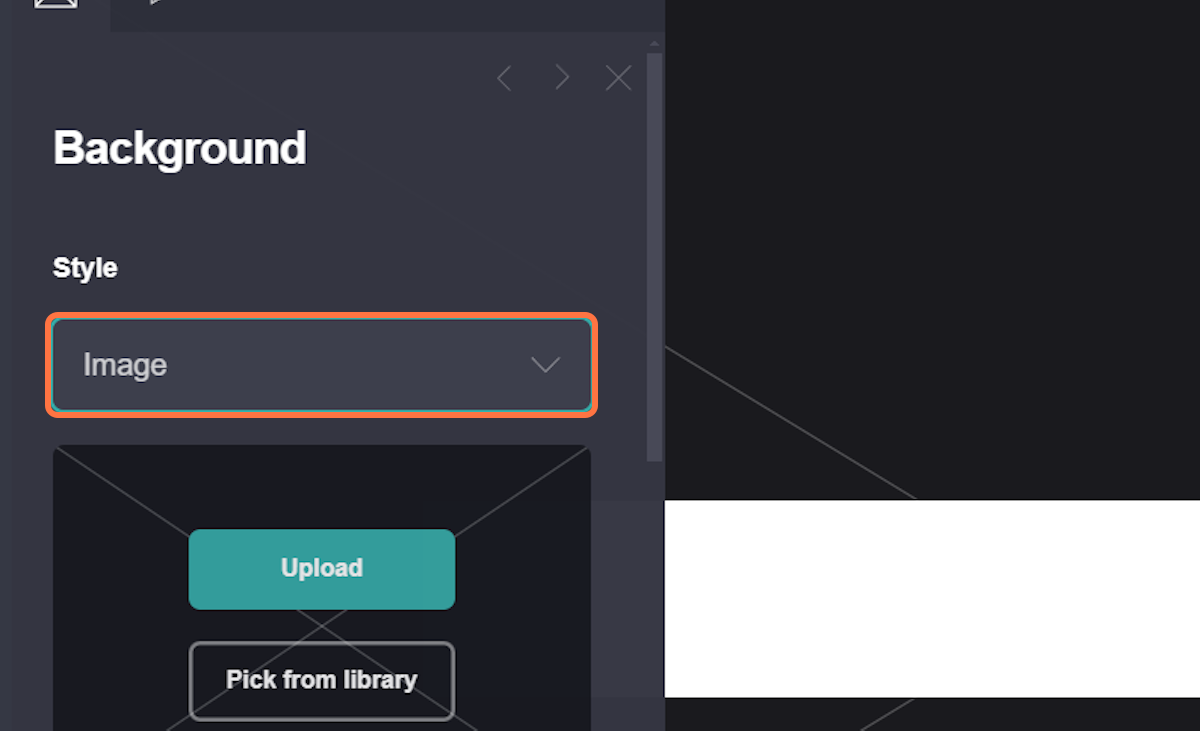
4) Adjust Background Settings: Modify the image size, position, and repeat options as needed, this option is available only if you “Upload” an image.
Adding Text
Learn how to add a text element to your Carrd site.
Steps:
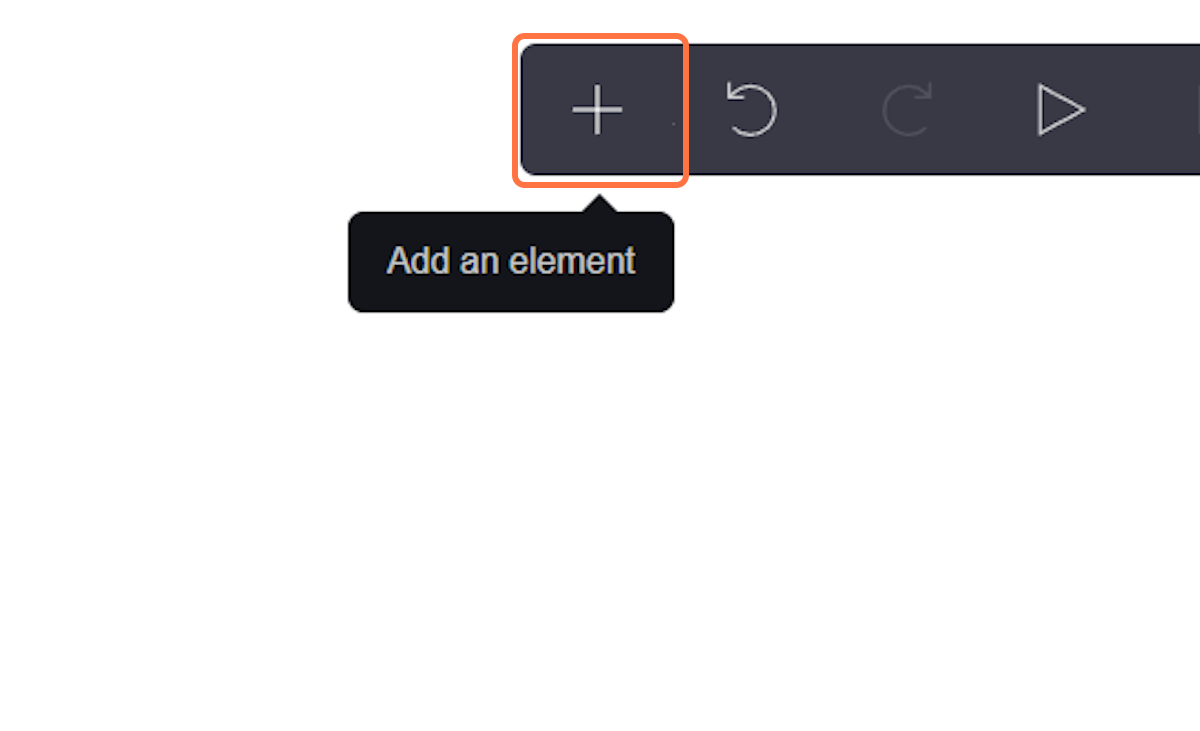
1) Add Text Element: Click the "+" button and select "Text" from the menu.

2) Position Text Element: Drag the text element to your desired location on the page.
Editing Text
Steps:
1) Select Text Element: Click on the text element you want to edit.
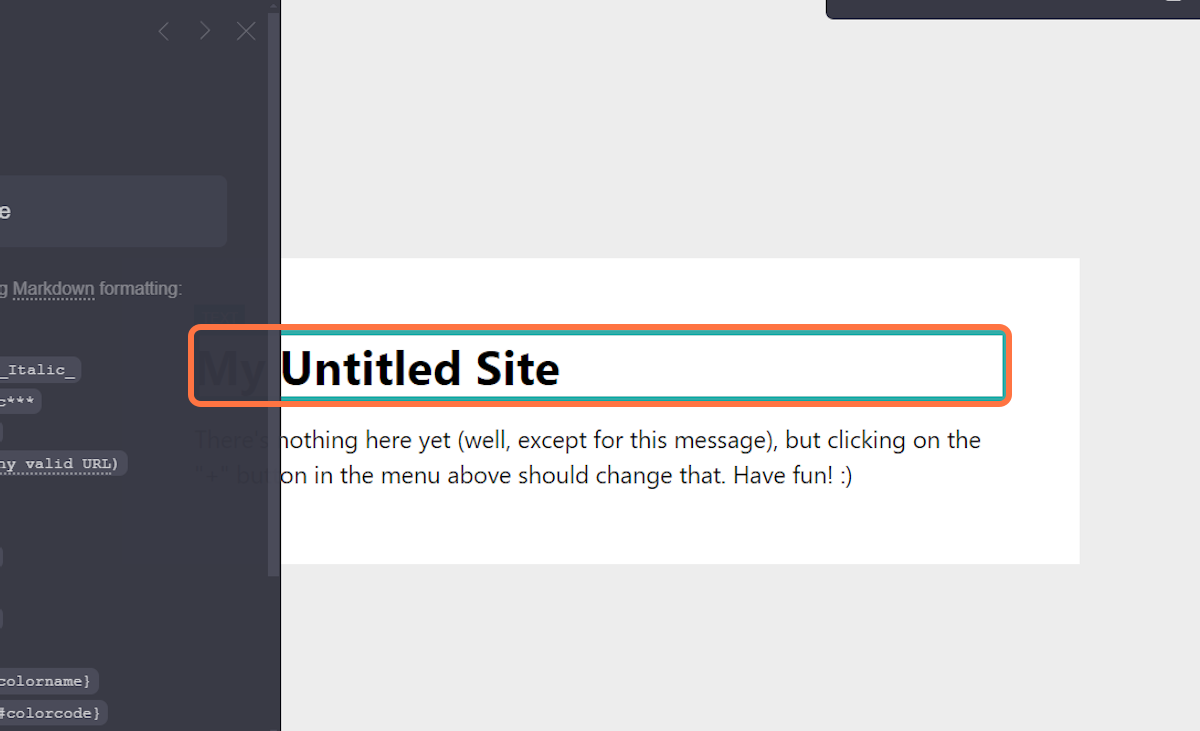
2) Change Text Content: Type your new text in the text box.
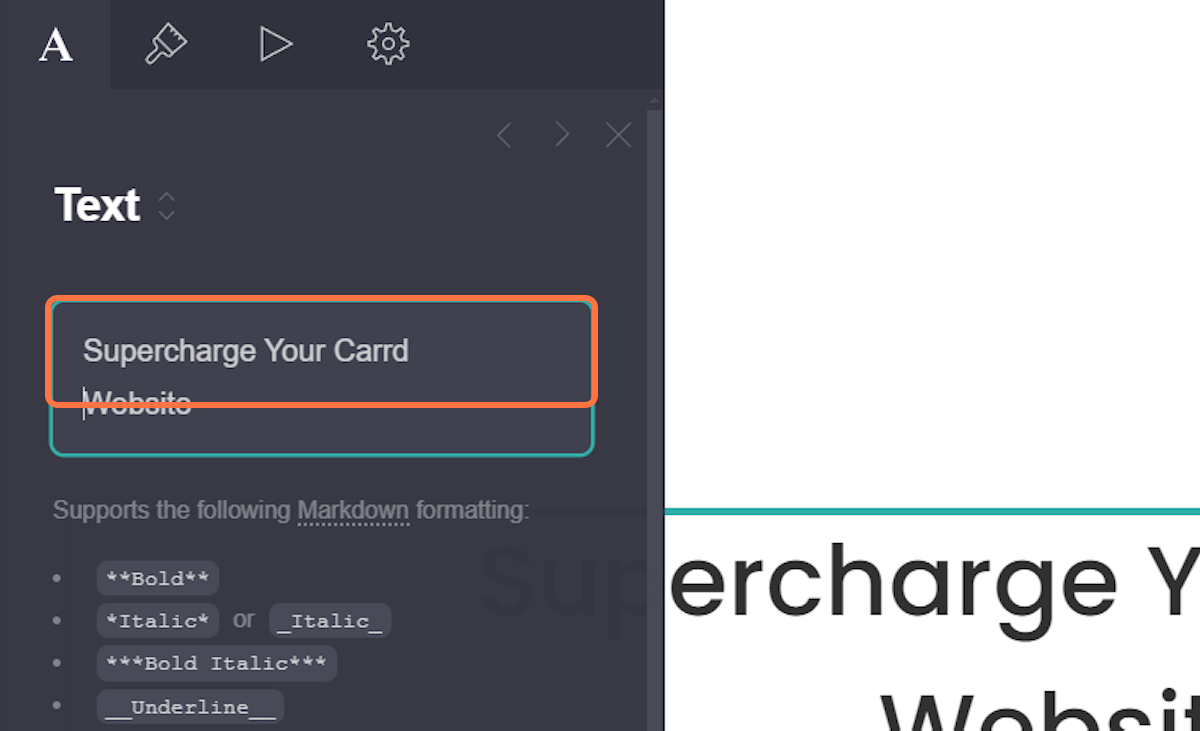
3) Format Text: Use the Markdown from below to bold, italicize, or underline your text.
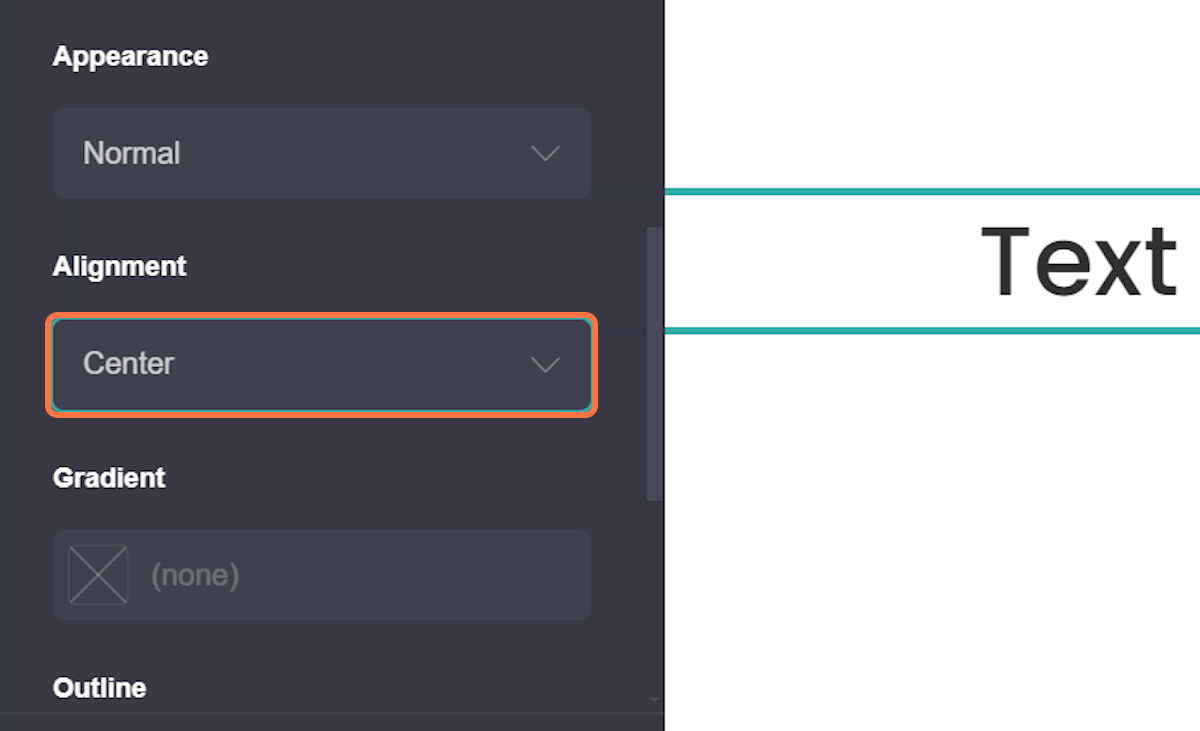
4) Adjust Text Alignment: Choose left, center, or right alignment.
5) Change Text Size: Drag the slider or type any number you want to adjust the text size.
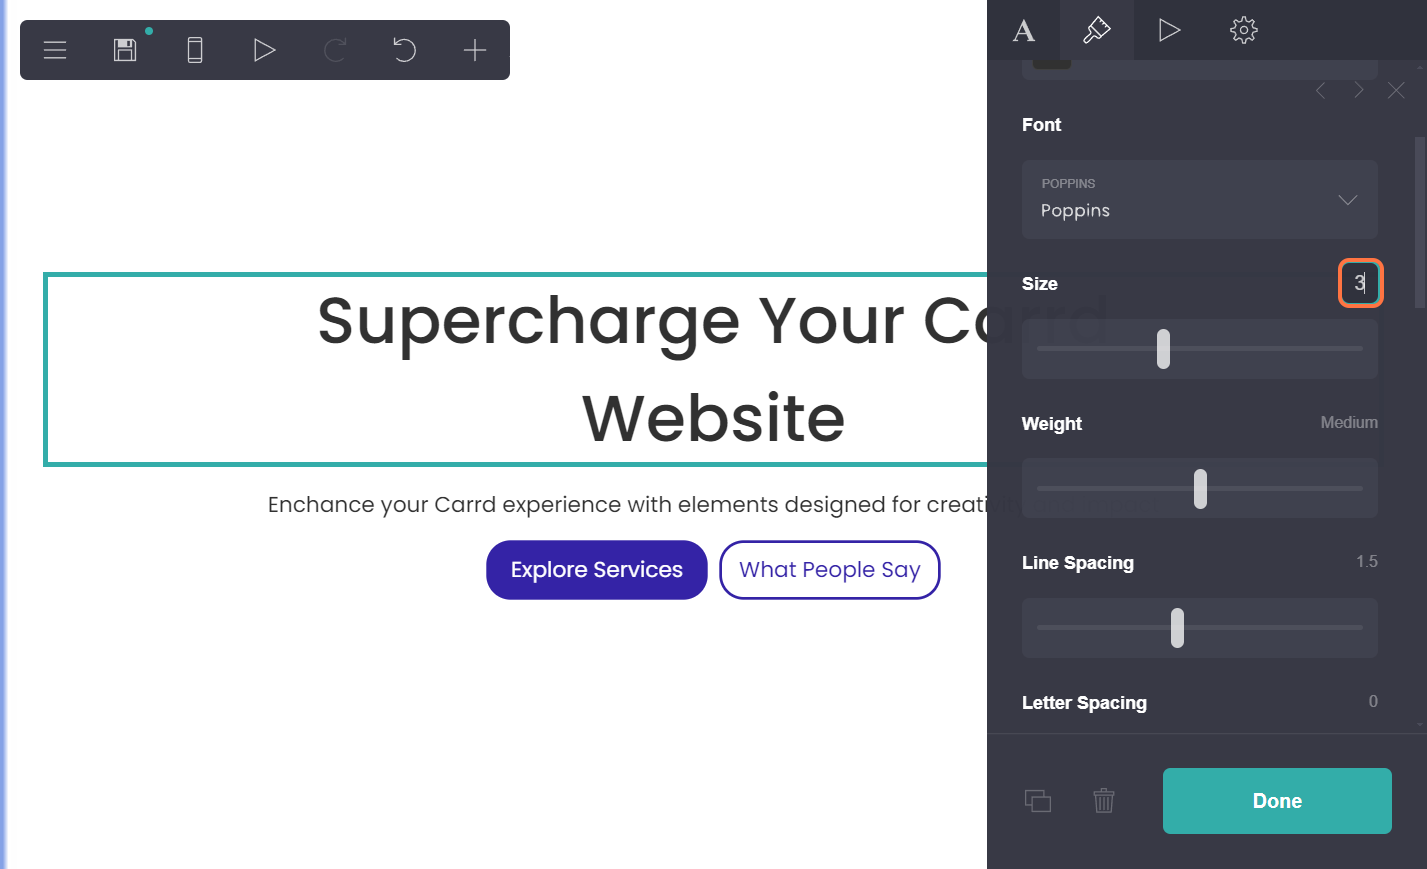
Example
Here we will demonstrate how we applied these changes on a blank page.
Once you click on a text element you can start editing it like so.
- Changing the color of the text:
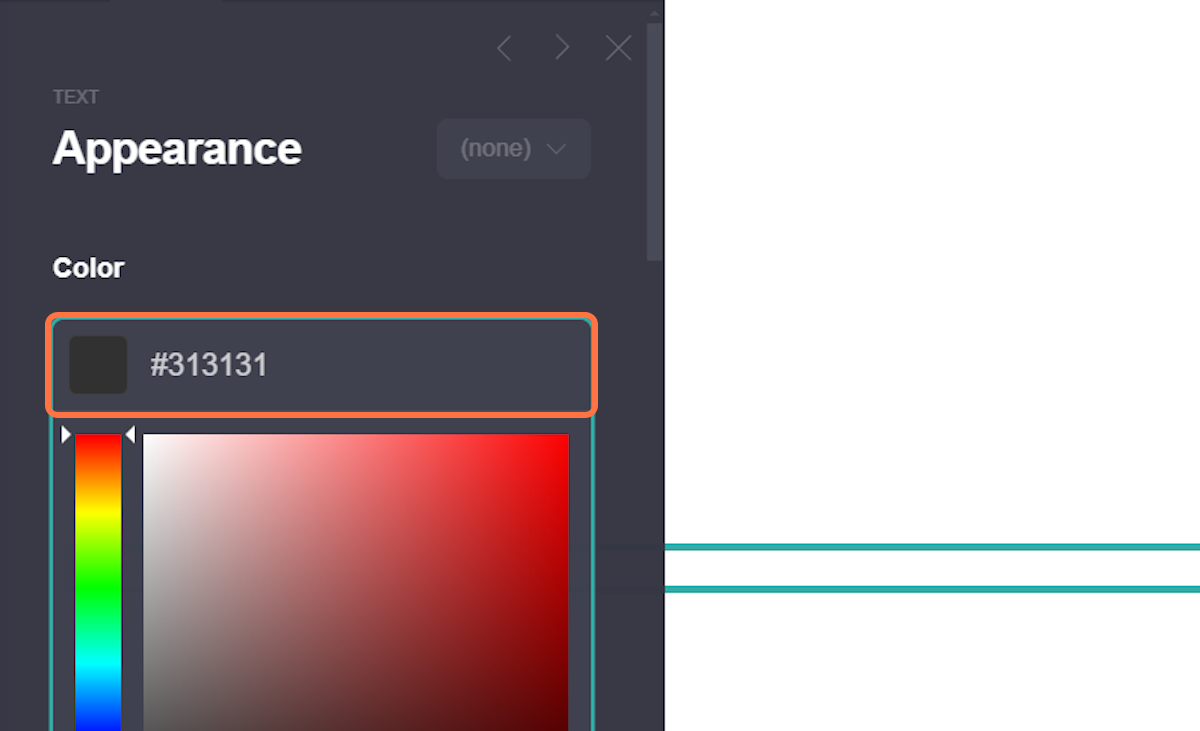
For this we used a normal color like black.
- Choosing a Font:
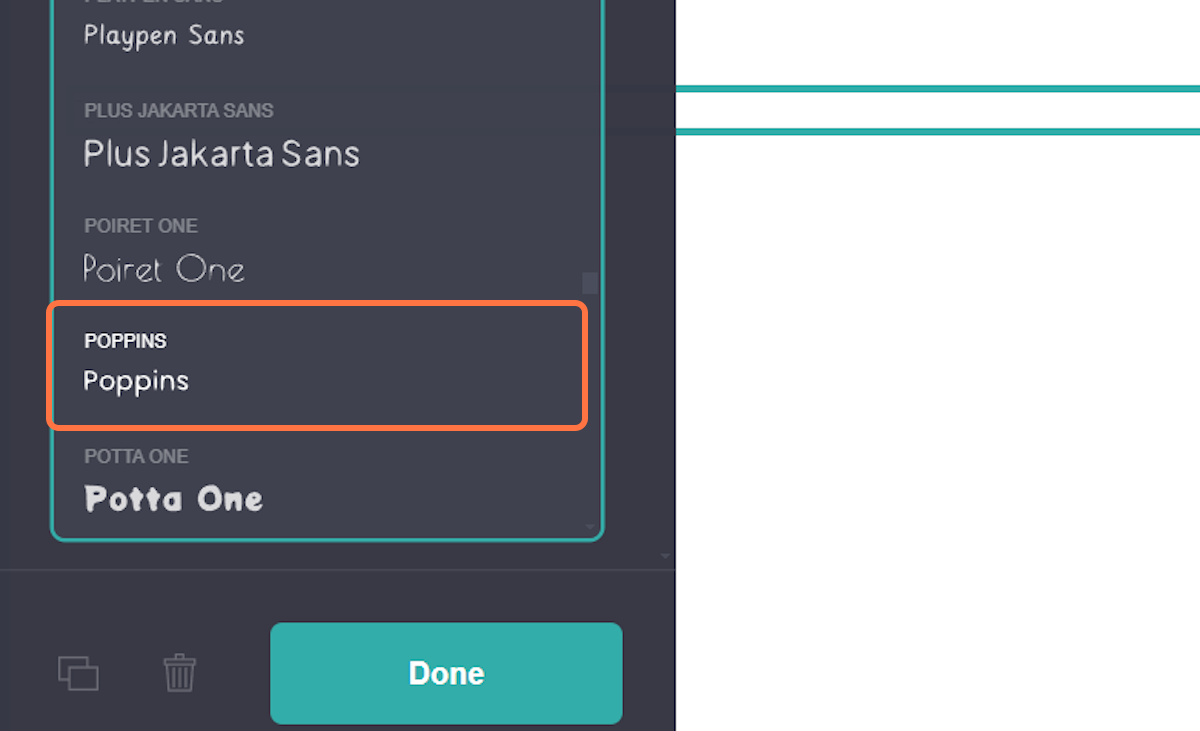
We chose the Font Poppins.
- Changing the size:
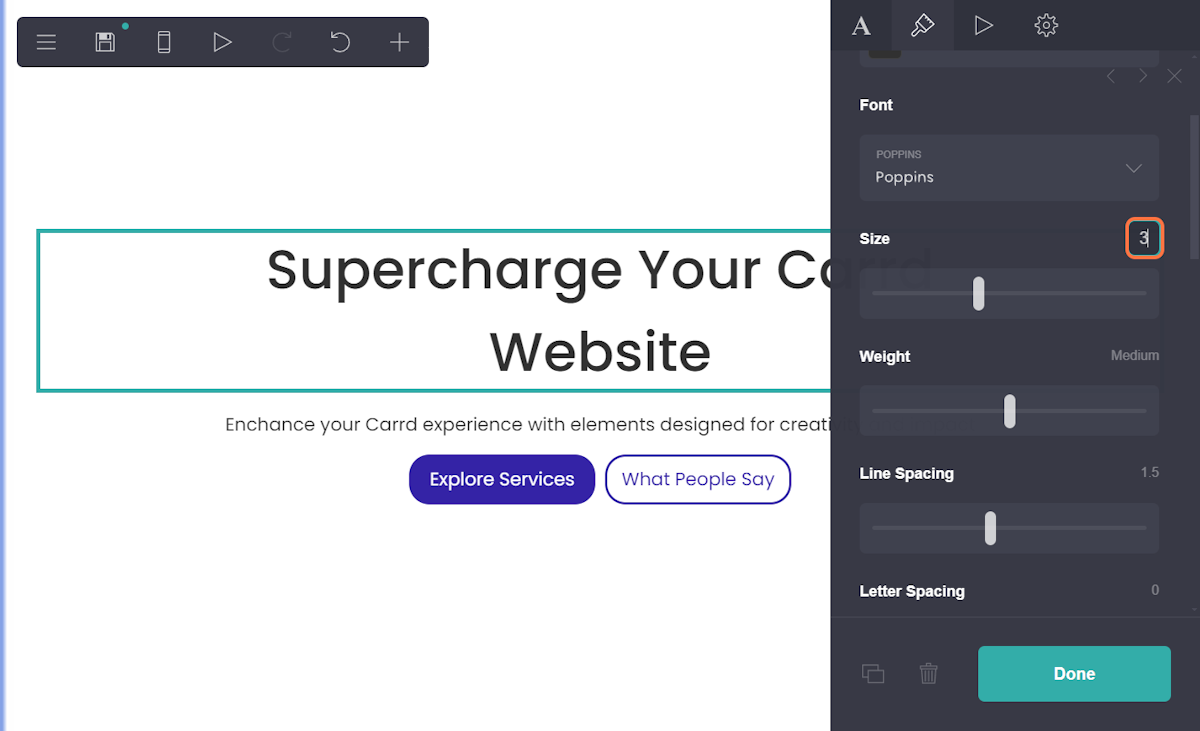
We chose 3, you can either type the size you want or drag the slider to your liking.
- Changing the Weight:

We picked Medium weight.
- Picking Alignment:

Your options here are (Auto,Left,Center,Right and Justify), Justify gives your text straight edges on both sides of the paragraph.
- Changing the content of Text:

Lastly, as I mentioned above you can change what type of text you want from this panel.
Adding Containers
Learn how to add containers to structure your content in Carrd.
Steps:
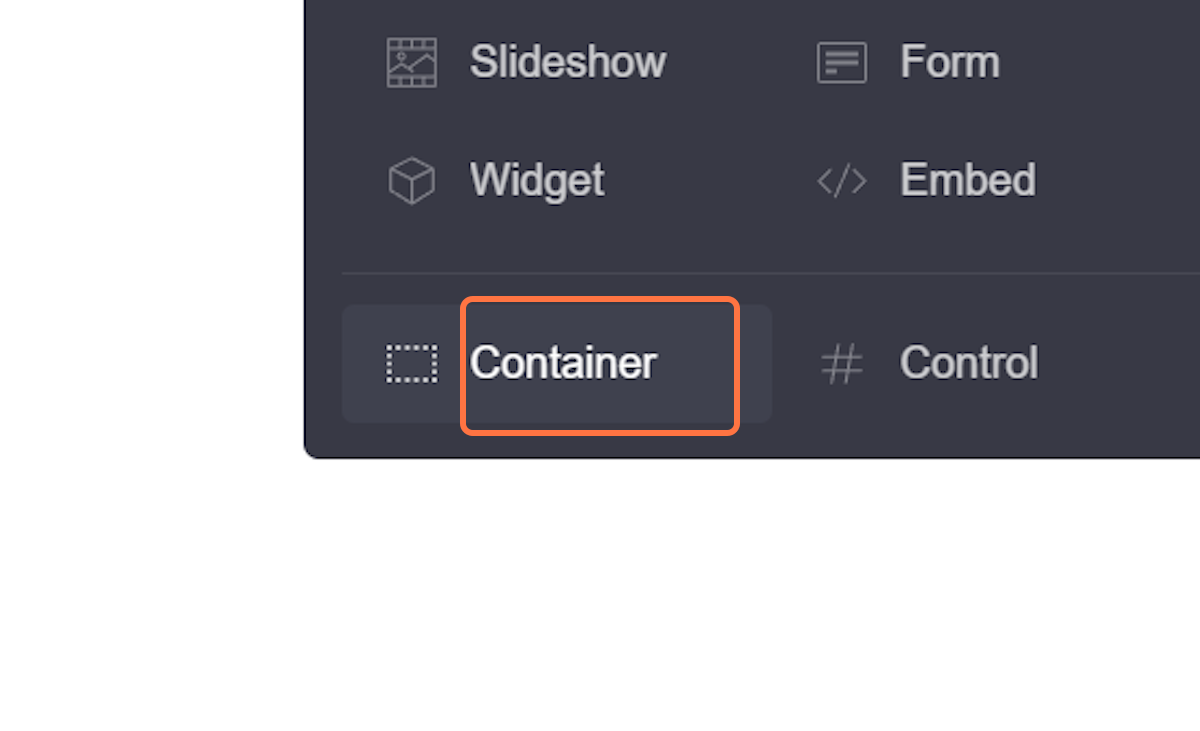
1) Add Container: Click the "+" button and select "Container" from the menu.

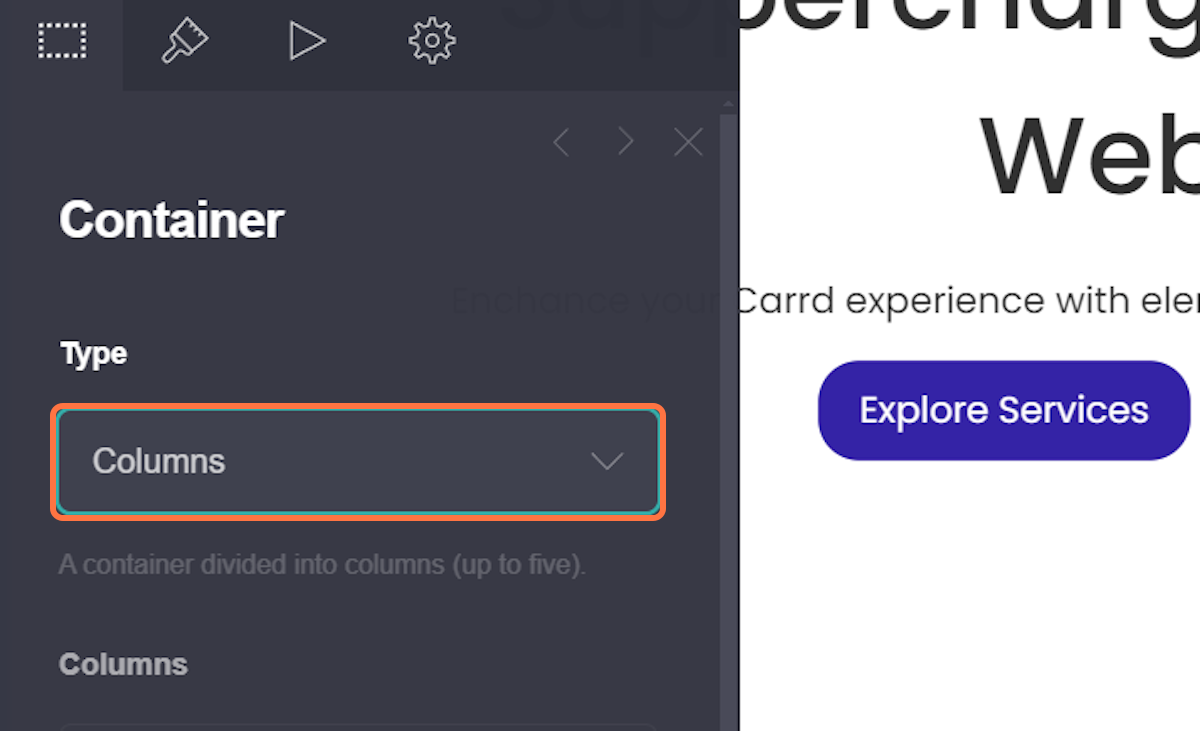
2) Choose Container Type: Select the type of container (e.g., Default, Columns).
3) Position Container: Drag the container to your desired location on the page.
Editing Containers
Here’s how to edit containers to structure your content.
Steps:
1) Select a Container: Click on the container you want to modify.
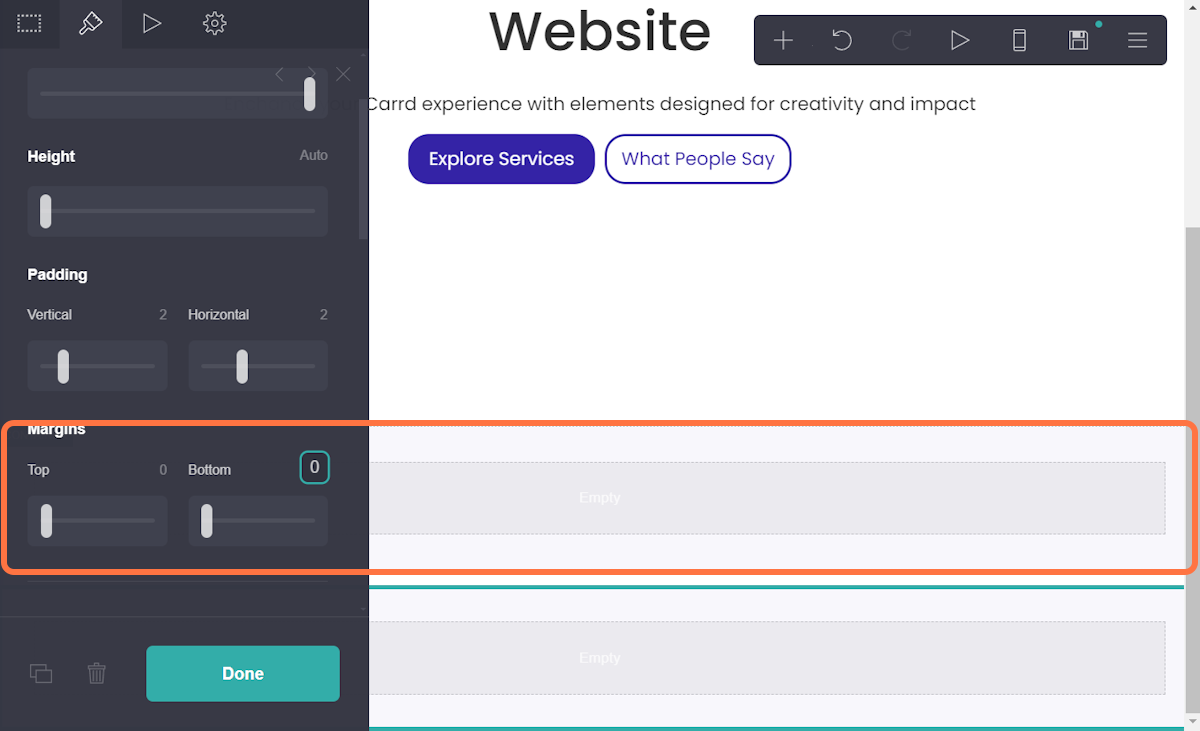
2) Adjust Container Size: Drag the Sliders to resize the container.

3) Move the Container: Click and drag to reposition the container.
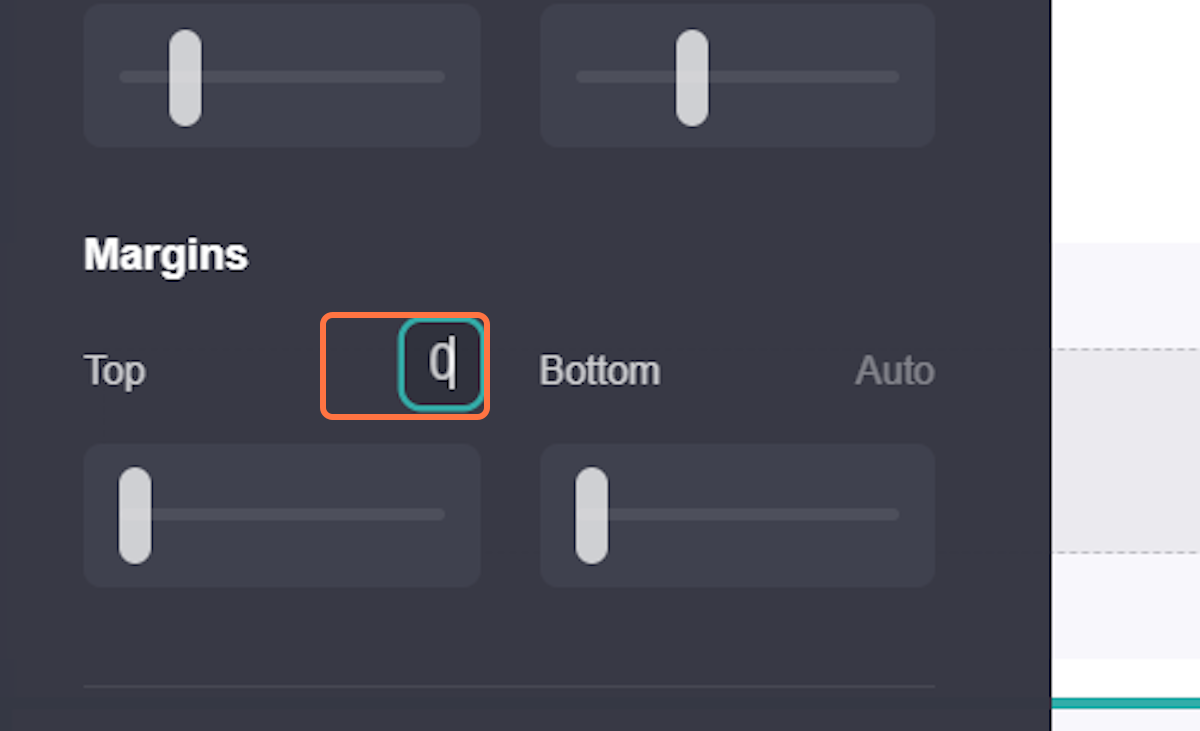
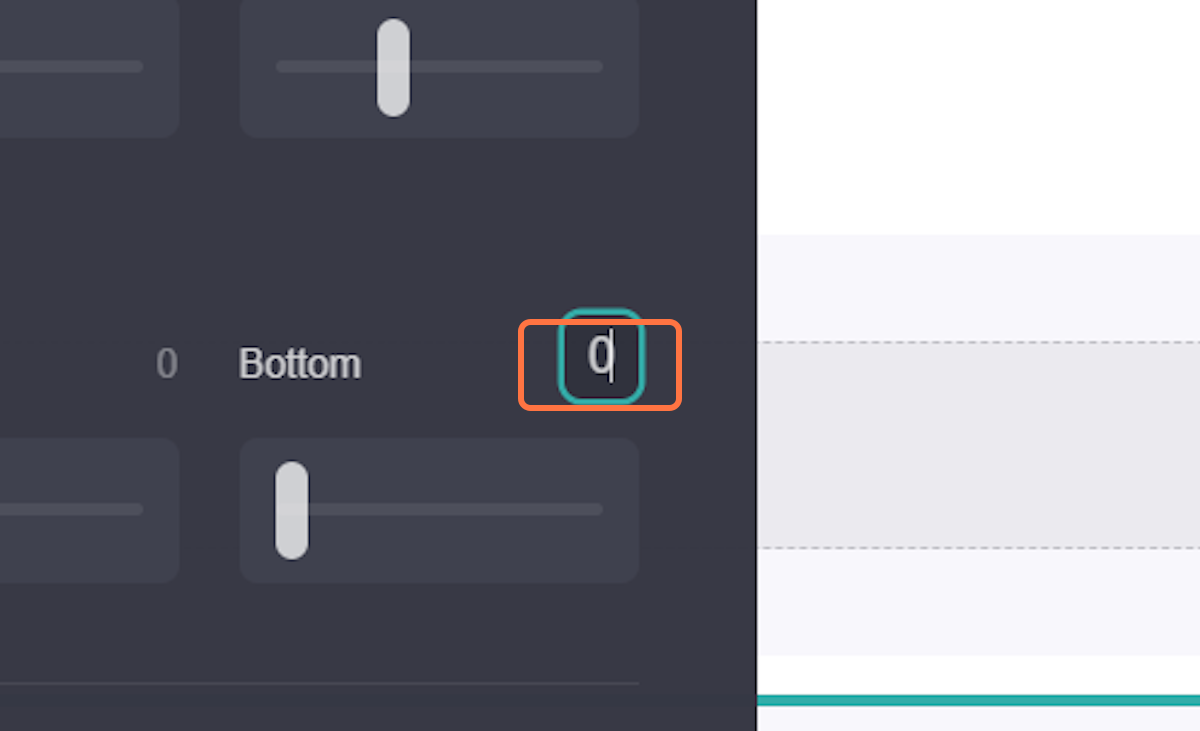
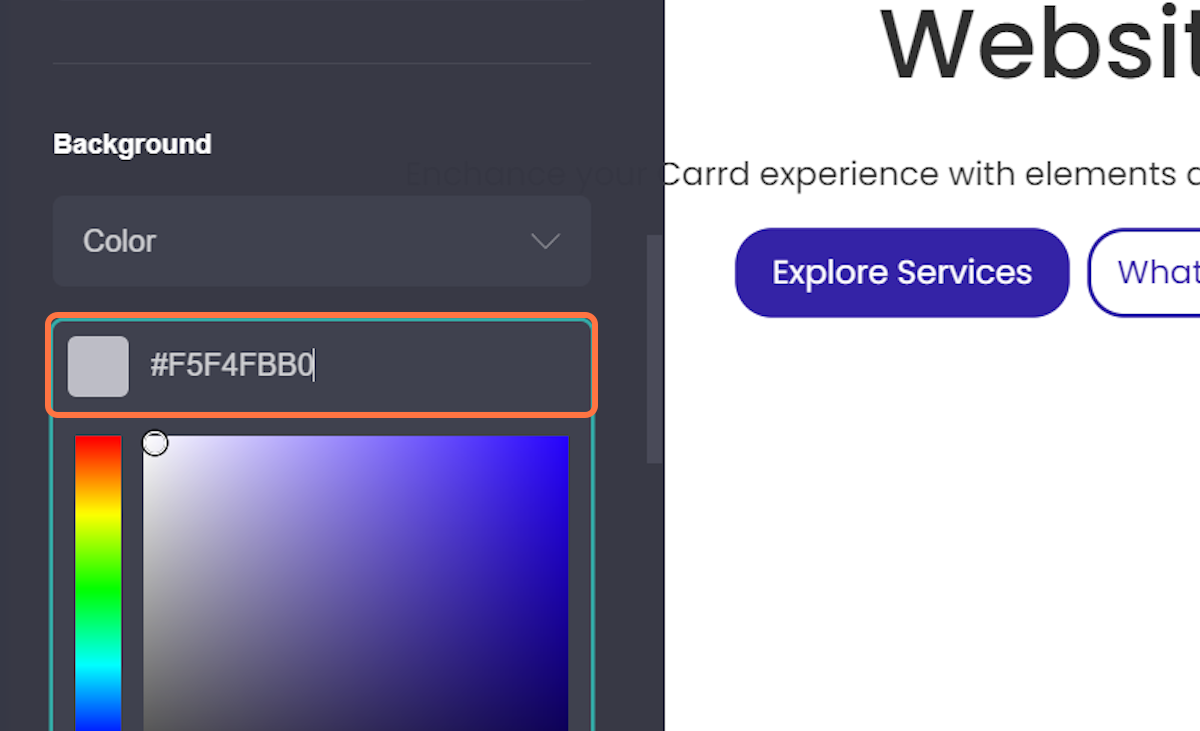
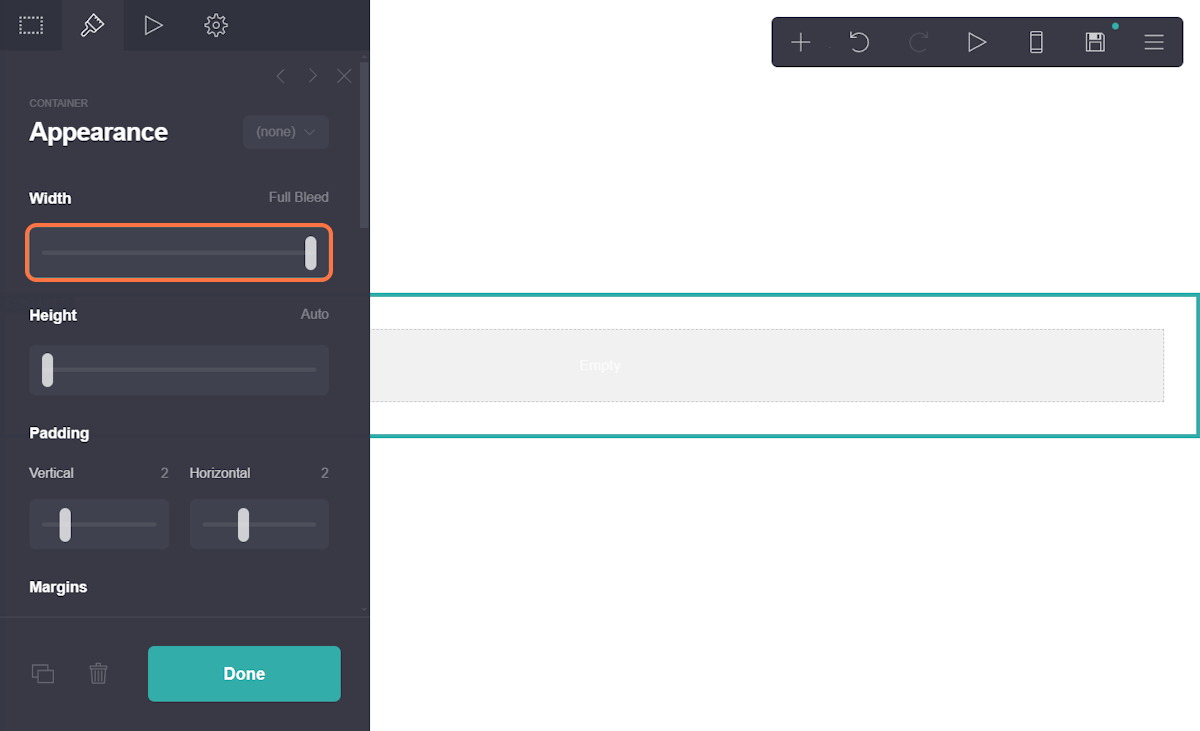
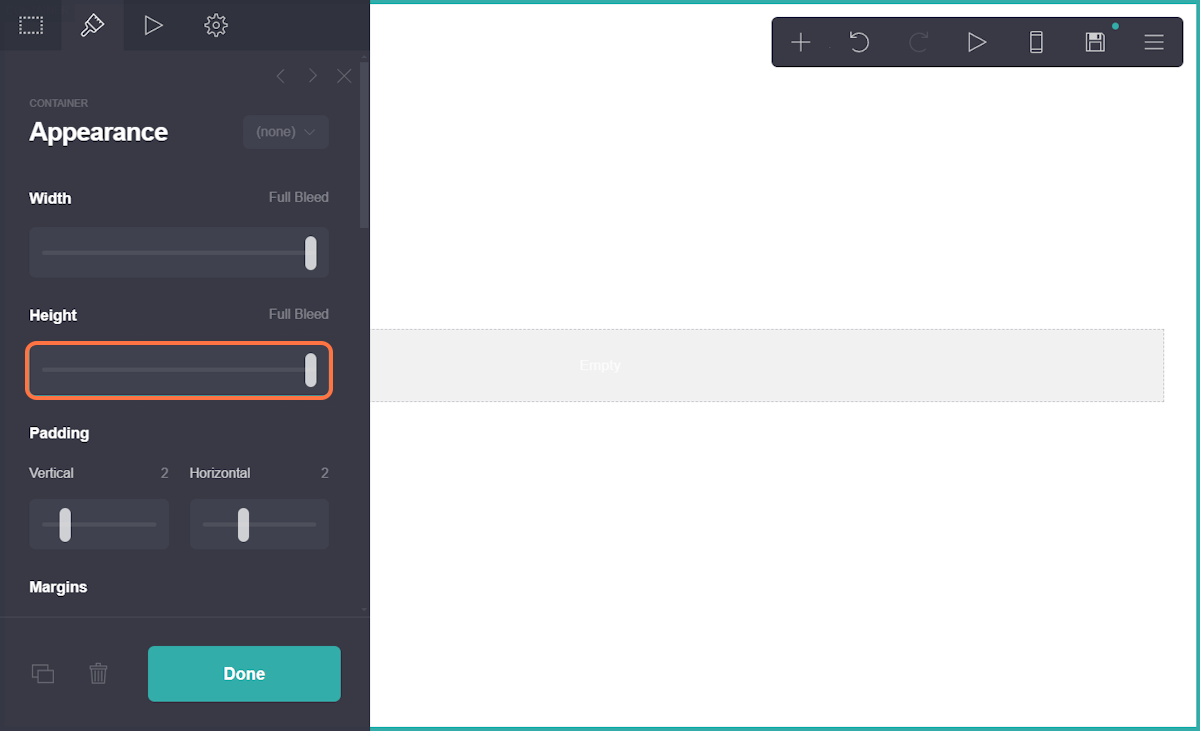
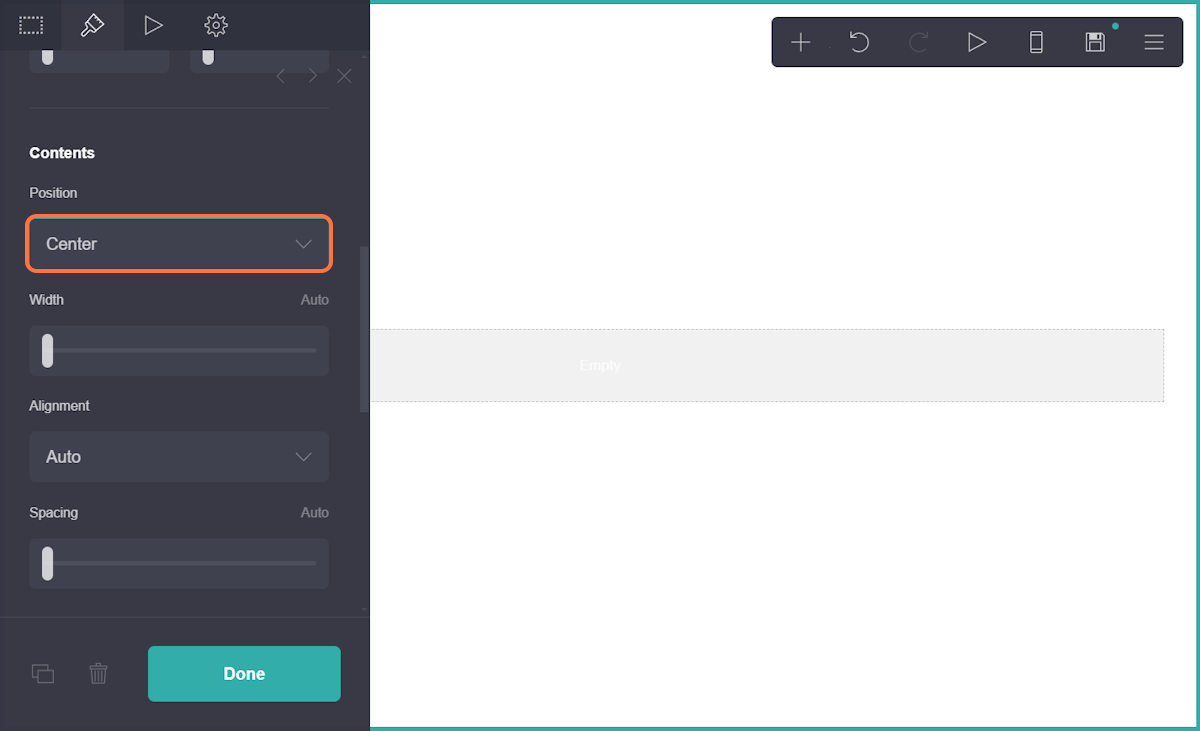
4) Customize Appearance: Use the style options to change appearance settings such as:
1) Margins:
2) Color:
3) Width:
4) Height:
5) Position:
To enhance your understanding of how to make the most out of Carrd, we’ve included a comprehensive video from our YouTube Channel that walks you through the basics to get started with Carrd like the elements mentioned above as well as elements that we cover on the second part of "Getting Started with Carrd".
Conclusion
Getting started with Carrd is a straightforward process that empowers you to create clean, professional-looking websites with ease. In this guide, we covered the essential steps for editing the basic elements, which are important in customizing your site’s content and layout.
By mastering these basics, you’ve taken the first important steps toward building a site that reflects your personal style or brand. As you continue to explore Carrd’s features, remember that the platform’s simplicity is matched by its flexibility.
Experiment with different design elements, explore advanced options, and refine your site to suit your needs. With Carrd, you have the tools to create a beautiful and functional web presence with ease.
Happy building!


