Introduction
In this article, we will talk about the basics of Frontly and how it works. We will start with its AI prompt and use it to create a demo app. We will also talk about the no-code editor and more.
If you want to learn more about Frontly or read an external overview you should check our other articles:
Ask AI
Frontly uses the power of AI to help you create the first version of your application by asking you to describe what you want your app to do.
In this guide we will create an application tracker for internships, using the AI prompt.
As you enter the platform you are greeted with the Start your app with AI box where you can enter a prompt of your basic idea and let AI work on it and create a basic app for you to customize.
The prompt we will use for this guide is: “An HR application tracking system for internships”.
Frontly will now ask you to connect with a Google Sheets account for the spreadsheets to be created.
This is where your app will get data from. The process, as seen below, is pretty self-explanatory but we will go through it together nevertheless.
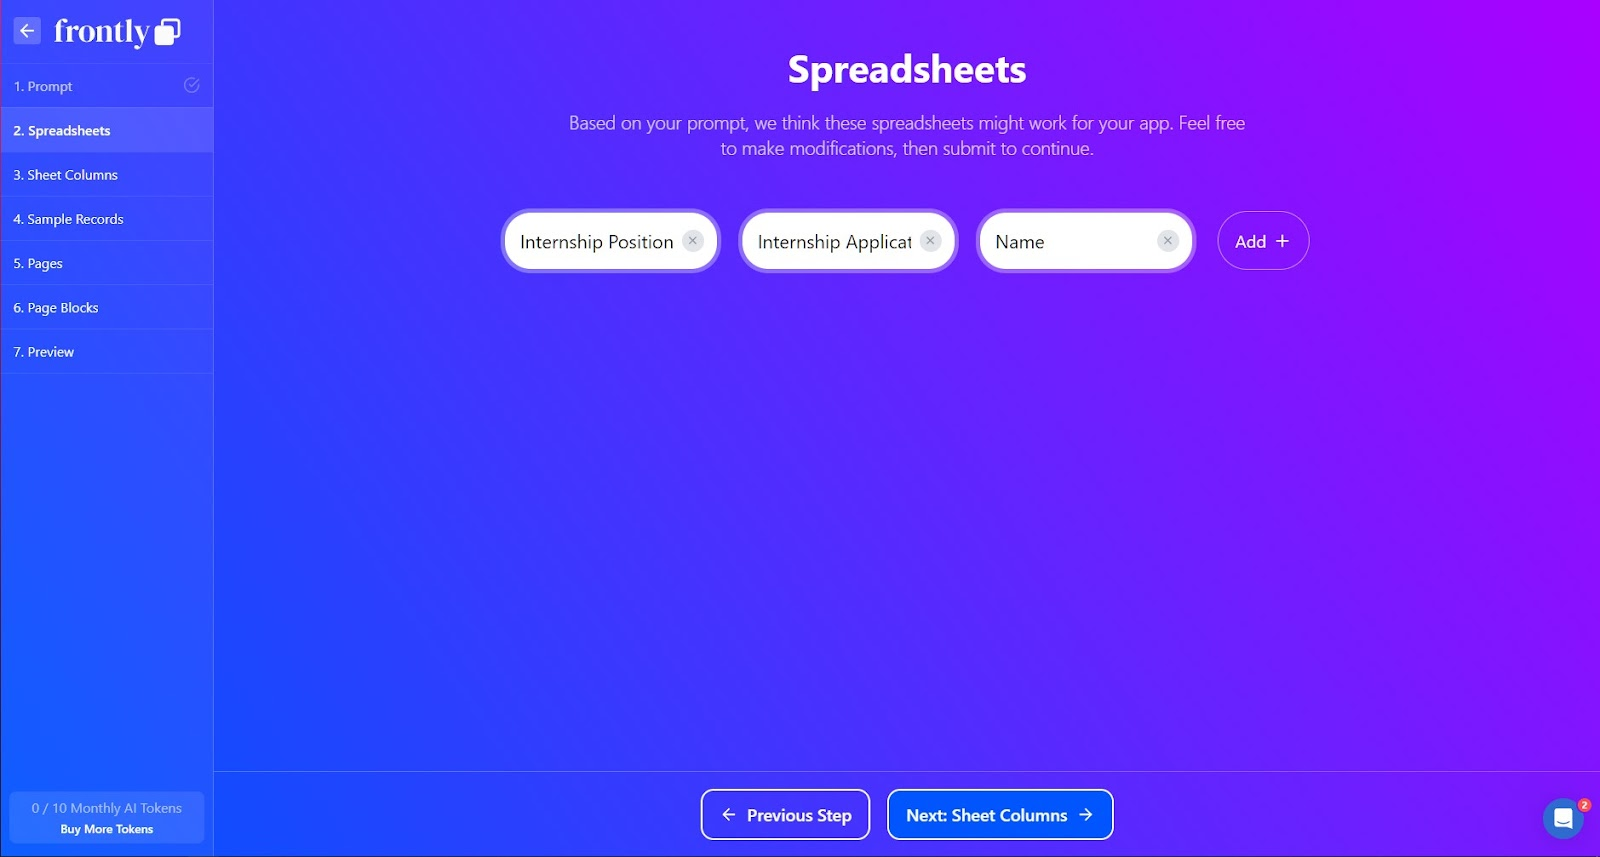
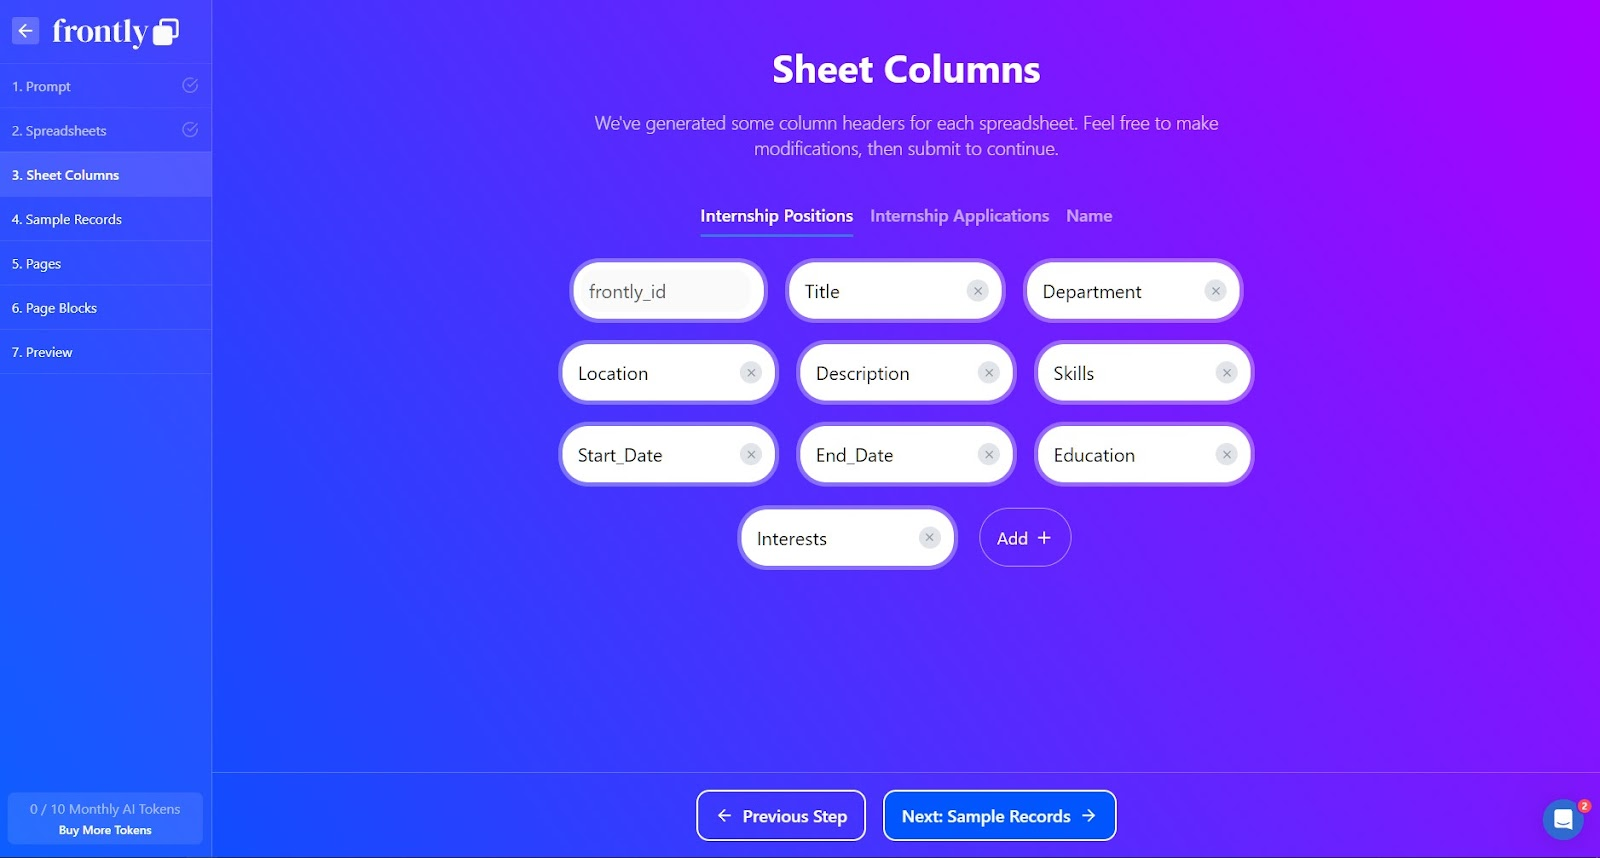
- After inserting your prompt, Frontly will automatically create the spreadsheets and the corresponding Sheet Columns it thinks you need, basically the foundation of your app
- You can of course add more or remove the ones you don’t want
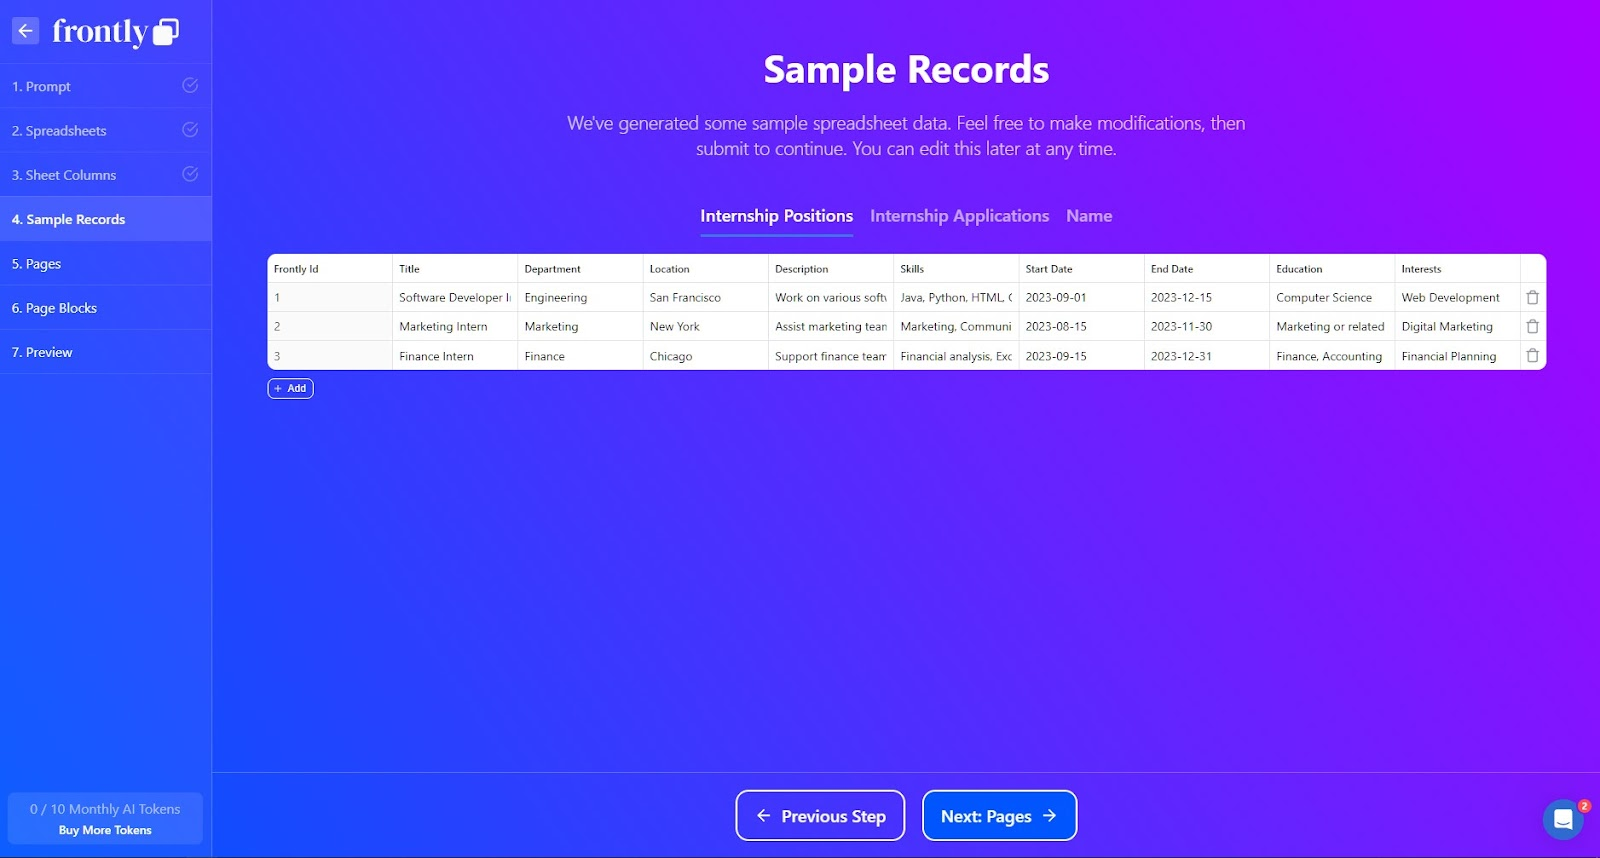
- Next, Frontly will create some sample records for your app. You can see that it recognizes the specific sheets and adds specific samples i.e. Title - Software Developer, Location - San Francisco, education - computer science, etc.
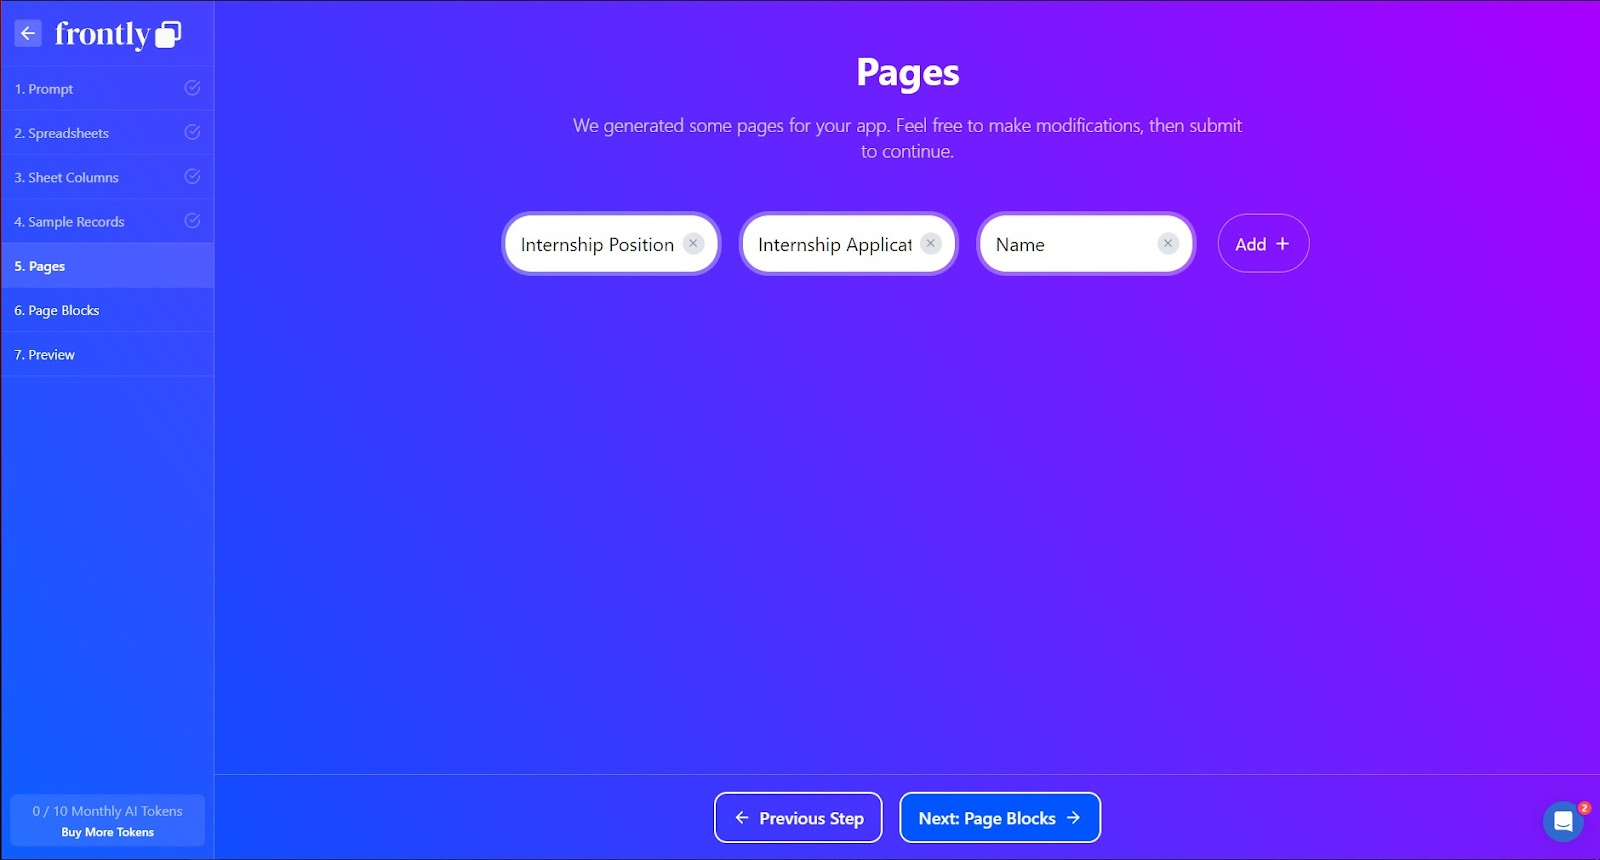
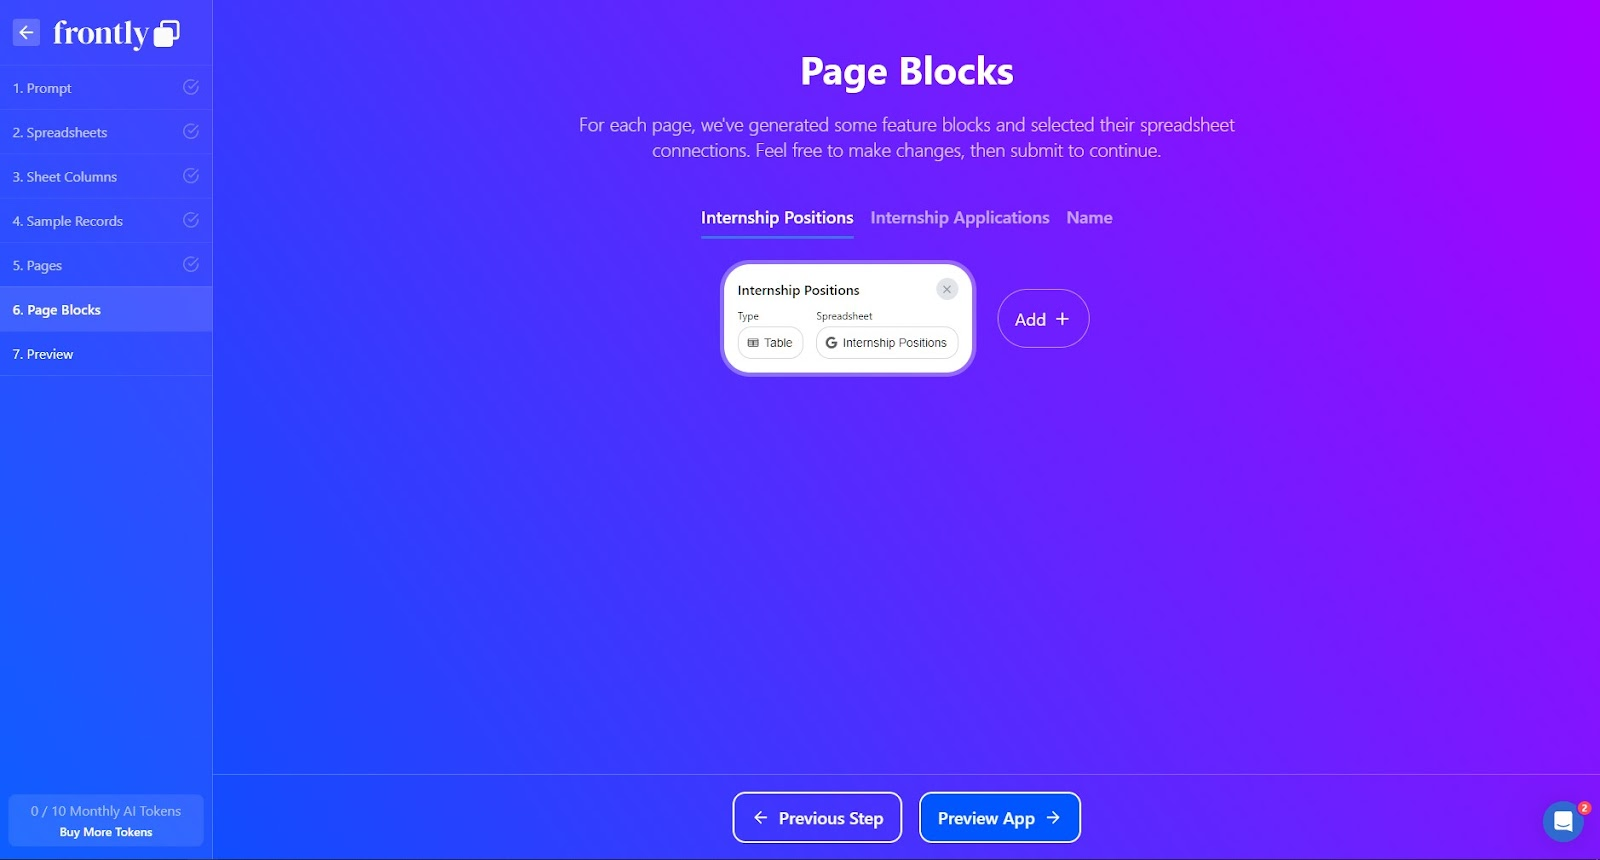
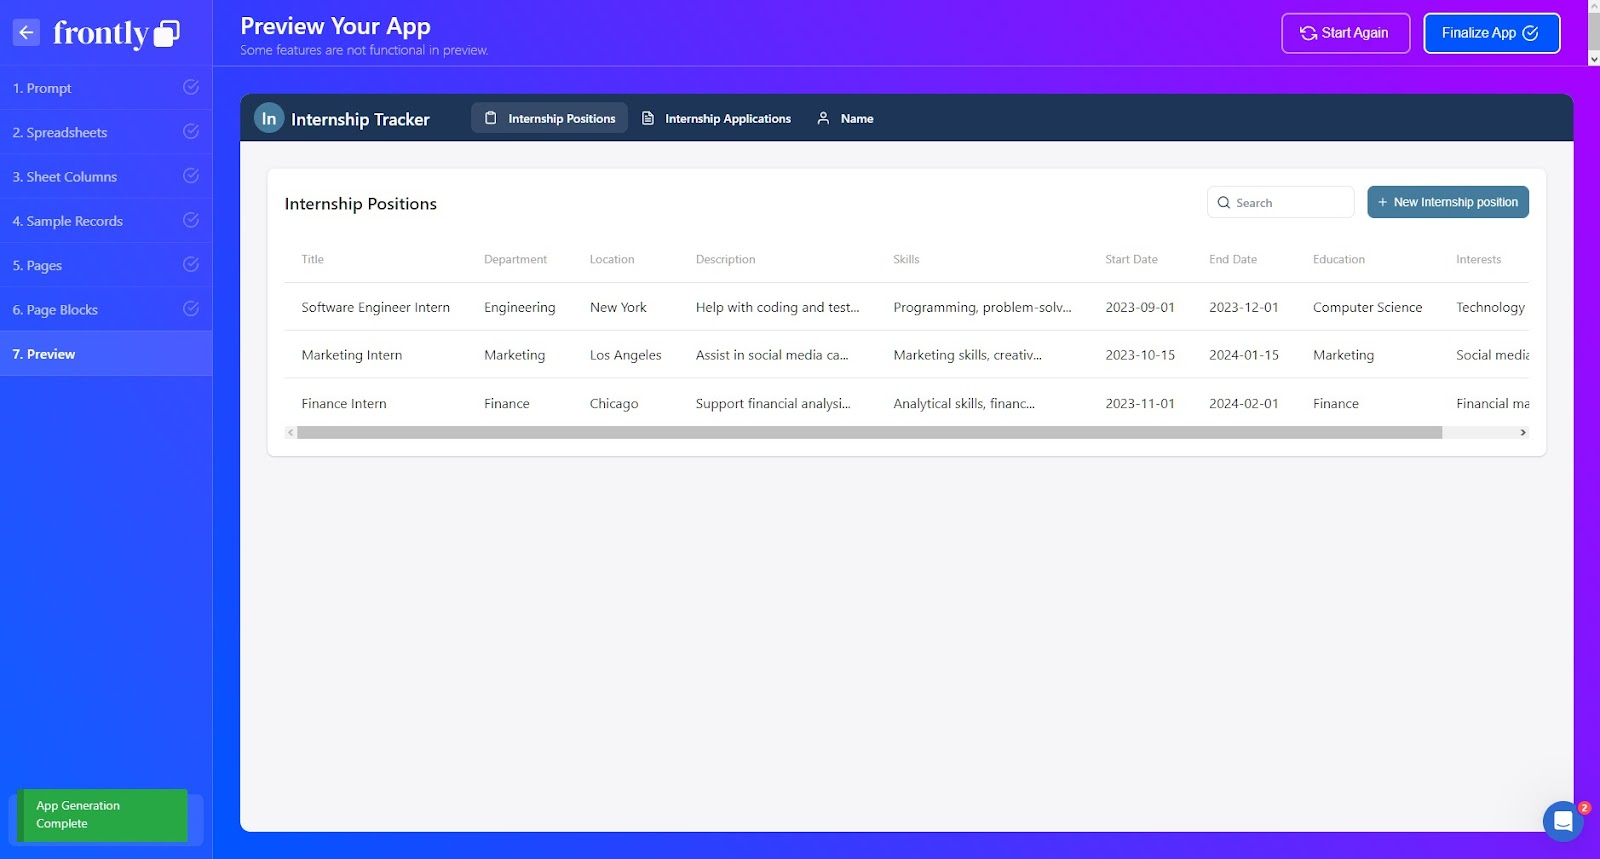
- Your app is now complete. You can now view how your app works from the web or open the no-code editor. The no-code editor is the admin page of your app where you can customize it and manage how it looks and works
No Code Editor
On your admin page, you can control how information is depicted, change the different tabs in the sheets, customize how information is taken, and more.
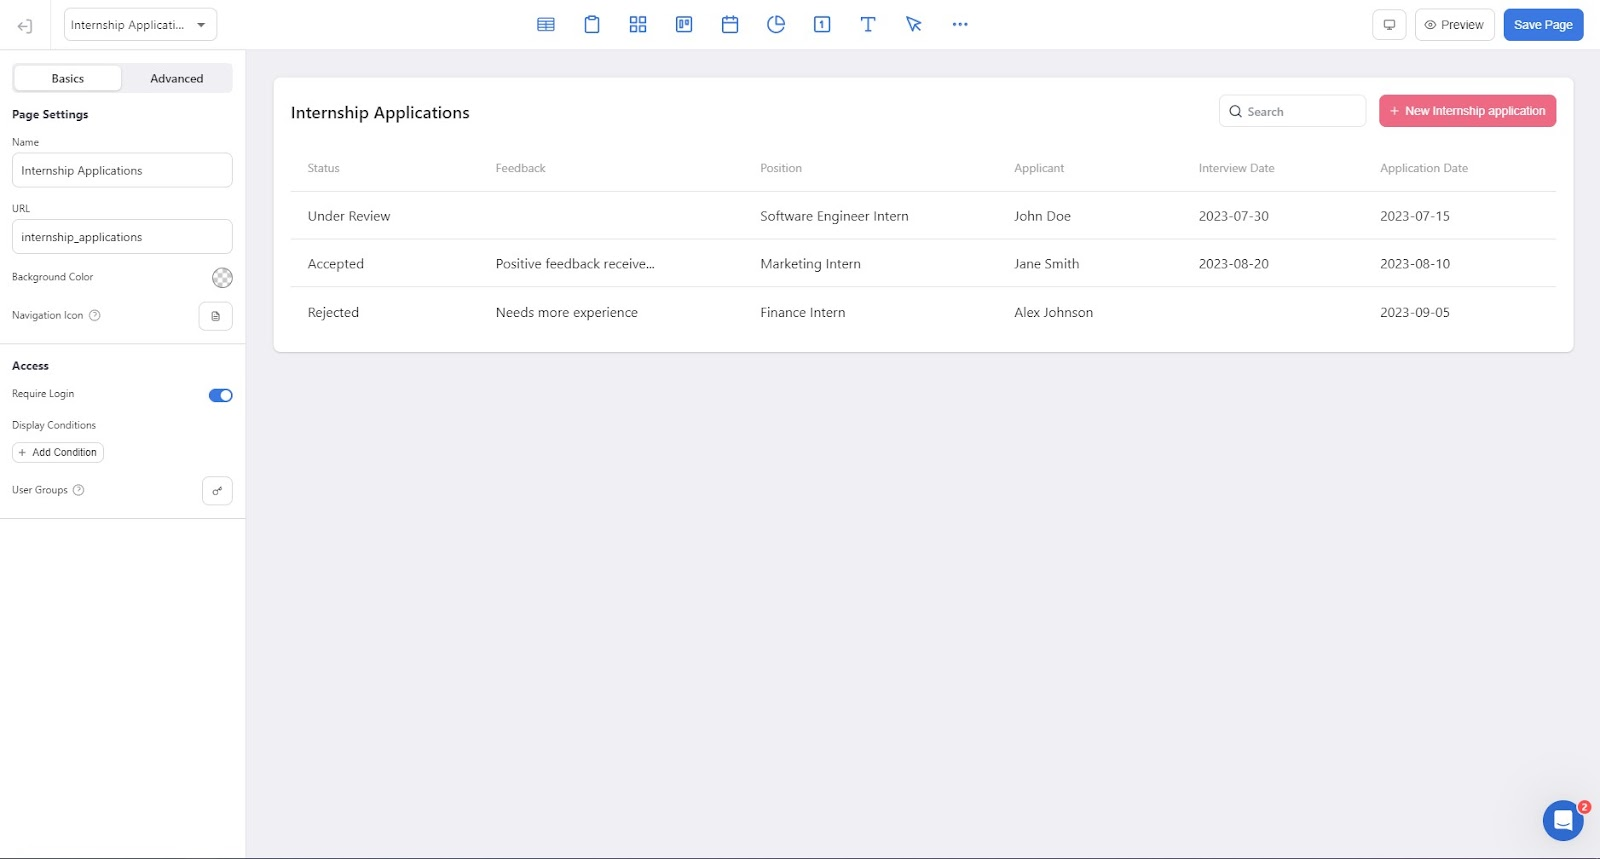
More or less you can:
- Add a custom website domain
- Turn your existing Google Sheets into apps
- Set up a page that shows different data based on who is logged in
- And much more
Live app
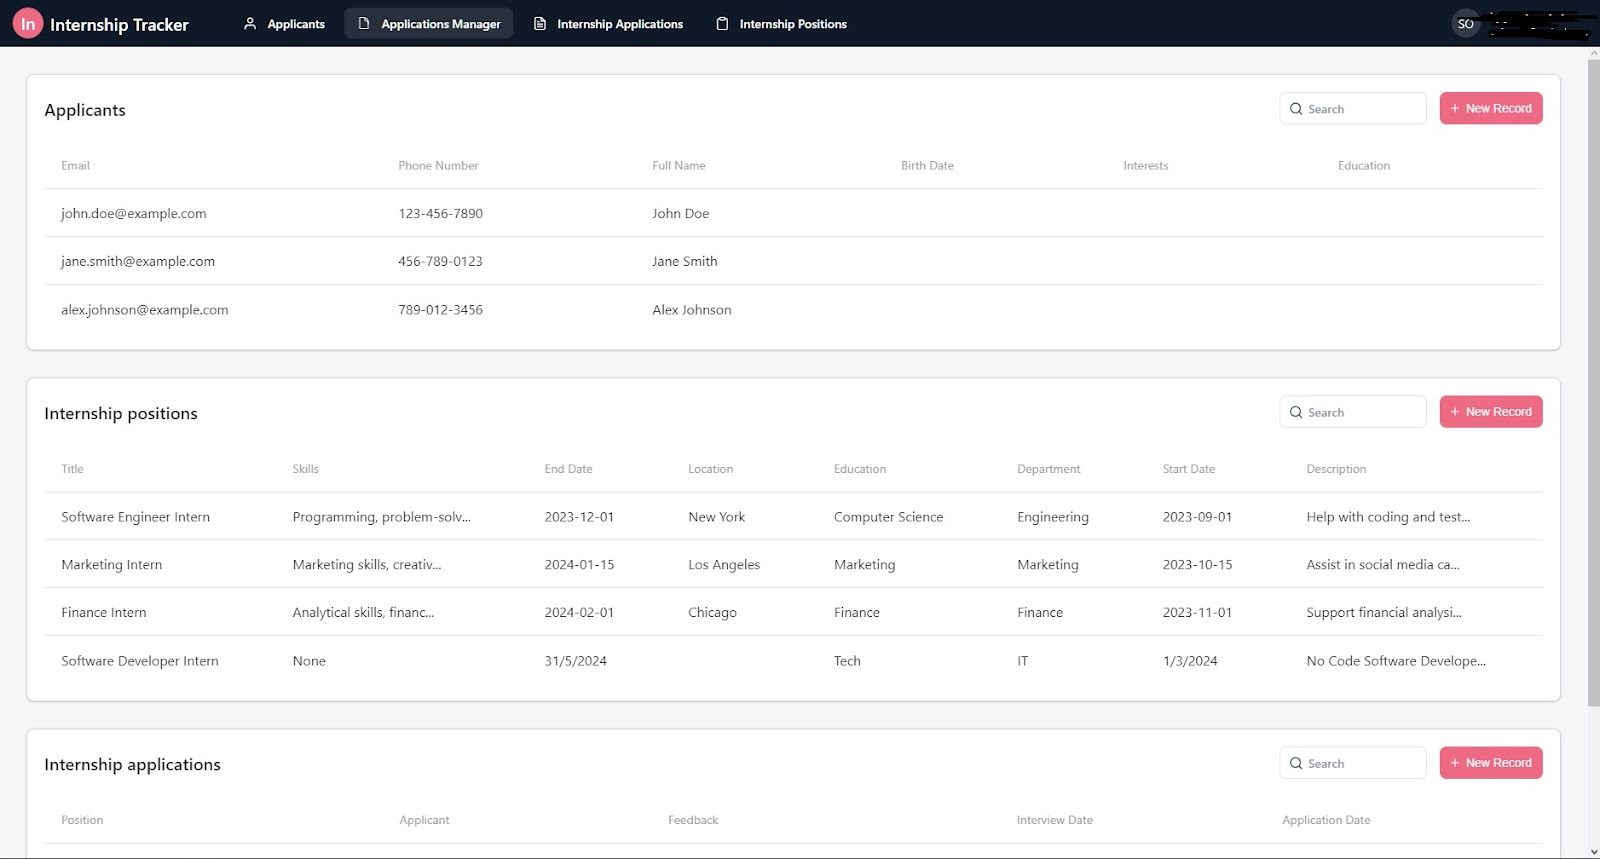
The preview button on the top right of the page leads you to the live web page of your app. There you can see the final result of your work and use the app itself. For our application tracker, we have four different tabs:
- Internship Applications
- Internship Positions
- Applicants
- Applications Manager page
The last one is where you can see every page in one.
Settings
On the settings tab on the left of your admin page, you can find a variety of different things you can change in your account. For instance:
- Your App Name, The default page, and the Domain
- You can add your logos and change the primary color of your page
- The different styles of the tabs i.e. round edges, background color, etc.
- Your page’s navigation and general style
- Enable users to need to signup to use your app
- Create custom Variables
- Translate your page into another language
- Configure various integrations with other services
- Reset your admin password
- Try beta features
Custom Variables
Custom Variables are an advanced level set-up in Frontly that will enable you to pull values from your spreadsheets in ways that any standard dynamic variable would not be able to.
That is because its data sources and their search parameters are set entirely by you.
Use custom variables to confirm record values, display values, that meet your specific conditions, and configure even more dynamic rules for your hidden filters, permissions, and display/run conditions!
Variable Types:
- Get value from record: Fetch a value or a set of values from an entire row based on how you've configured the rest of your fields
- Record exists (true/false): Determine if the set of conditions you've configured for this variable type are met to produce a value that is TRUE or FALSE
- Record Priority: Determine how you want to prioritize your records when there is more than one record that meets your conditions. Pick between the first record or last record in your spreadsheets
- Sorting Column: If the 'Get value from record' variable type is selected, use this setting to pick a column to be sorted and to enable even more precision for the value(s) to be fetched
- Variable Key: This is the key that will be referenced by the variable under the syntax {{custom.your_key}}
- Spreadsheet: The spreadsheet you'll be getting the value of the variable from
- Conditions: Identical to the conditional settings of a hidden filter, create a condition or set of conditions to select the spreadsheet field you'll be extracting or checking the value from and match it against the dynamic or static value you entered into the 'Value' field
Demo Example: Internship Tracker
In our app, we strive to create an automatic data collection app from Google Forms.
Since Frontly uses Google Sheets as a data collection way, we can connect a Google form to our Google Sheets and collect its data from there.
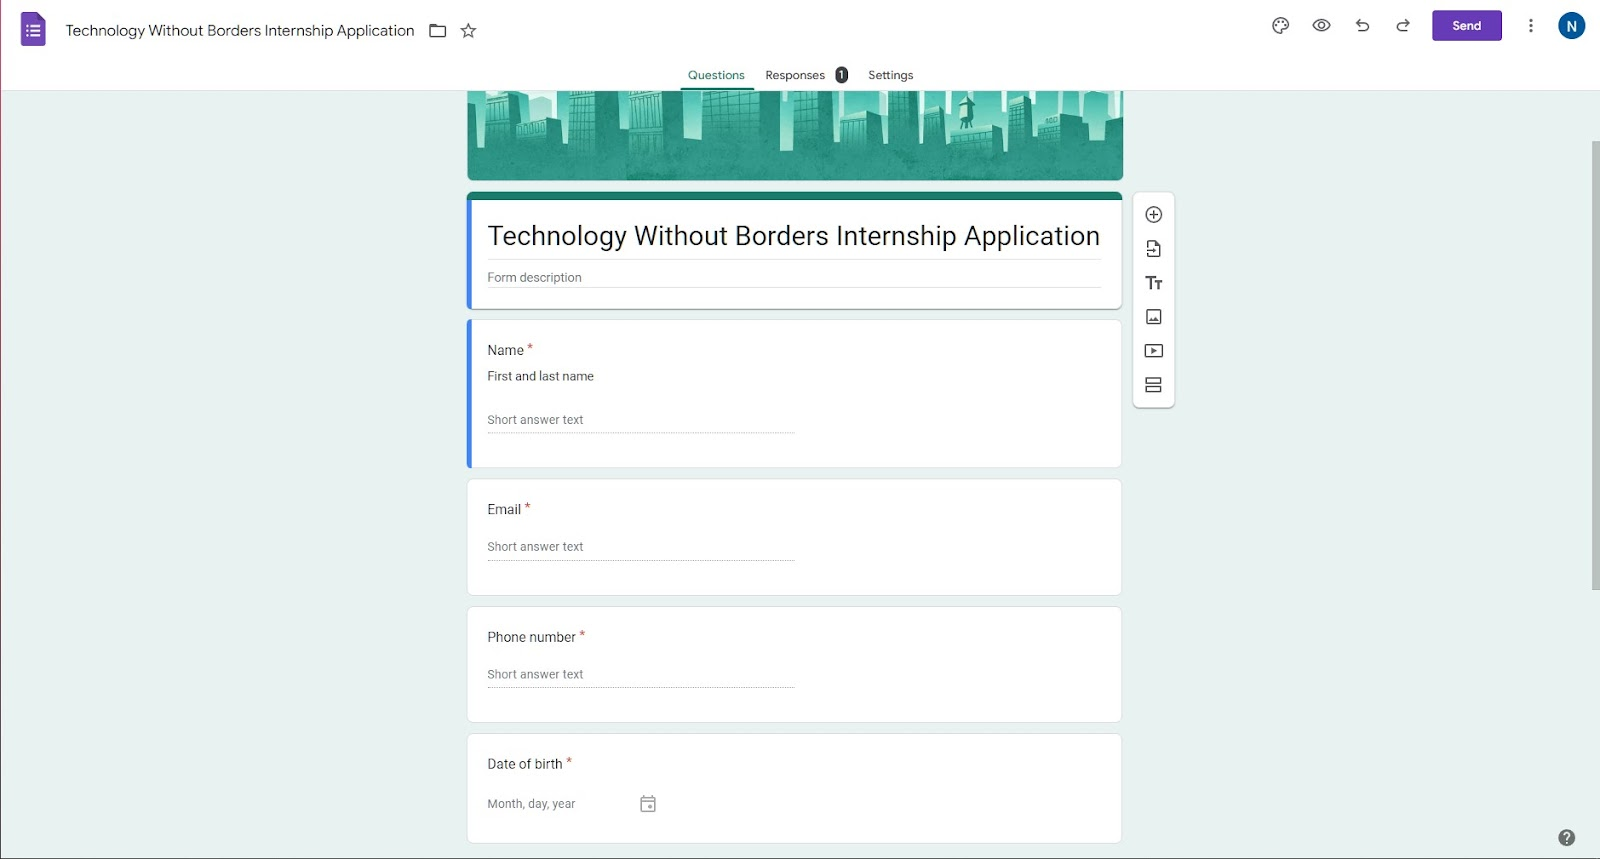
Google form
Creating a Google form is an easy process you can do by yourself by following the on-screen instructions.
Now go ahead and connect the responses page to your preexisting Google Sheets from Frontly.
Every time someone answers your form the results will go directly to your Google Sheets.
Integration in Frontly
- After having created your form go to Frontly’s main page on the Google Sheets tab and import your spreadsheet by copying and pasting the link into the corresponding tab in Frontly
- Now go to the page where you want to add the Google form answers, create a new table, and select the Google form sheet
- Edit the different labels of your table to your liking
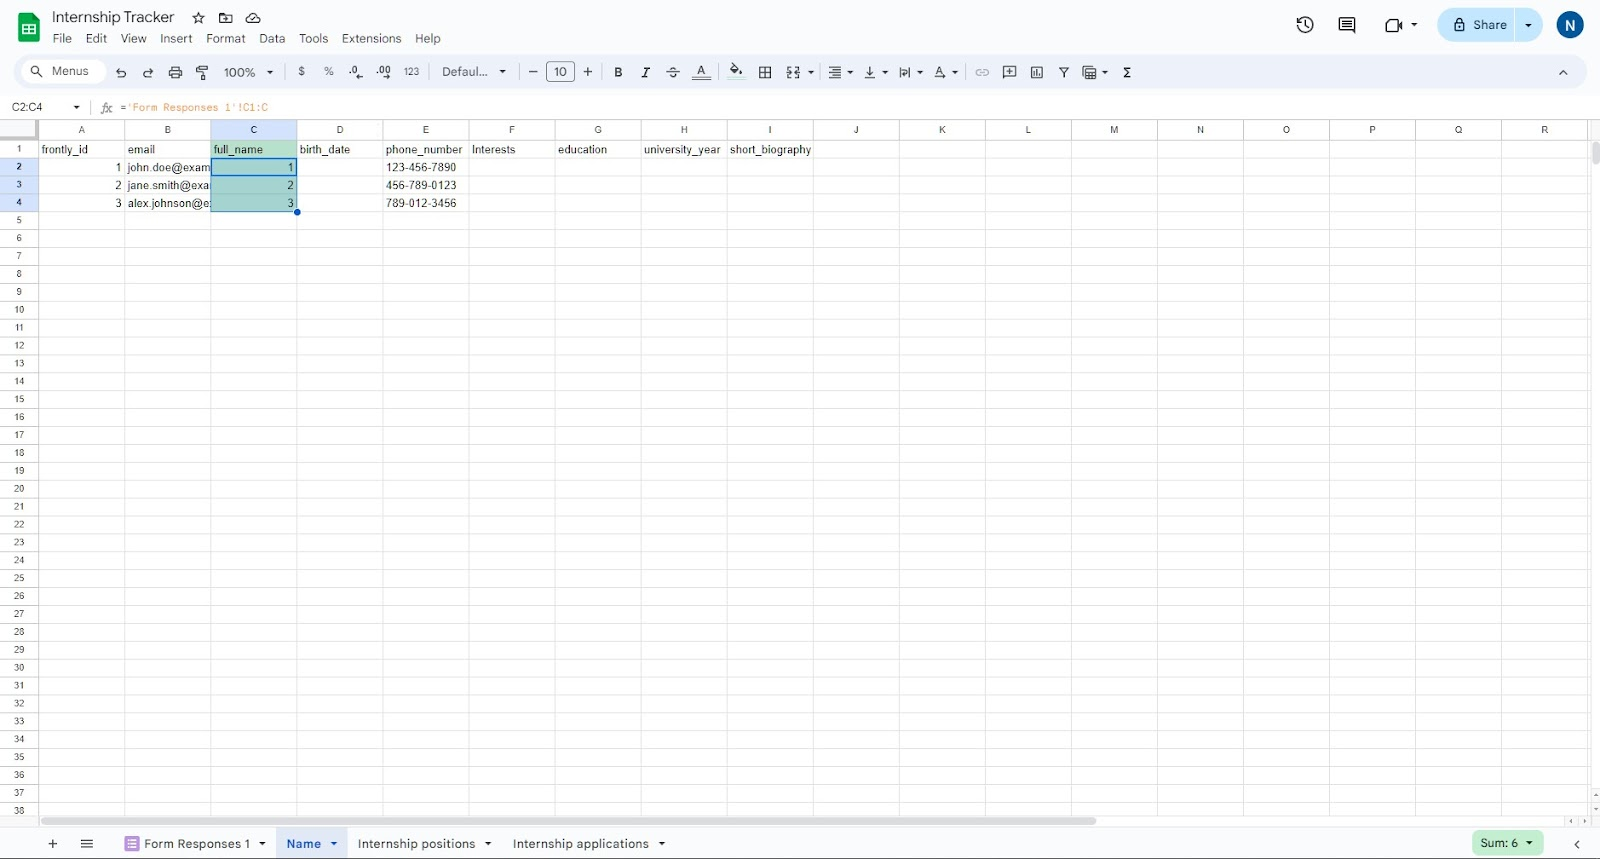
Your Google form is now ready to be used in Frontly.
Get data from other sheets in your spreadsheet
At this point, we have two different tables where the Name of the applicant is shown. We will use a function in Google Sheets to link the two different spreadsheet cells for the newly added applicants to be added to all tables in Frontly.
- First, go to your spreadsheet in Google Forms and go to the cell you want to copy data to
- Type = followed by the sheet name, an exclamation point, and the cell being copied. For example, =Sheet1!A1 or ='Sheet number two'!B4
- In this case we will type =ARRAYFORMULA(’Form Responses 1’!C2:C) in order to get data from the C2 cell and down
- The array formula function automatically applies the function “Sheet1!C2:C” To every Cell in row C
- Now every time a new applicant is added their name will be added to the two sheets automatically
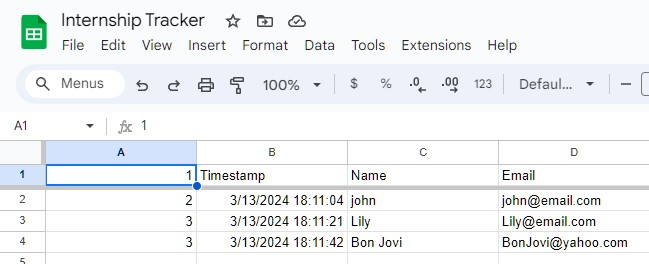
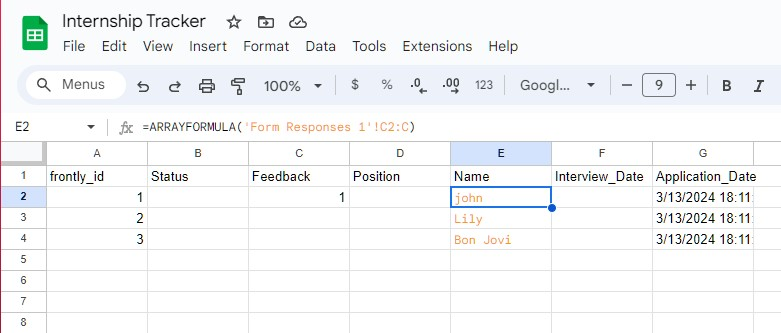
In our case, we want the names of the applicants and the date when they submitted their application. By following the above steps we can have the following:
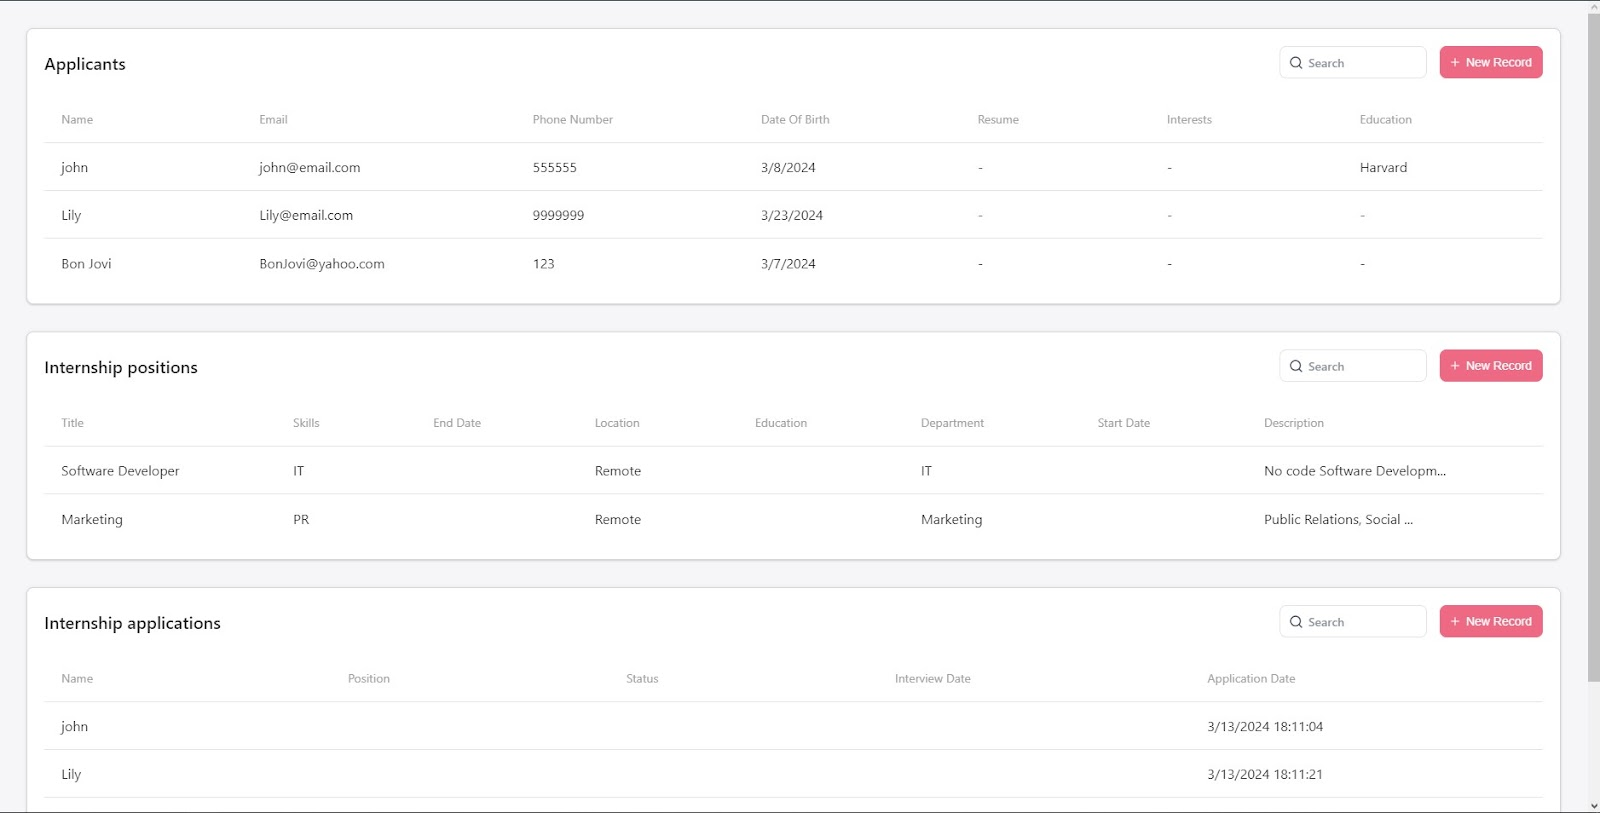
The Positions, Feedback, Interview date, and whatever else you put need to be added manually.
If this article has piqued your interest, we recommend checking out our comprehensive overview of Frontly. You can also dive into our detailed instructions on how to learn to maximize the benefits of this platform.

