In this second part of "Getting Started with Carrd", we’re diving deeper into the platform’s customization options by focusing on more editing options for containers, text and buttons.
Containers are essential for organizing your content, helping to create a clean and visually appealing layout, while buttons are crucial for navigation and interaction, guiding your visitors through your site.
In this step-by-step guide, you’ll learn how to effectively use these tools to enhance your Carrd website, making it not only functional but also aesthetically pleasing. Whether you're looking to highlight important information or create clear call-to-actions, this guide will walk you through the process with ease.
Adding Containers
Learn how to add containers to structure your content in Carrd.
Steps:
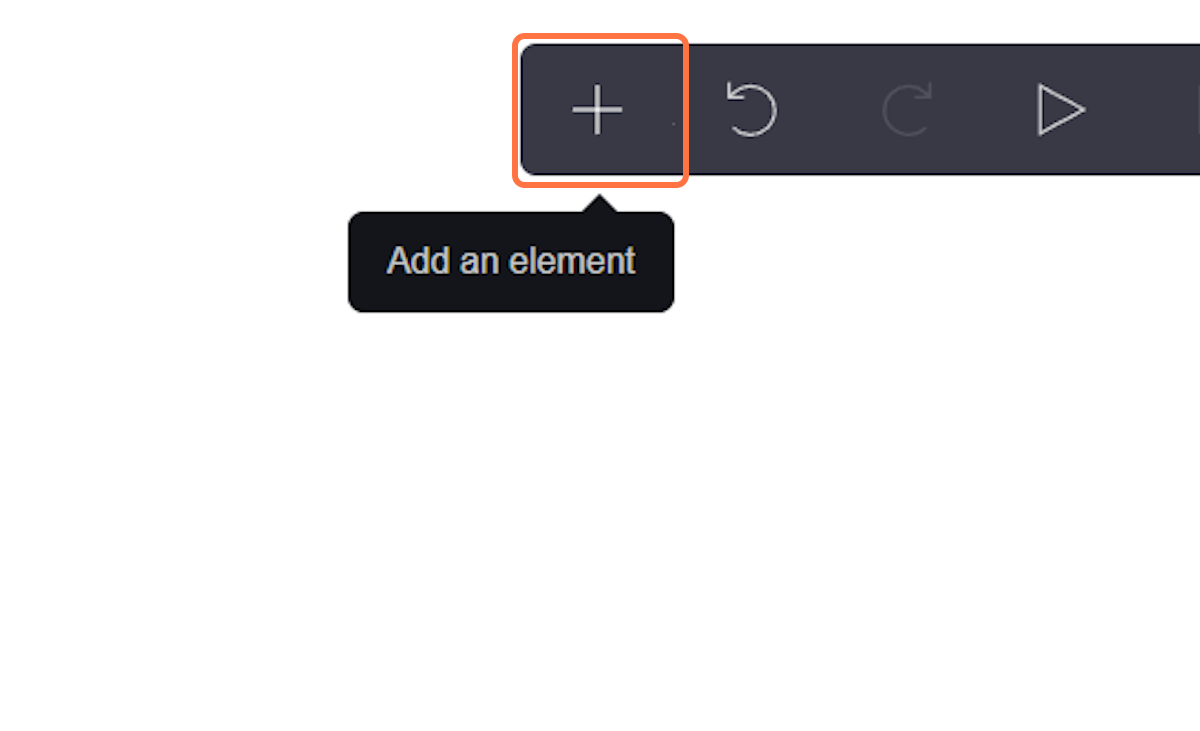
1) Add Container: Click the "+" button and select "Container" from the menu.
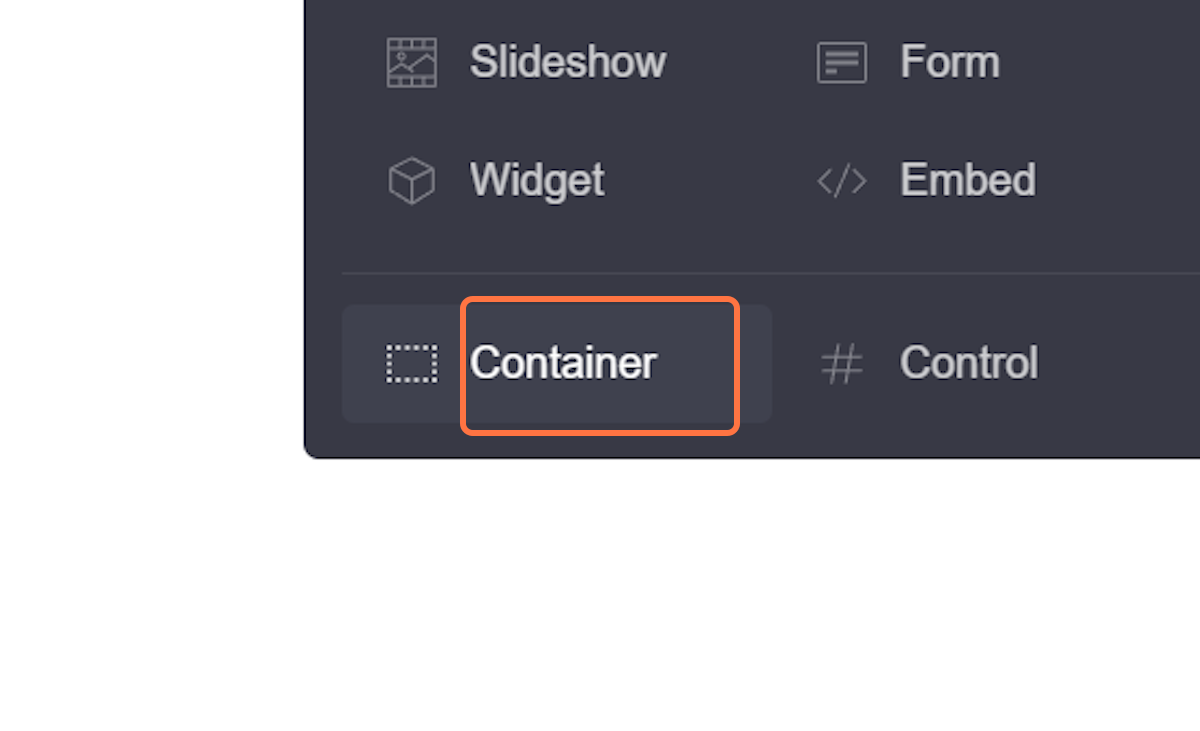
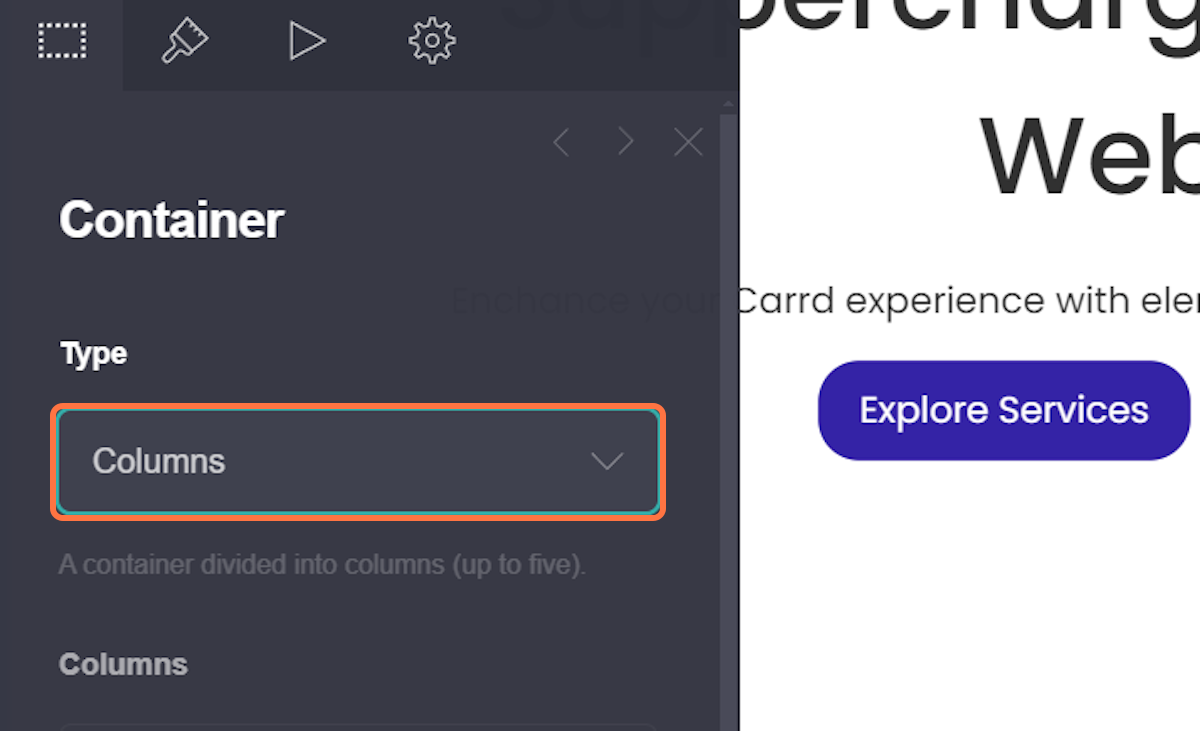
2) Choose Container Type: Select the type of container (e.g., Default, Columns).
3) Position Container: Drag the container to your desired location on the page.
Editing Containers
Here’s how to edit containers to structure your content.
Steps:
1) Select a Container: Click on the container you want to modify.
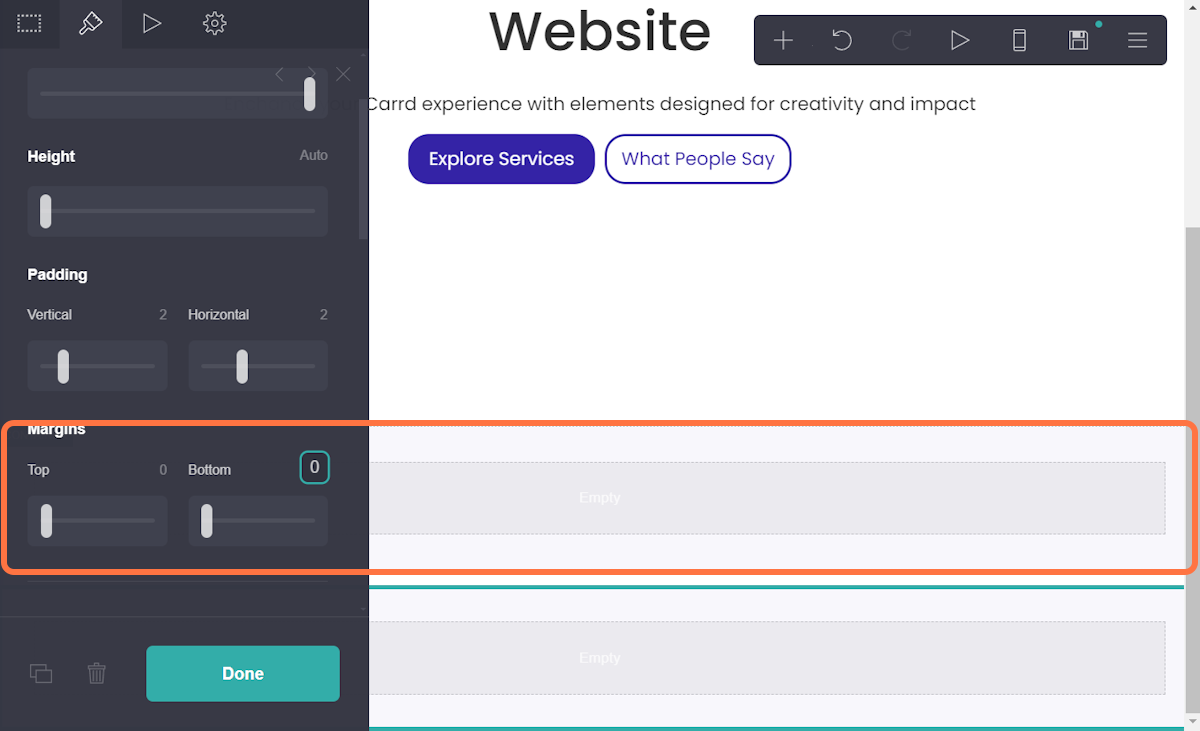
2) Adjust Container Size: Drag the Sliders to resize the container.
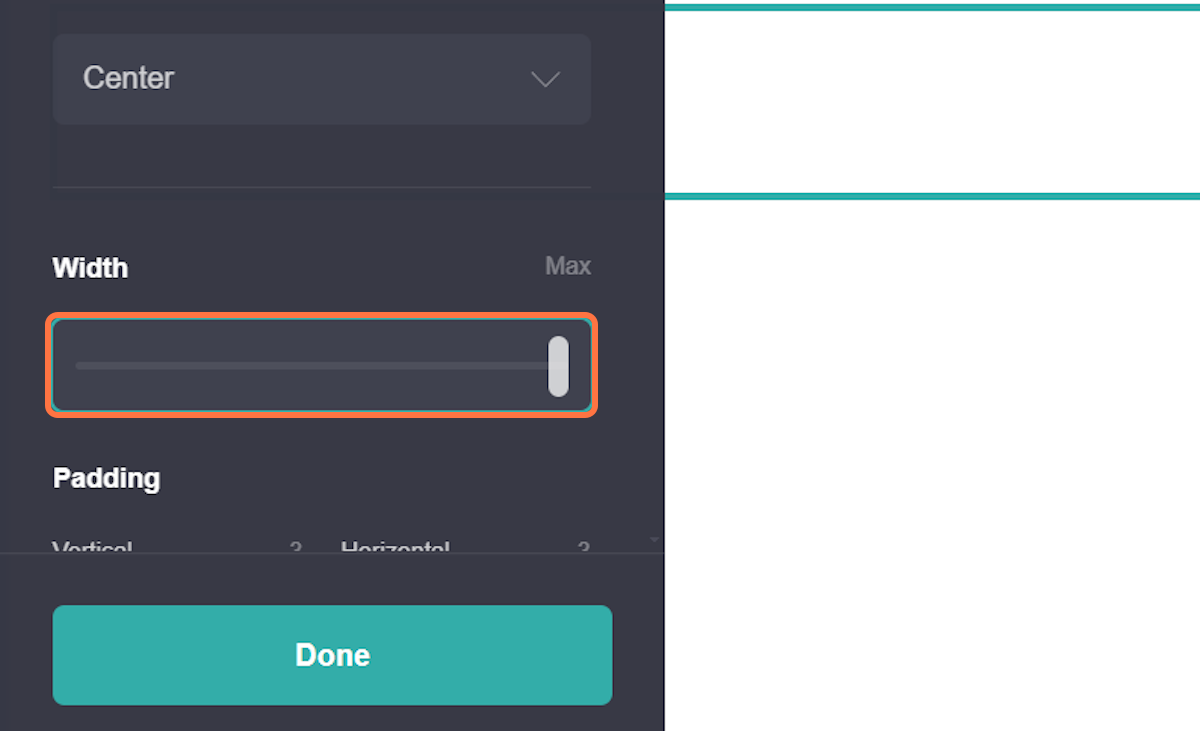
3) Move the Container: Click and drag to reposition the container.
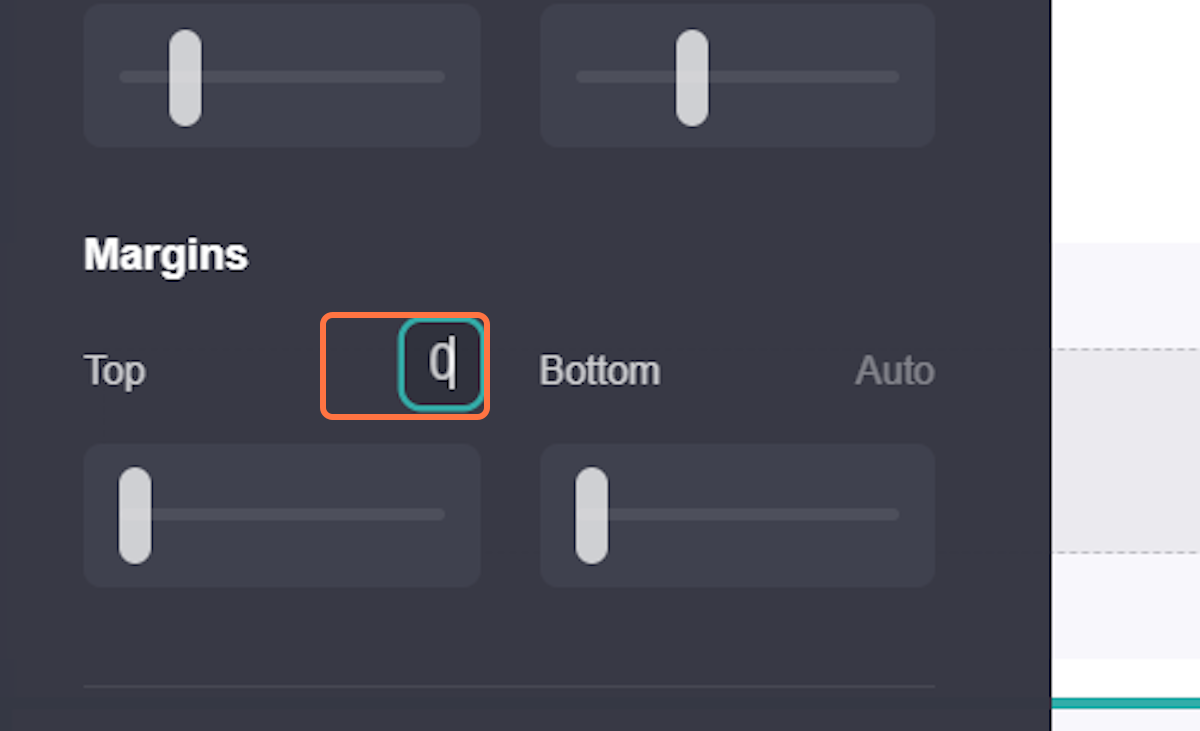
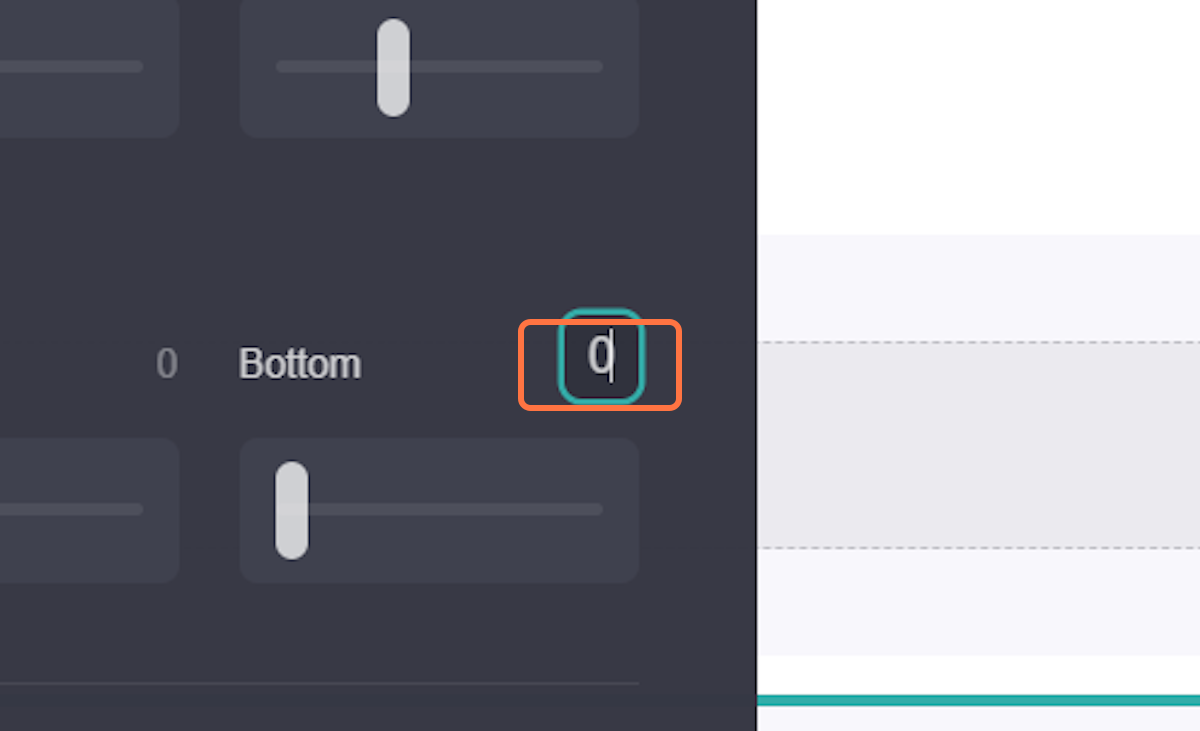
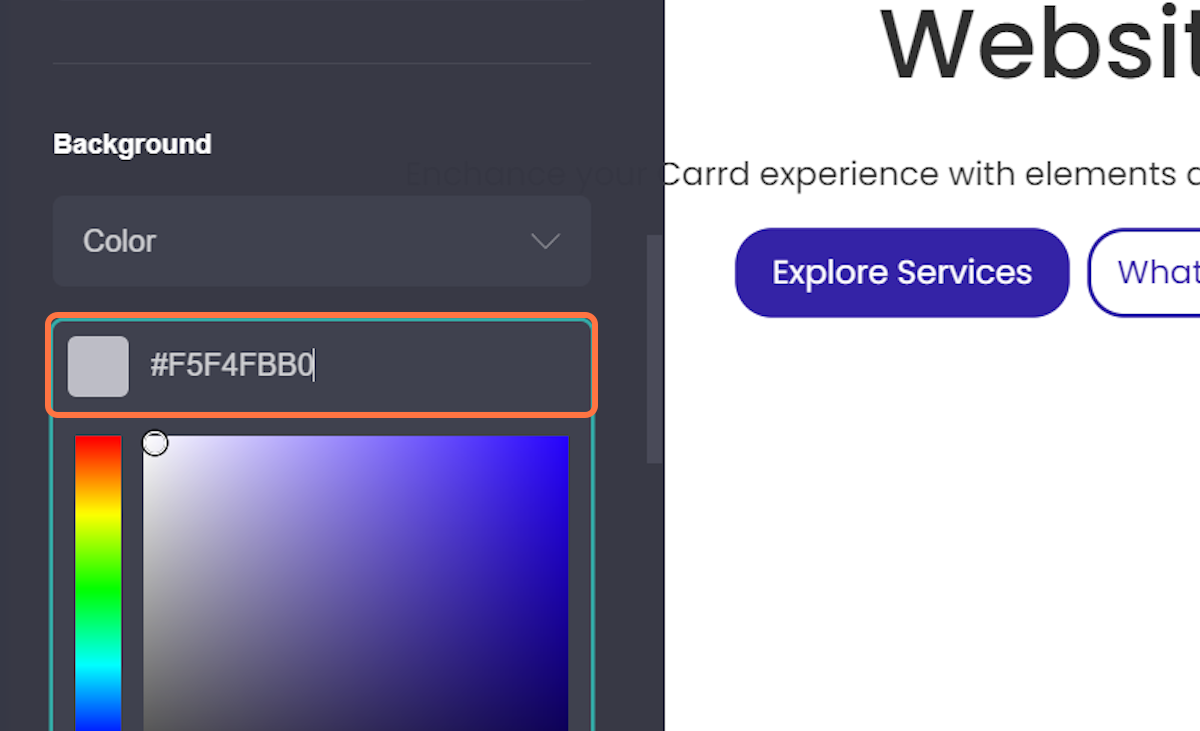
4) Customize Appearance: Use the style options to change appearance settings such as:
1) Margins:
2) Color:
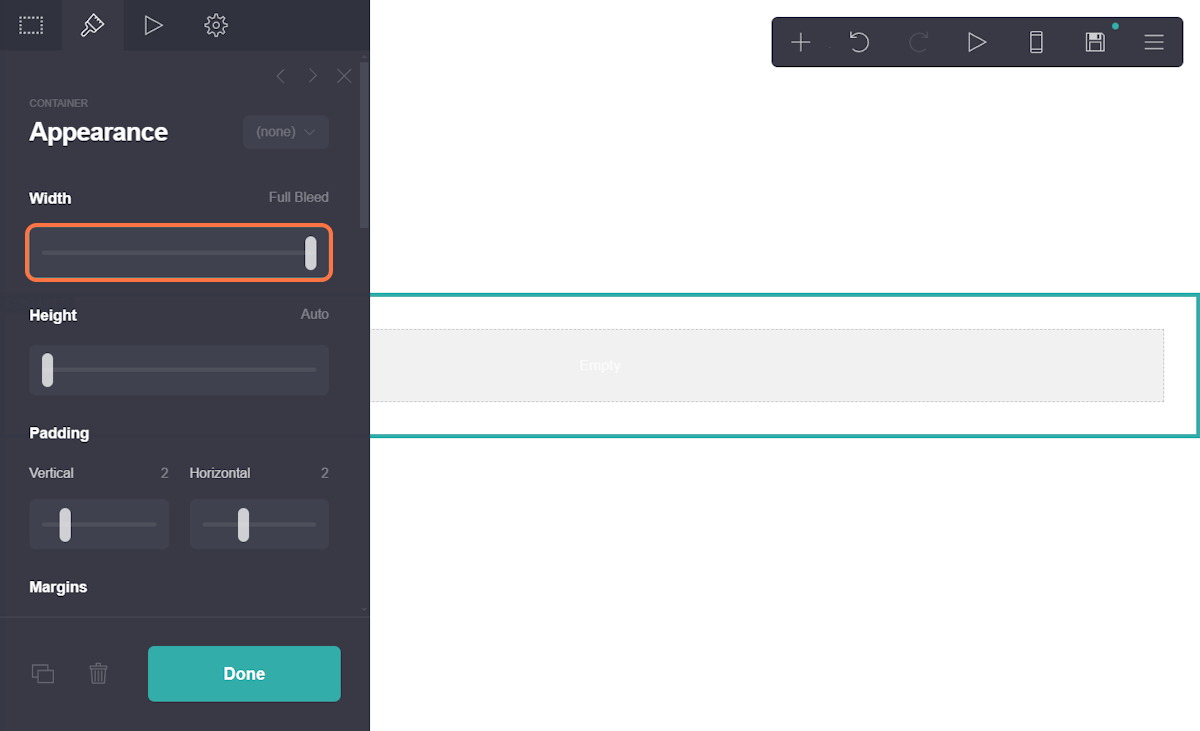
3) Width:
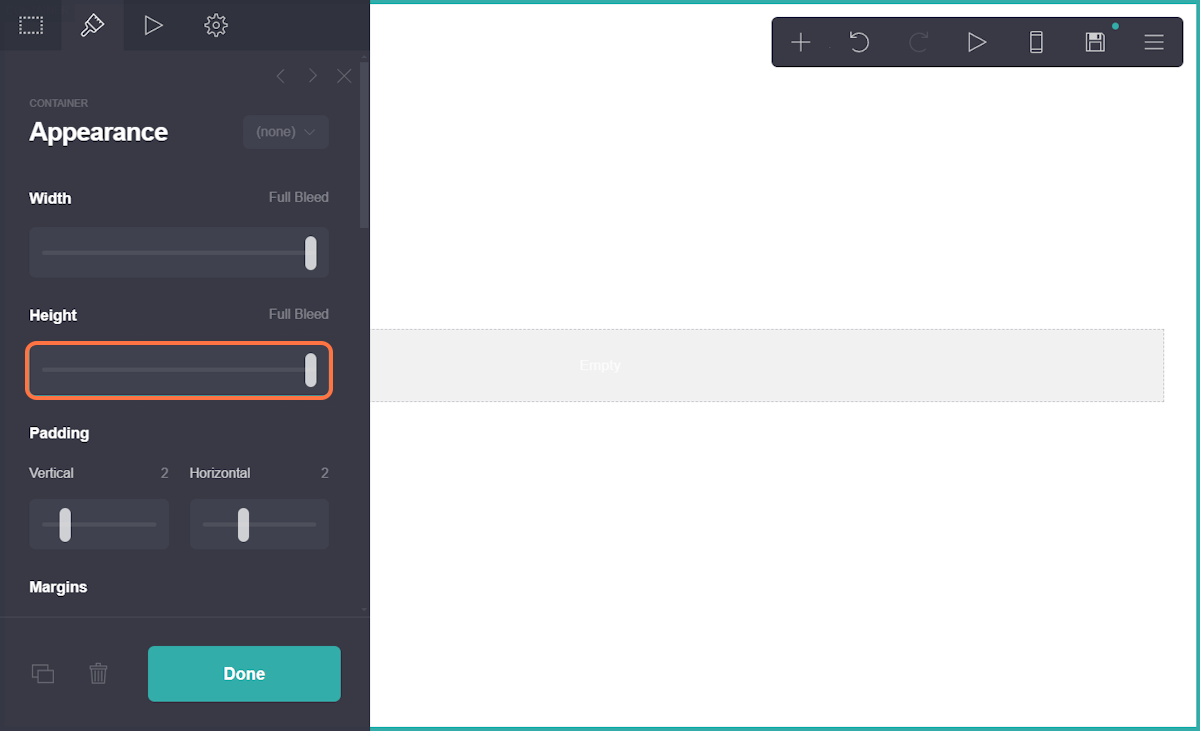
4) Height:
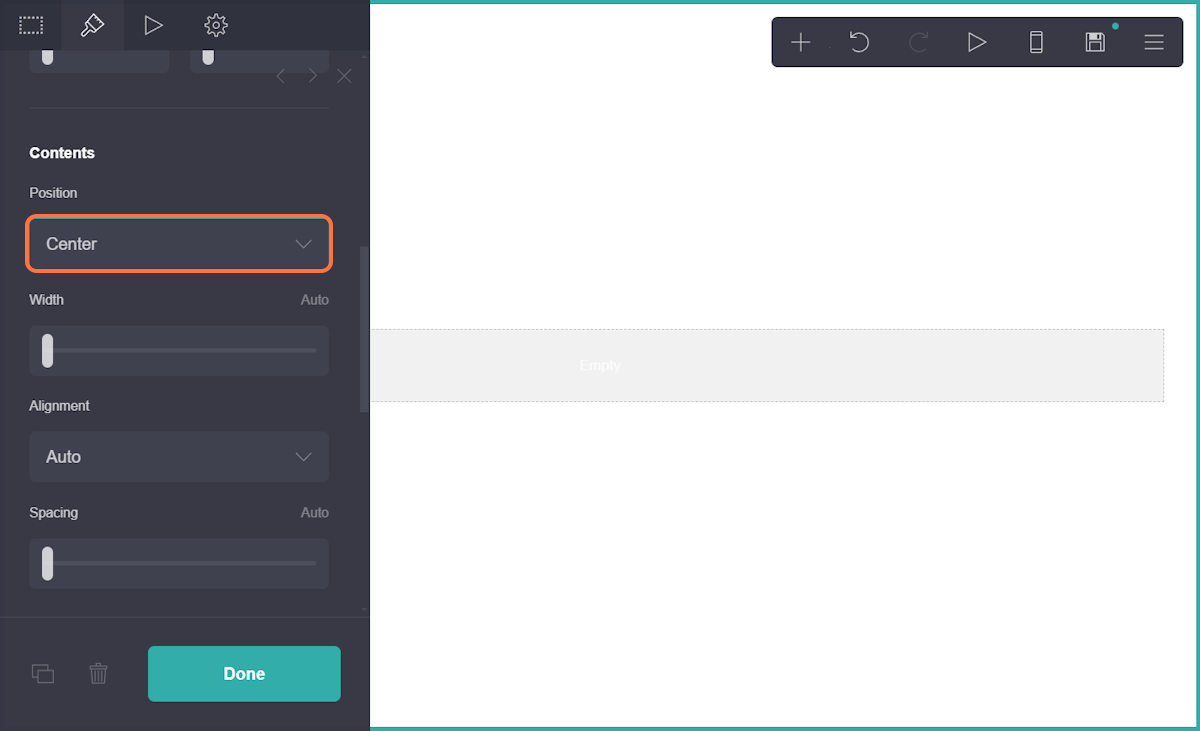
5) Position:
Alternatively if you choose the type of your container to be “Columns” there is one extra editing option, that of the number of columns, width and alignment.
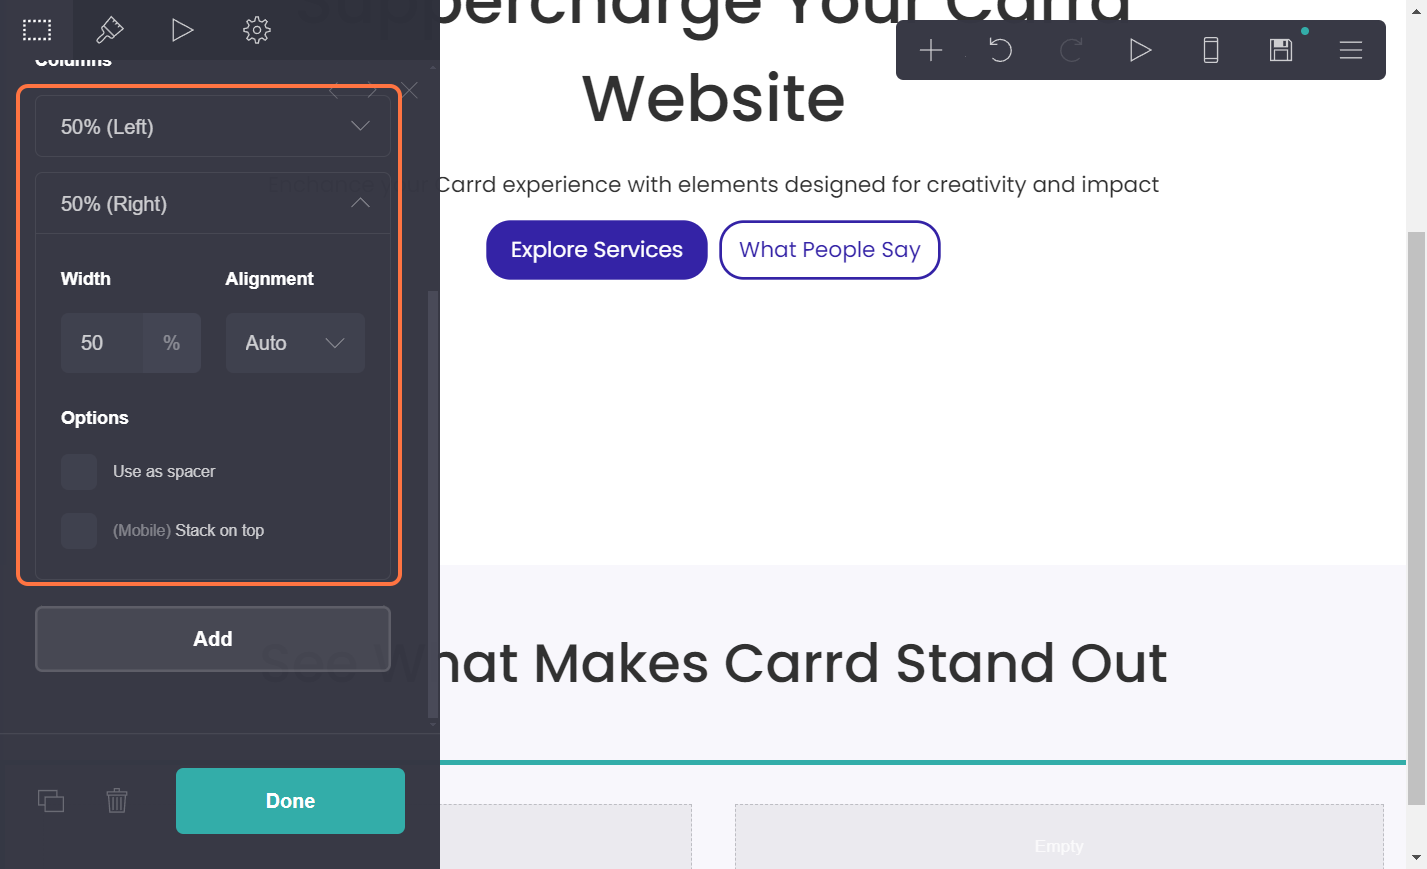
If you ‘Add” more columns Carrd will automatically change the width equally in order the be 100% accumulative.
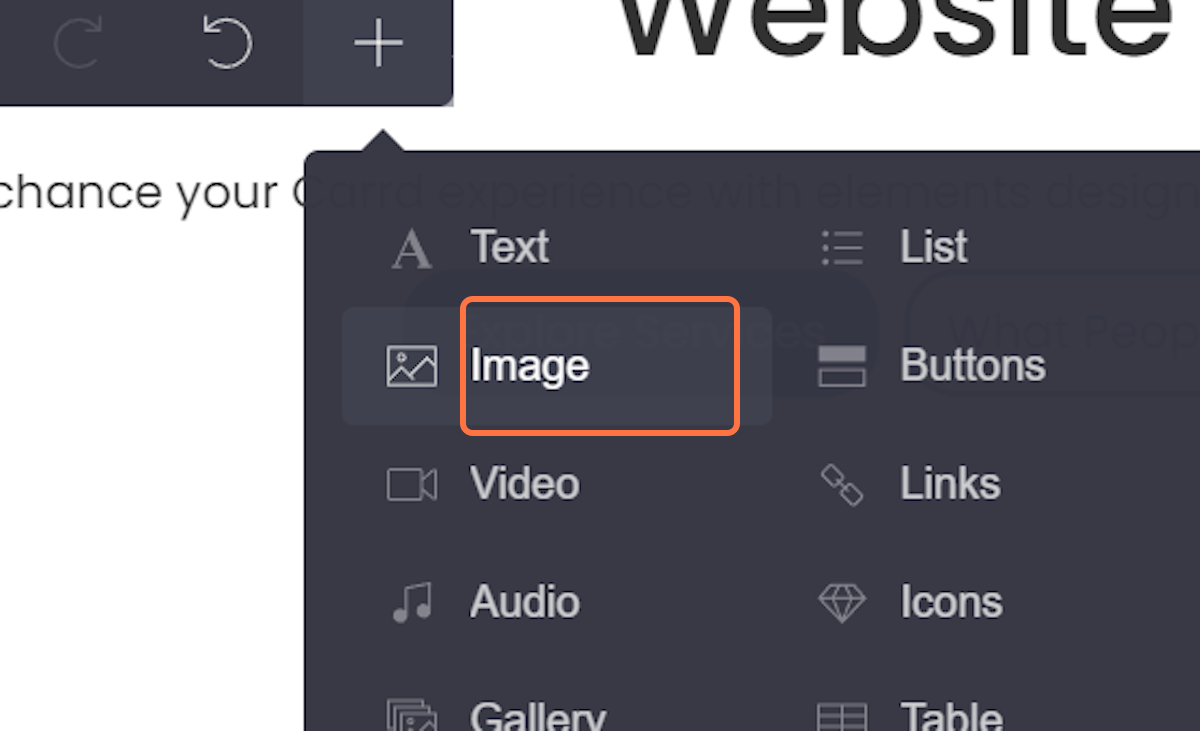
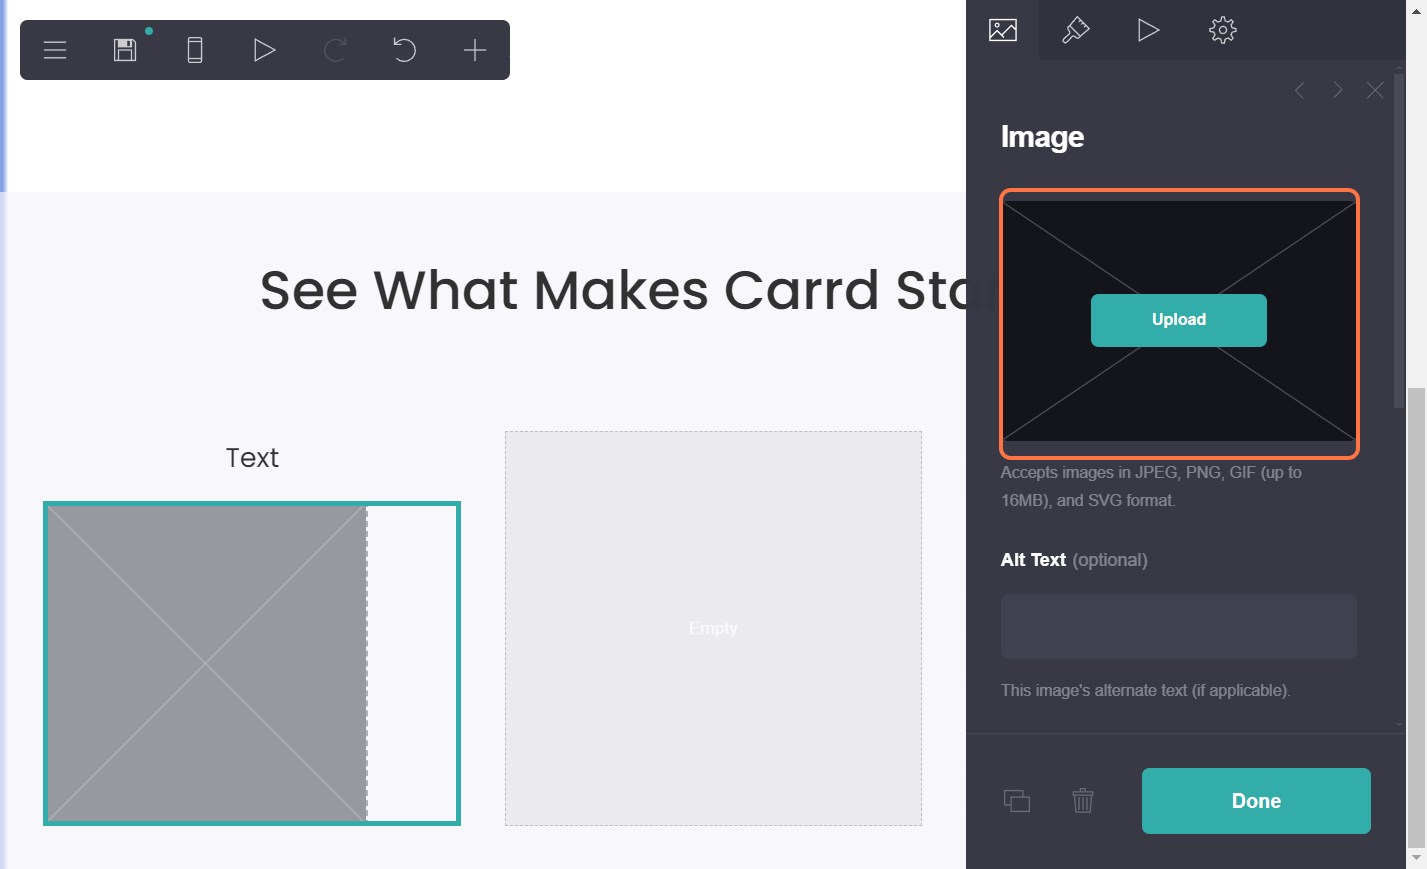
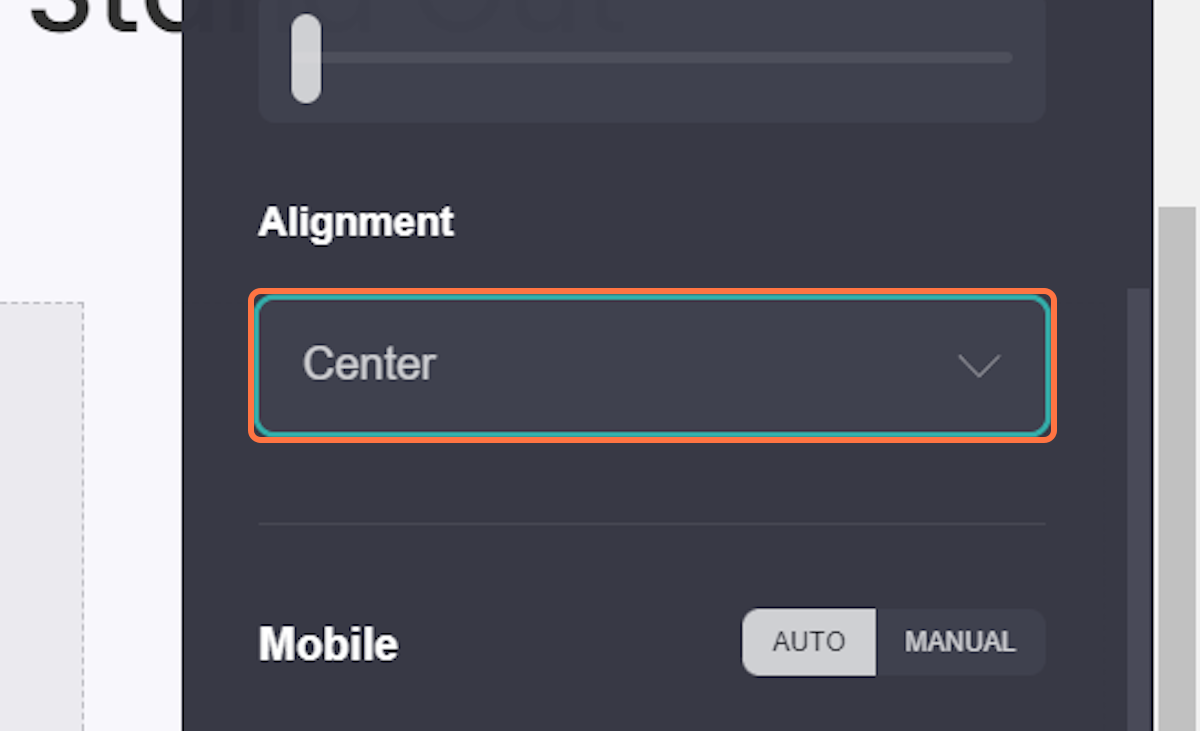
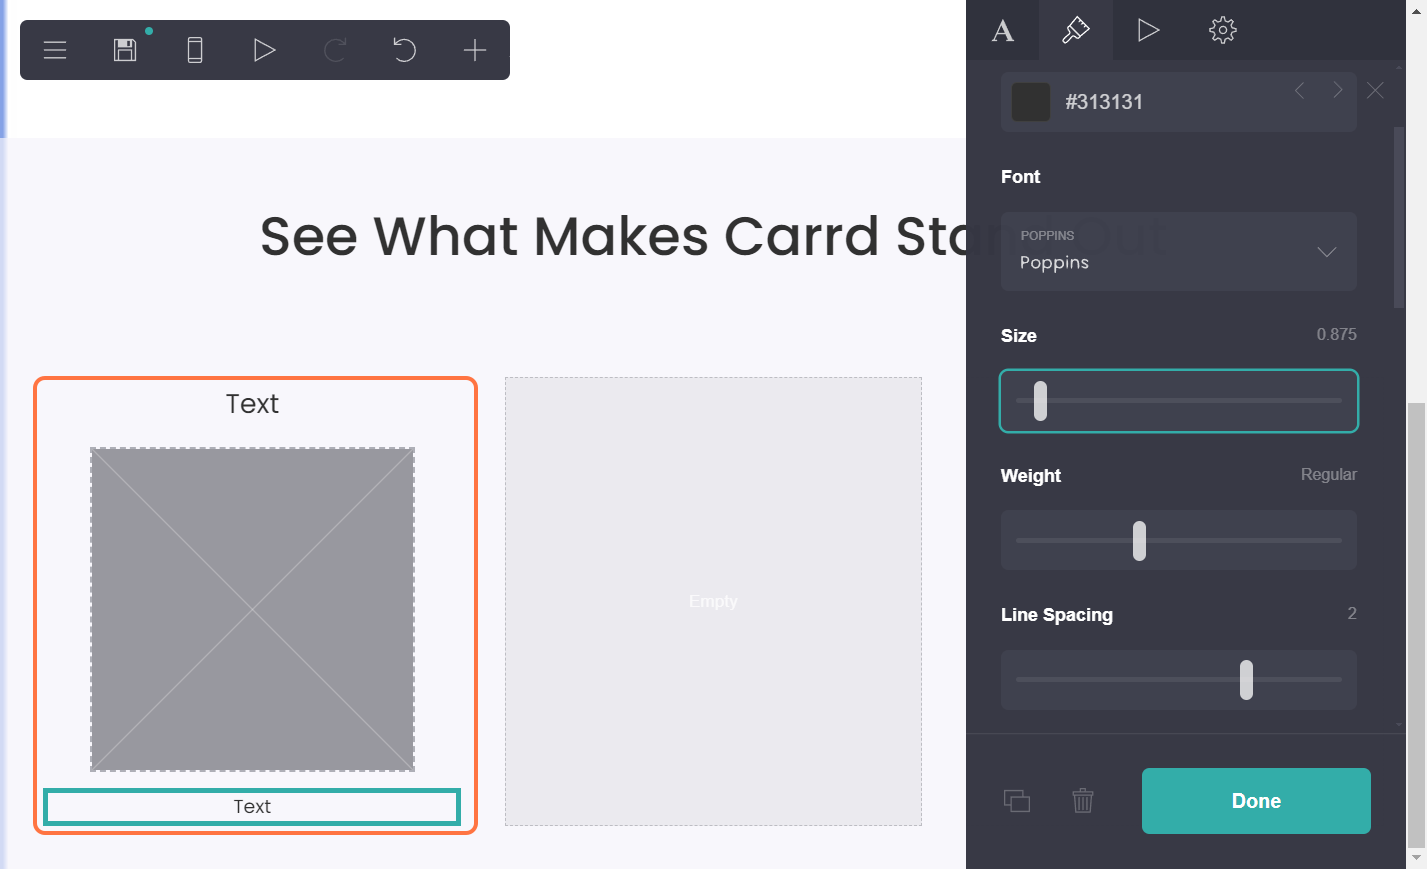
You can also add images within the columns, here’s how.
1) Click on Image:
2) Upload your preferred image:
3) Choose the alignment of the image:
You can even add “Captions” both top and bottom of the image:
Adding Buttons
Adding buttons can help guide users and create interactive elements on your site.
Steps:
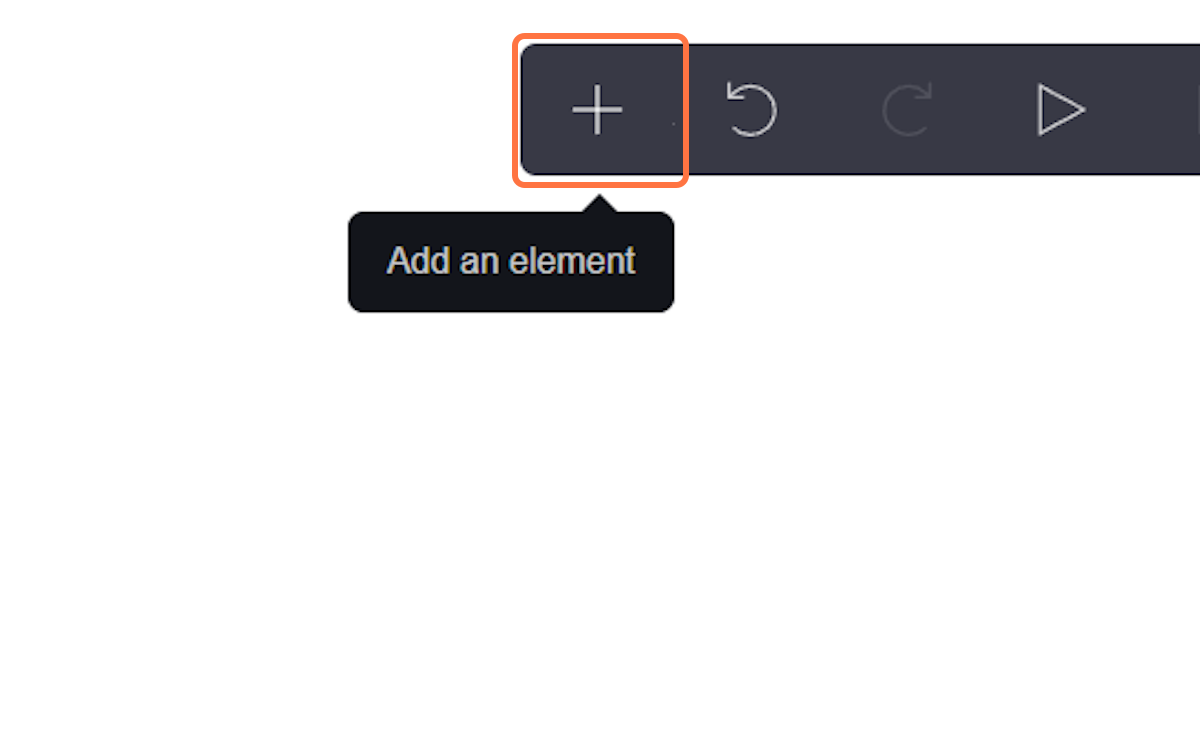
1) Add Buttons Element: Click the "+" and select "Buttons" from the menu.
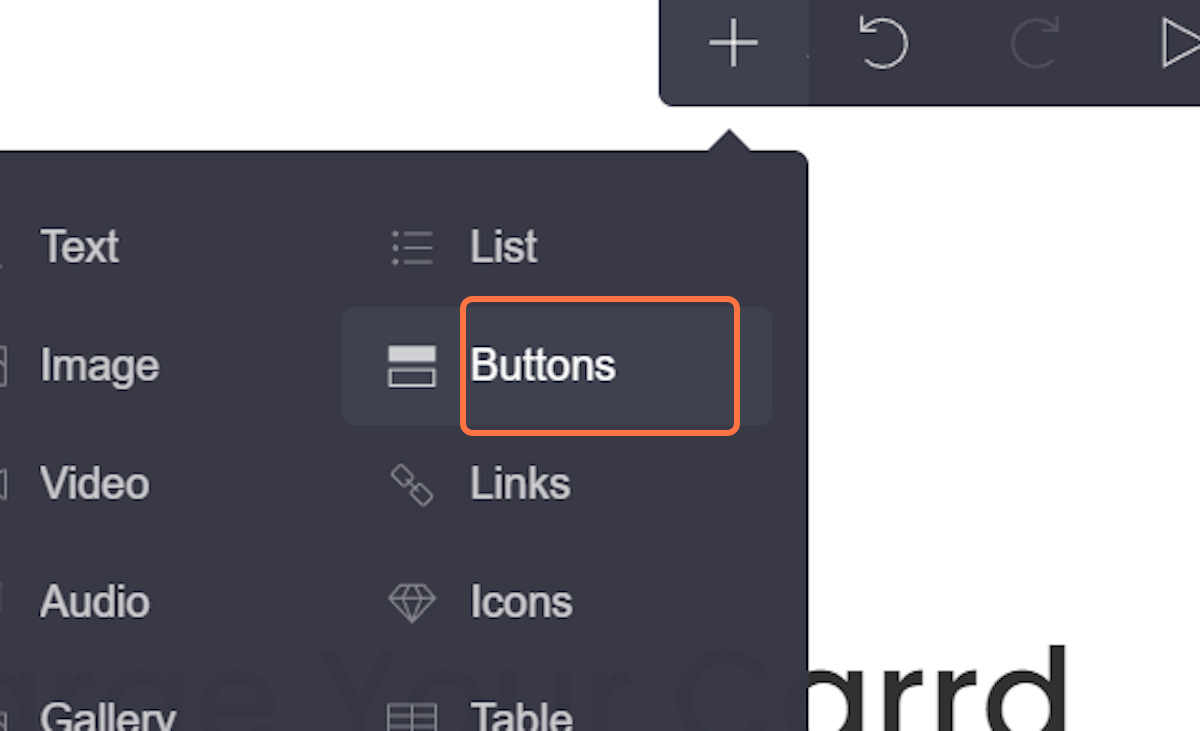
2) PositionButton: Drag the button to your desired location on the page.
Editing Buttons
Customize the appearance and functionality of your buttons.
Steps:
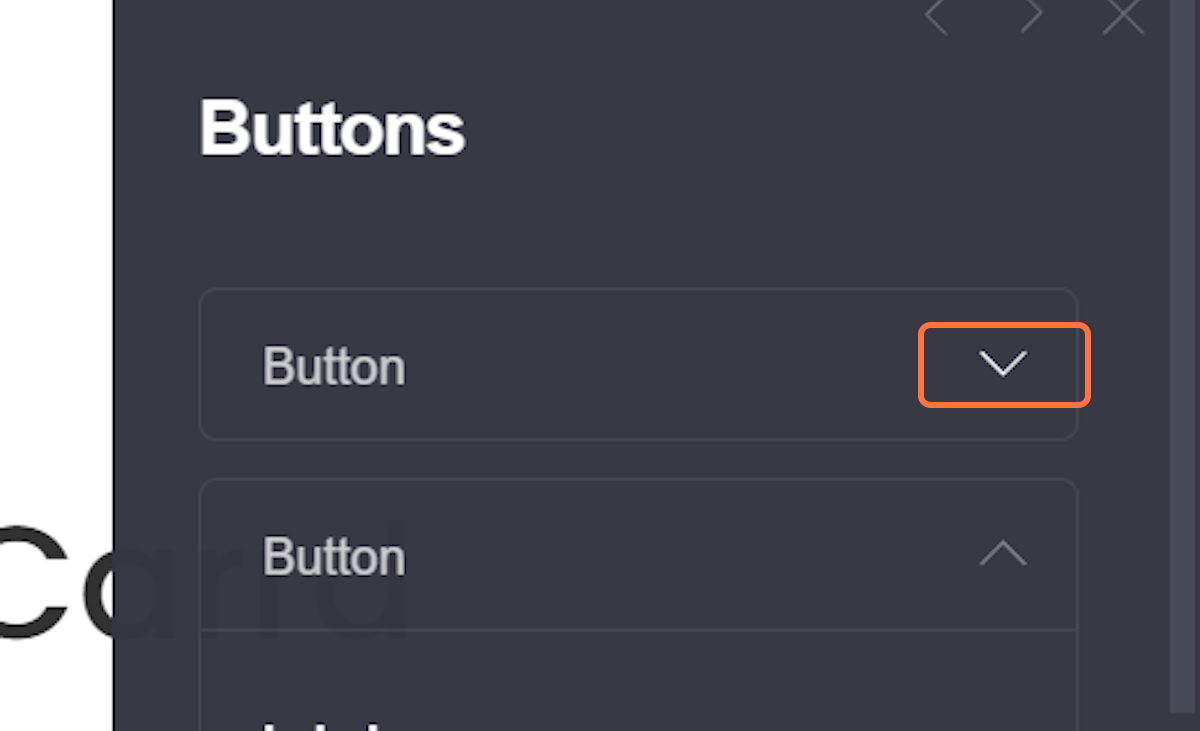
1) Select the Button: Click on the button you want to edit.
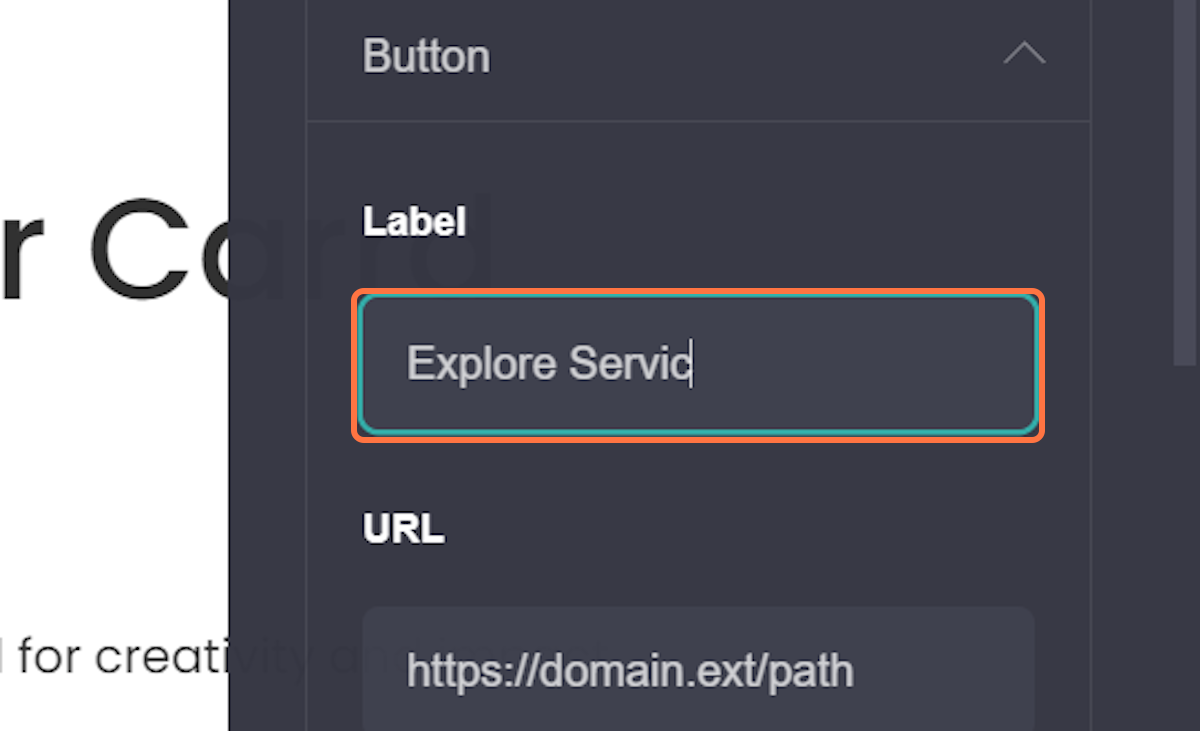
2) Change Button Text: Update the button text in the properties panel.
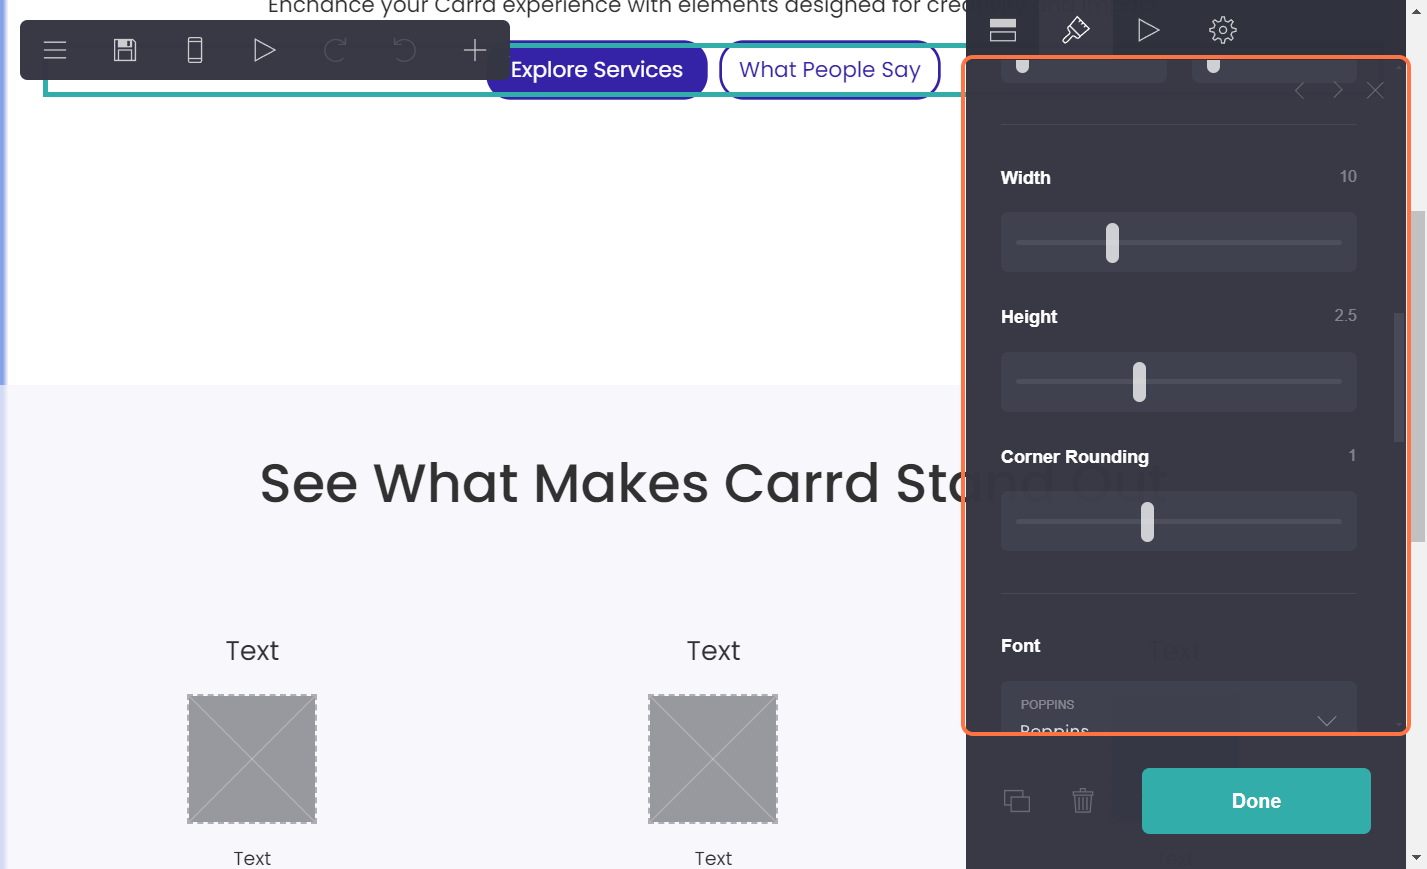
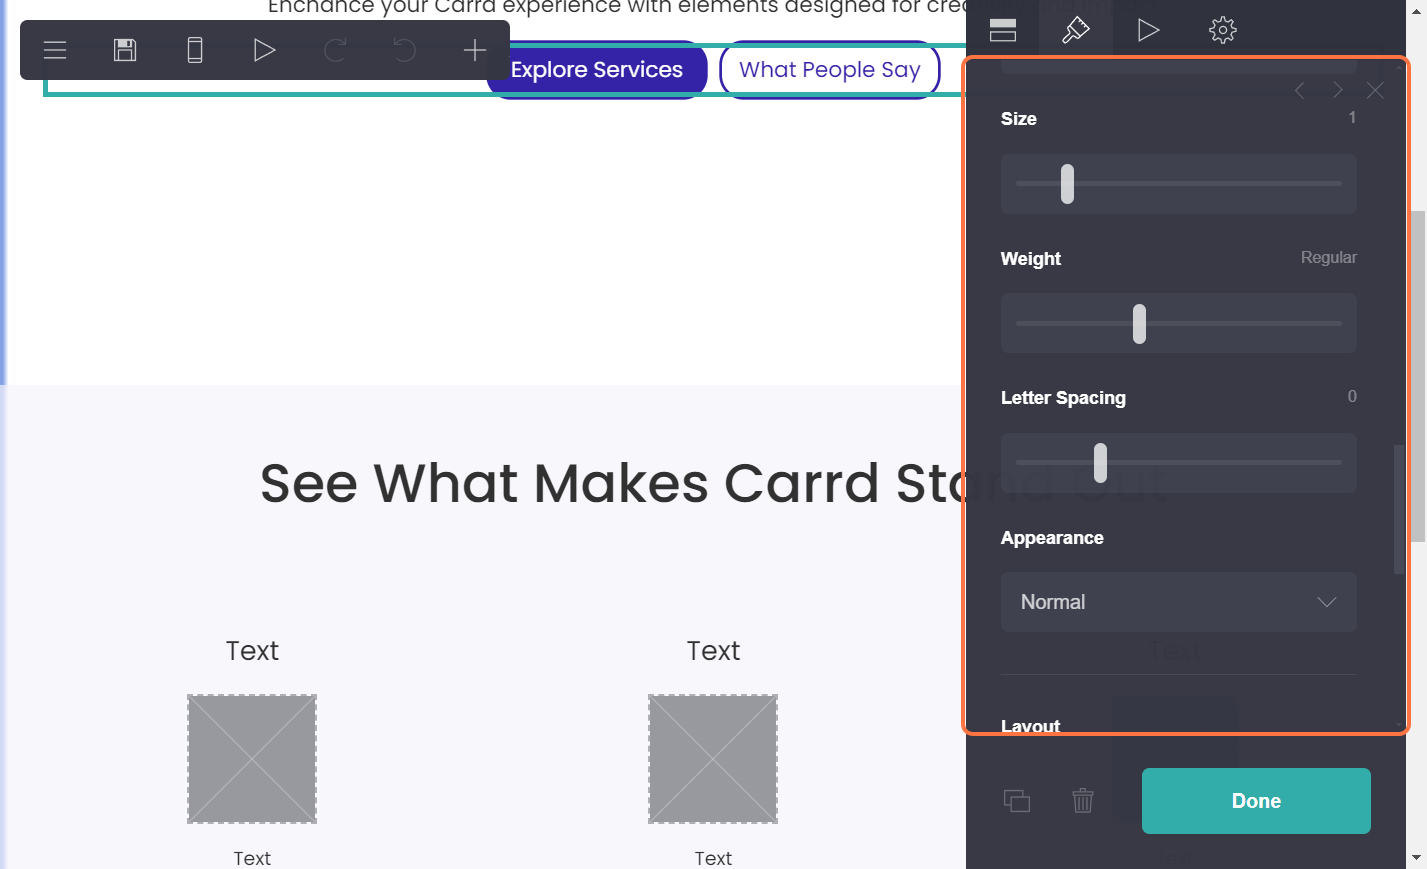
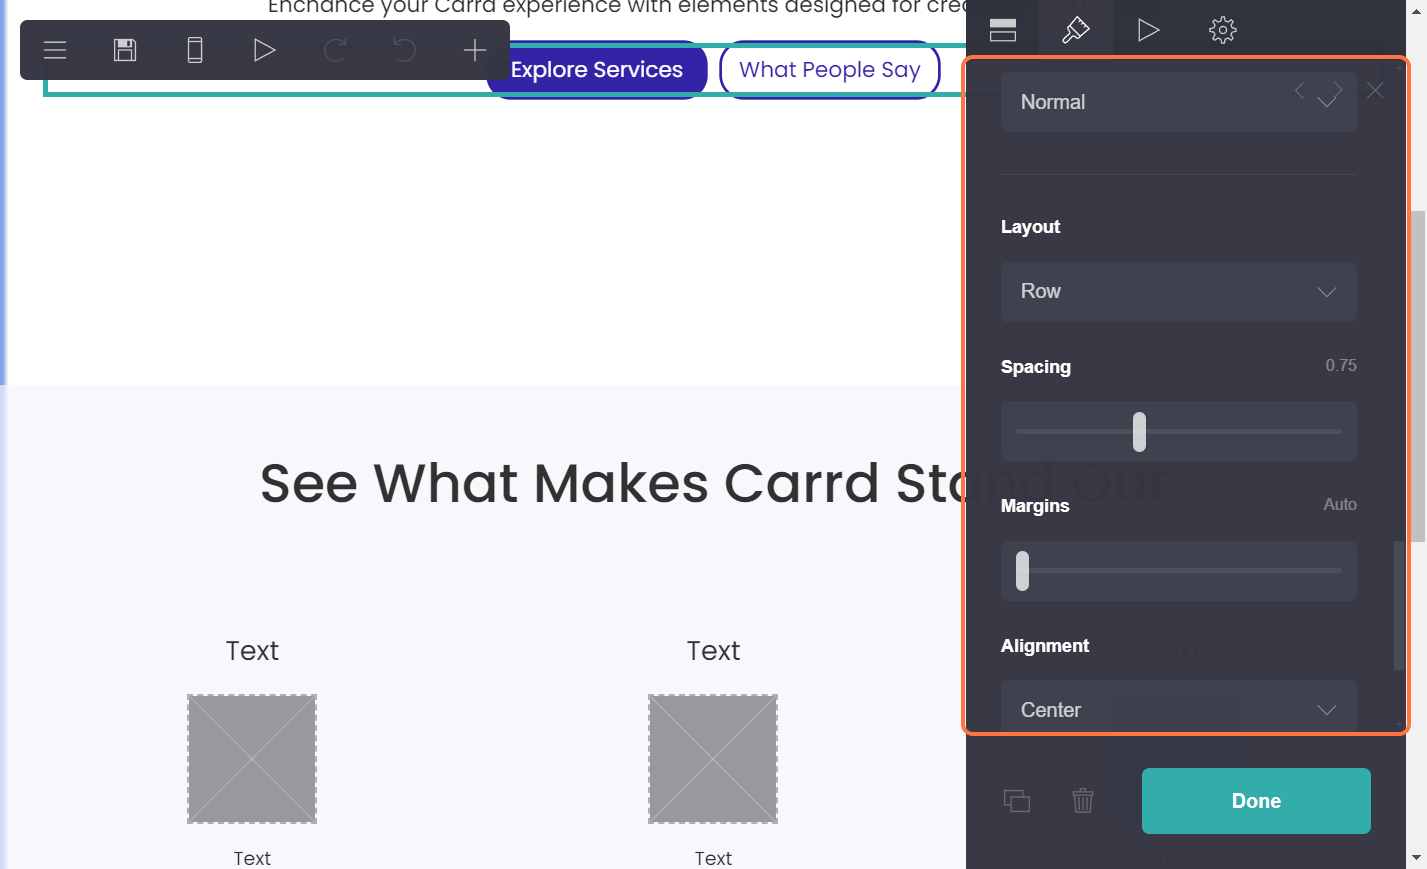
3) Modify Button Style: Adjust color, size, and border settings.

4) Set Link Destination: Add or modify the URL that the button links to.

Activating buttons
Apart from adding a URL to the button we can use them as scroll points. We have covered this on a different guide on creating scroll points you can check it here.
1) Click on a button:

2) Add the exact name of your scroll point: Make sure to add the “#”.

Now whenever the user click on this button, it will automatically scroll down the exact point on your site.
Conclusion
By the end of this guide, you should have a solid understanding of how to add and edit containers and buttons on your Carrd site.
These elements are essential for creating a well-organized, visually appealing, and interactive website. With your newfound skills, you can structure your content effectively and guide your visitors with clear, purposeful actions.
As you continue to explore Carrd's features, remember that mastering these basics is key to building a site that not only looks great but also provides an intuitive user experience. Keep experimenting, and you'll soon be creating stunning sites with ease.


